
Encountering a stubborn oil filter without the right wrench can be frustrating, but it’s not a dead end. This comprehensive guide outlines several practical and safe methods to remove an oil filter without a specialized tool. From enhancing your grip with sandpaper or gloves to using common household items like a strap, belt, or even a screwdriver as a last resort, you’ll learn how to tackle this common DIY challenge. Always prioritize safety, proper preparation, and the correct disposal of old oil and filters for a successful and clean job.
To remove an oil filter without a wrench, first try loosening it by hand with a firm grip. If stuck, wrap a rubber glove, cloth, or sandpaper around the filter for better traction and turn counterclockwise. You can also use a belt, rope, or strap for extra leverage. As a last resort, carefully tap it loose with a screwdriver.
How to Remove Oil Filter Without Oil Filter Wrench
Changing your car’s oil is one of the most fundamental and rewarding DIY maintenance tasks you can perform. It saves money, helps you understand your vehicle better, and keeps your engine running smoothly. However, there’s one common hurdle that can turn a straightforward oil change into a frustrating ordeal: a stubbornly stuck oil filter, especially when you don’t have the specialized oil filter wrench designed for the job.
Perhaps you lent your wrench to a friend, misplaced it, or simply forgot to buy one. Don’t worry, you’re not alone, and there’s no need to panic. While an oil filter wrench is undeniably the easiest tool for the task, numerous ingenious methods exist for how to remove an oil filter without an oil filter wrench, using common household items or basic tools.
This comprehensive guide will walk you through several practical, step-by-step techniques to safely and effectively remove that stubborn oil filter, even without its dedicated wrench. We’ll cover everything from simple grip-enhancers to more unconventional but effective methods, ensuring you can complete your oil change and get back on the road. We’ll emphasize safety throughout, provide clear instructions, and offer tips to make the process as smooth as possible. By the end of this guide, you’ll have the knowledge and confidence to tackle even the most uncooperative oil filter without an oil filter wrench.
Key Takeaways
- Safety First: Always prioritize safety by wearing appropriate personal protective equipment (PPE) like gloves and eye protection, and ensure the vehicle is cool and properly supported on level ground.
- Preparation is Crucial: Gather all necessary tools and materials beforehand, including a drain pan, rags, new oil, and the new filter, to ensure a smooth removal and installation process.
- Start with Non-Destructive Methods: Begin with techniques that preserve the filter, such as using sandpaper, rubber gloves, or a DIY strap wrench (made from a belt or rag), as these are safer and less messy.
- The Screwdriver Method is a Last Resort: While effective for extremely stuck filters, puncturing the filter with a screwdriver is destructive, messy, and carries a higher risk of injury or damage, so use it only when other methods fail.
- Hand-Tighten the New Filter: Always lubricate the new filter’s O-ring with fresh oil and hand-tighten it according to the manufacturer’s specifications (usually about 3/4 to 1 full turn after the gasket contacts the engine block) to prevent over-tightening.
- Clean Up Thoroughly: Be prepared for oil spills. Have plenty of rags and absorbent material on hand, and ensure proper disposal of the old oil filter and used oil.
- Patience and Persistence Pay Off: A stuck filter can be challenging. Take your time, apply steady pressure, and if one method doesn’t work, safely try another until the filter is removed.
Quick Answers to Common Questions
What if I only have a small screwdriver?
A small screwdriver is generally not recommended for the destructive method as it might not provide enough leverage and could bend or break, making the situation worse. Always opt for a long, sturdy screwdriver for this approach to ensure safety and effectiveness.
Can I just use my bare hands if the filter is loose?
Absolutely! If the filter is loose enough to turn by hand, that’s the ideal way to remove it. Many filters are simply over-tightened during installation, which is why they become so difficult to remove later.
How do I prevent the new filter from getting stuck next time?
Always lubricate the new filter’s O-ring with fresh oil before installation, and then hand-tighten it about 3/4 to 1 full turn after the gasket touches the engine block. Never use a wrench to tighten an oil filter; hand-tightening is sufficient and prevents over-tightening.
What if I spill oil everywhere during removal?
Have plenty of old rags, cat litter, or absorbent material ready. Immediately clean up any spills to prevent slips and ensure proper disposal of the oil-soaked materials. A wide drain pan under the filter area can minimize the mess.
Is it okay to drive with an old, stuck oil filter if I can’t remove it?
While you should aim to replace your oil filter with every oil change, if you cannot safely remove it after exhausting all options, it’s generally safer to drive with the old filter (if it’s not leaking) to a professional mechanic rather than risk damaging your engine or injuring yourself through improper removal attempts.
Preparation is Key: Safety First and Gathering Your Arsenal
Before you even think about twisting that filter, proper preparation is paramount. This isn’t just about efficiency; it’s about your safety and preventing a massive, oily mess. Trying to remove an oil filter without an oil filter wrench can sometimes require more effort, so being prepared is crucial.
Prioritize Your Safety
Working under a vehicle, especially with hot fluids, always carries risks. Taking a few moments to ensure your safety can prevent accidents.
- Wear Protective Gear: Always don a pair of sturdy work gloves to protect your hands from hot oil, sharp edges, and potential cuts. Safety glasses are also highly recommended to shield your eyes from splashing oil or debris.
- Allow Engine to Cool: Never attempt to remove an oil filter when the engine is hot. Hot oil can cause severe burns. Let the engine cool down for at least 30 minutes to an hour, or until it’s comfortable to touch the filter. A slightly warm engine can help the oil drain more easily, but never hot.
- Secure the Vehicle: If you need to lift your car to access the oil filter, use a hydraulic jack along with sturdy jack stands. Never rely solely on a jack. Ensure the vehicle is on a flat, level surface and that the parking brake is engaged.
- Ventilation: Work in a well-ventilated area to avoid inhaling oil fumes.
Gather Your Tools and Materials
Having everything within arm’s reach will streamline the process of how to remove an oil filter without an oil filter wrench.
- Drain Pan: A sufficiently sized drain pan is essential to catch the old oil. Ensure it can hold more than your car’s oil capacity.
- Rags/Old Towels: You’ll need plenty of rags for cleanup. Oil changes can be messy, especially when removing an oil filter without the proper wrench.
- New Oil Filter: Have your new oil filter ready. Double-check that it’s the correct one for your vehicle.
- Fresh Engine Oil: Make sure you have the correct type and quantity of new engine oil.
- Wrench for Drain Plug: You’ll need a socket or wrench to remove the oil drain plug.
- Funnel: For refilling the engine with new oil.
- Cardboard/Newspaper: Lay these down to protect your driveway or garage floor from spills.
- Common Household Items (for the methods below): Depending on the method you choose, you might need sandpaper, heavy-duty gloves, an old belt, a sturdy strap, a large screwdriver, channel locks, or vice grips.
Method 1: The Enhanced Grip Method (Sandpaper or Heavy-Duty Gloves)
This is often the first method to try when you need to remove an oil filter without an oil filter wrench. It works best for filters that are only moderately tight, or if you have strong hands. The goal is to maximize your grip on the smooth, often oil-slicked surface of the filter.
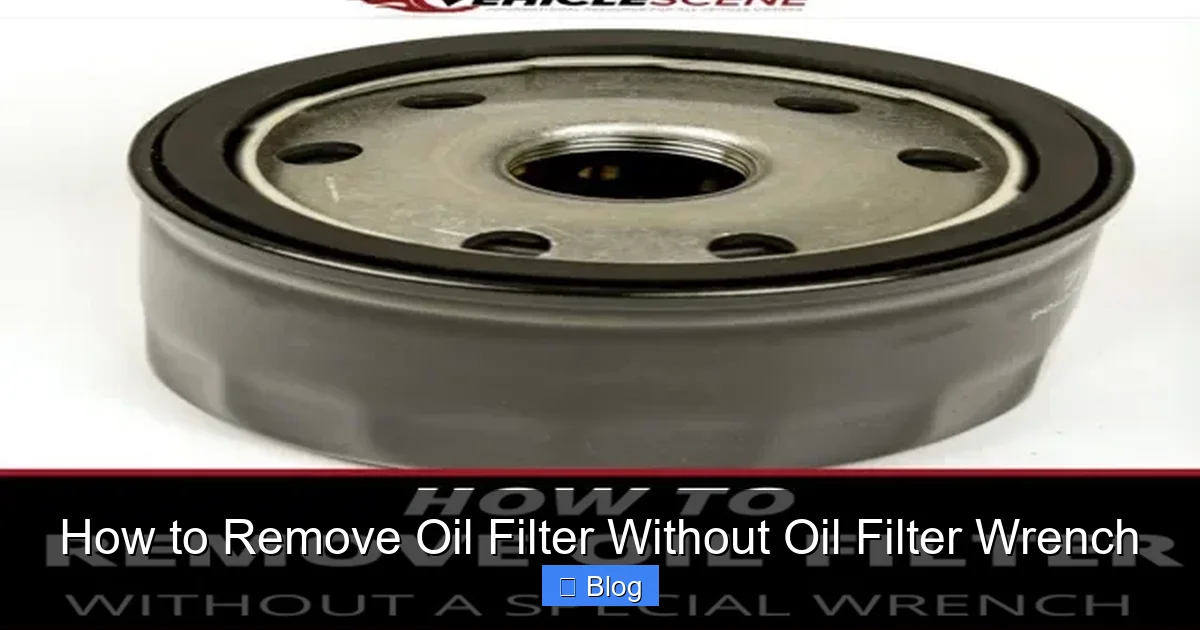
Visual guide about How to Remove Oil Filter Without Oil Filter Wrench
Image source: ourhometools.com
H3: Gather Your Supplies
- A sheet of coarse sandpaper (around 80-120 grit) OR a pair of thick, rubberized work gloves (e.g., dishwashing gloves or mechanics gloves with good grip).
- Rags to wipe any oil off the filter.
H3: Enhance Your Grip
First, wipe down the oil filter as thoroughly as possible with a rag to remove any surface oil. This immediately improves grip. If using sandpaper, wrap a strip of it around the circumference of the filter, grit side facing the filter. Hold it firmly in place with one hand, or even use a rubber band to secure it. If using gloves, simply put them on. The increased friction from the sandpaper or the textured surface of the gloves will give you a much better purchase on the filter.
H3: Twist and Remove
With your enhanced grip, grasp the filter firmly with both hands if possible. Apply steady, counter-clockwise pressure. Remember, oil filters are designed to be removed by turning counter-clockwise. Don’t use jerky movements; a consistent, firm twist is more effective. If the filter starts to budge even a little, continue to twist until it loosens enough to be removed by hand. Be prepared for oil to start dripping once it loosens.
Method 2: The DIY Strap Wrench (Belt, Strap, or Strong Rag)
This method replicates the action of a strap wrench, using leverage to generate more torque than your bare hands can provide. It’s an excellent way to remove an oil filter without an oil filter wrench when it’s a bit tighter.
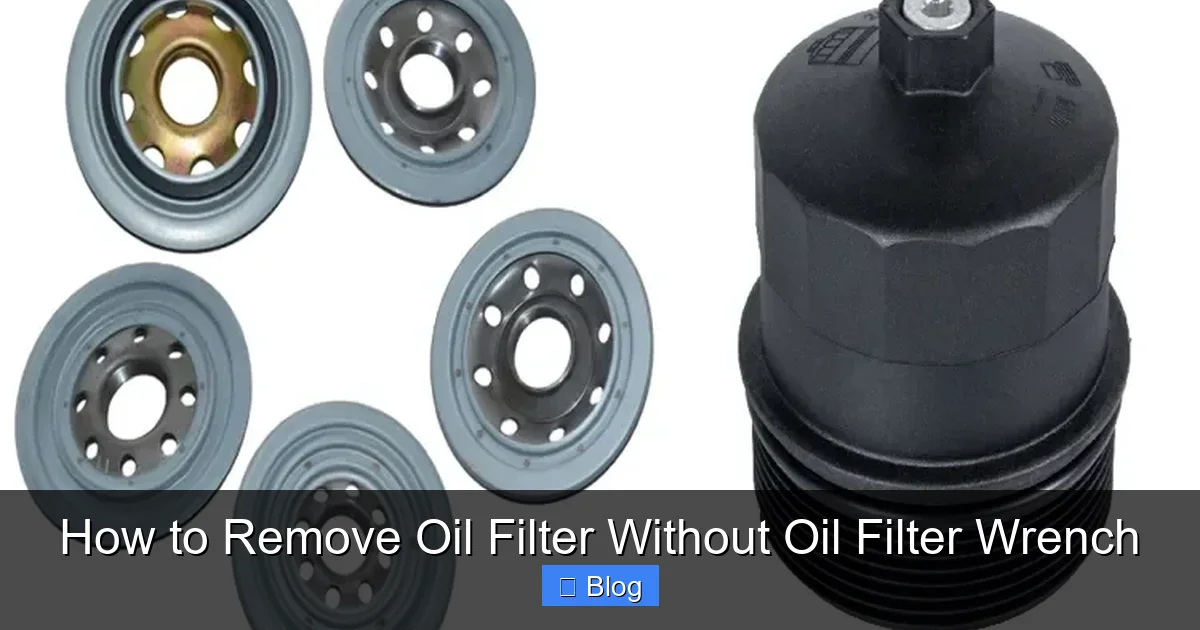
Visual guide about How to Remove Oil Filter Without Oil Filter Wrench
Image source: toolsadvisers.com
H3: Find Your “Strap”
- An old leather belt (your best bet).
- A strong nylon strap (like a tie-down strap, but without the ratcheting mechanism).
- A very thick, sturdy rag or a piece of rope, but ensure it won’t tear easily.
H3: Create Leverage
Wrap your chosen strap material around the circumference of the oil filter. It’s crucial to wrap it so that when you pull on the end, it tightens around the filter and creates a gripping action in the counter-clockwise direction. For a belt, wrap it around, feed the end through the buckle (or a loop you create), and pull it tight. The key is to make the strap as snug as possible against the filter.
H3: Apply Pressure and Turn
With the strap tightly secured, use the free end of the strap as a lever. Pull firmly and steadily in the counter-clockwise direction. The tighter the strap grips the filter, the more torque you’ll generate. You might need to adjust your grip or the strap’s position a few times to get the best leverage. This method is often very effective for how to remove an oil filter without an oil filter wrench because it distributes pressure evenly and provides excellent rotational force.
Method 3: The Screwdriver Penetration Method (Last Resort, Destructive)
WARNING: This method is destructive, messy, and carries the highest risk of injury or damage. Only use this as a last resort when all other non-destructive methods have failed. It involves puncturing the oil filter, which makes it irreparable and creates a potential for sharp edges and more oil spillage. It’s a definitive way to remove an oil filter without an oil filter wrench, but with caveats.
H3: Position Your Drain Pan
Before you even touch the filter, ensure your drain pan is directly underneath it and ready for a sudden gush of oil. This method almost guarantees a mess.
H3: Puncture the Filter
Take a long, sturdy screwdriver (the longer the handle, the better the leverage). Position the tip of the screwdriver on the side of the oil filter, about 1/3 to 1/2 of the way up from the engine block. Do NOT aim for the very top or bottom, as this could damage the engine block or just tear through the thin metal without providing good leverage. Use a hammer to carefully tap the screwdriver through the side of the filter, piercing both walls. Be extremely careful not to hit any surrounding engine components.
H3: Create a Lever
Once the screwdriver is securely through both sides of the filter, it now acts as a lever or a makeshift handle. You’ve essentially created your own “oil filter wrench” out of the filter itself.
H3: Twist Gently
Grasp the handle of the screwdriver firmly and apply steady, counter-clockwise pressure. The filter should begin to twist. Continue turning until it loosens enough to be removed by hand. Be prepared for oil to pour out rapidly once the filter breaks loose. This is why thorough preparation with a drain pan is critical. The downside of this method when you remove an oil filter without an oil filter wrench is that the filter might tear, making removal even more difficult if not done carefully.
Method 4: The Channel Locks, Pliers, or Vice Grips Method
For some filter types or extremely stuck filters, large channel lock pliers or vice grips can provide the necessary brute force. This method is effective for how to remove an oil filter without an oil filter wrench, especially if the filter has a slightly different shape or accessible ridges.
H3: Adjust for Grip
Open your channel locks or vice grips wide enough to span the diameter of the oil filter. Adjust them so that the jaws can firmly grasp the filter’s casing. The goal is to get as much contact area as possible.
H3: Clamp Down Firmly
Place the jaws of the tool around the filter. For channel locks, squeeze the handles tightly to grip the filter. For vice grips, clamp them down until they are securely locked onto the filter. Be aware that this method can deform or crush the filter if applied with too much force in one spot, which might make it harder to turn. Try to get a grip on the strongest part of the filter’s body.
H3: Turn Counter-Clockwise
Once you have a firm grip, use the channel locks or vice grips to turn the filter counter-clockwise. Apply steady, increasing pressure. If the filter starts to slip, reposition the tool and try again. Sometimes, a series of small, firm turns is more effective than one continuous twist. This is a powerful way to remove an oil filter without an oil filter wrench, but care must be taken not to damage surrounding components.
Method 5: The DIY Chain Wrench (with a Bicycle Chain or Similar)
Similar to the strap wrench method, a chain wrench uses a chain for grip and leverage. If you have an old bicycle chain or a similar piece of strong chain, you can improvise a chain wrench. This is a very effective way to remove an oil filter without an oil filter wrench, providing excellent grip.
H3: Source a Chain
Find a sturdy piece of chain, such as an old bicycle chain. Ensure it’s long enough to wrap around the oil filter with some overlap.
H3: Loop and Secure
Wrap the chain around the oil filter, ensuring it’s snug. To create leverage, you’ll need something to act as a handle. You can loop one end of the chain over a sturdy bar (like a breaker bar or a strong metal pipe) and then pull the other end of the chain firmly, or even use the bar to wedge the chain and twist.
H3: Turn with Leverage
The principle is similar to the strap wrench: as you pull on the lever (or the free end of the chain), the chain tightens around the filter, providing immense grip and torque. Pull steadily in a counter-clockwise direction. This method is often extremely effective for even the most stubborn filters due to the excellent, non-slip grip of the chain. It’s an advanced but very capable technique for how to remove an oil filter without an oil filter wrench.
Post-Removal and Installation of the New Filter
Once you’ve successfully managed to remove an oil filter without an oil filter wrench, the job isn’t quite done. Proper installation of the new filter is just as important as removing the old one.
H3: Clean the Mounting Surface
After the old filter is off, use a clean rag to wipe down the engine block’s filter mounting surface. Ensure there are no old O-ring pieces stuck to it. A smooth, clean surface is crucial for a good seal with the new filter.
H3: Lubricate the New Filter’s O-Ring
Take your new oil filter and apply a thin film of fresh engine oil to the rubber O-ring gasket. This ensures a proper seal and prevents the gasket from sticking or tearing during installation, and makes future removal easier (even if you still don’t have an oil filter wrench!).
H3: Install the New Filter
Screw the new filter onto the engine block by hand. Turn it clockwise until the gasket makes contact with the engine block. At this point, stop. Then, using only your hand, tighten it another 3/4 to 1 full turn. Do not over-tighten! Over-tightening is a common mistake and is why filters get so stuck. It can damage the filter, the engine block, or make it incredibly difficult to remove next time. The friction of the O-ring, when hand-tightened correctly, is sufficient to prevent leaks.
H3: Refill Oil and Check for Leaks
Once the new filter is on, reinstall the drain plug (with a new washer if required), and refill your engine with the recommended amount of fresh engine oil. Start the engine and let it run for a few minutes. While it’s running, immediately check for any leaks around the new oil filter and the drain plug. Shut off the engine, wait a few minutes for the oil to settle, and check the oil level with the dipstick, topping up if necessary.
Troubleshooting: What If It’s Still Stuck?
Even after trying all these methods for how to remove an oil filter without an oil filter wrench, you might encounter a filter that simply won’t budge. If you’ve reached this point:
- Take a Break: Sometimes stepping away and coming back with fresh eyes (and muscles!) can make a difference.
- Re-Evaluate Your Leverage: Ensure you are getting the best possible leverage with your chosen method.
- Consider Professional Help: If you’ve exhausted all options, and especially if you’re concerned about damaging engine components, it might be time to call a professional mechanic. They have specialized tools and experience with even the most stubborn filters.
- Damage Prevention: If you used the screwdriver method and it’s still stuck, avoid further destructive attempts that could damage the engine block.
Conclusion
Removing an oil filter without an oil filter wrench might seem like a daunting task, but as you’ve seen, it’s entirely possible with a bit of ingenuity and the right approach. Whether you opt for enhancing your grip with sandpaper, improvising a strap wrench with a belt, or, as a last resort, using the destructive screwdriver method, patience and steady effort are your best allies. Remember to always prioritize safety, prepare your workspace thoroughly, and follow the correct steps for installing the new filter hand-tight. By mastering these techniques, you’ll not only save yourself a trip to the auto parts store but also gain valuable confidence in your DIY automotive skills. Don’t let a missing wrench stop you from maintaining your vehicle; empower yourself with these practical solutions for how to remove an oil filter without an oil filter wrench.

Sagor Jahan is the founder and author of Automopromo.com, dedicated to delivering insightful tips, reviews, and updates in the automotive and promotional industry. With a passion for innovation and clear guidance, Sagor helps readers make informed decisions and stay ahead in the ever-evolving automotive world.

