
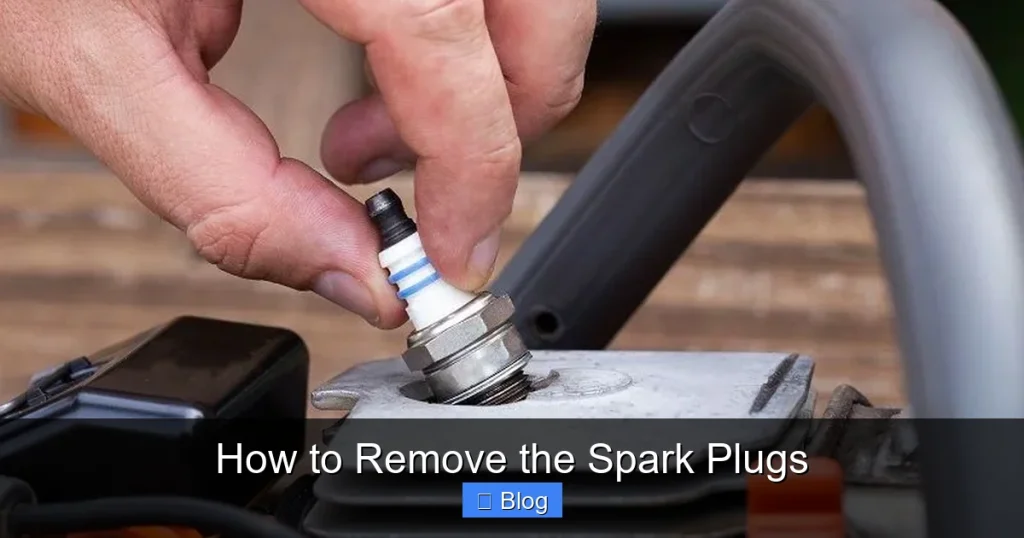
Removing spark plugs is a key maintenance task that can boost your engine’s efficiency and prevent misfires. This guide walks you through every step, from gathering tools to troubleshooting issues, ensuring you do it right the first time. Whether you’re a novice or seasoned DIYer, follow along to save time and money on repairs.
Having this quick reference handy keeps you organized midway through how to remove the spark plugs. Now, let’s get to extracting them.
Key Takeaways
- Safety First: Always disconnect the battery and let the engine cool to avoid shocks or burns during the process.
- Right Tools Matter: Use a spark plug socket and torque wrench to prevent damage to plugs or threads.
- Inspect as You Go: Check wires and plugs for wear; replacing them can improve fuel economy and performance.
- Torque Properly: When reinstalling, follow torque specs to avoid over-tightening, which can strip threads.
- Common Mistake to Avoid: Don’t force a stuck plug—use penetrating oil and patience to prevent engine damage.
- Maintenance Schedule: Remove and inspect spark plugs every 30,000 miles or as recommended by your vehicle’s manual.
Quick Answers to Common Questions
How often should I remove spark plugs?
Inspect them every 30,000 miles or annually. Replace based on your manual—iridium types last up to 100,000 miles.
Can I remove spark plugs without special tools?
It’s possible with basics, but a spark plug socket prevents slipping and damage. Skip it, and you risk rounding off edges.
What if my engine has coil-on-plug?
Treat coils like wires—unbolt and disconnect first. It’s similar but often easier access in modern setups.
Is it okay to reuse old plugs?
Only if they’re in good shape. Clean and regap them, but for longevity, new ones are better, especially if fouled.
Why use anti-seize on threads?
It stops corrosion and seizing next time. A thin coat makes future how to remove the spark plugs effortless—just don’t overdo it to avoid fouling.
Extract the Spark Plugs
Here’s the heart of how to remove the spark plugs. Insert the socket onto the first plug, attach your ratchet, and turn counterclockwise slowly. It should loosen after a few turns.
Deal with Stubborn Plugs
If it sticks, stop immediately. Spray penetrating oil into the well and let it soak for 10-15 minutes. Then try again with steady, even pressure. Forcing it can break the porcelain insulator, leading to costly repairs.
Pull Out Carefully
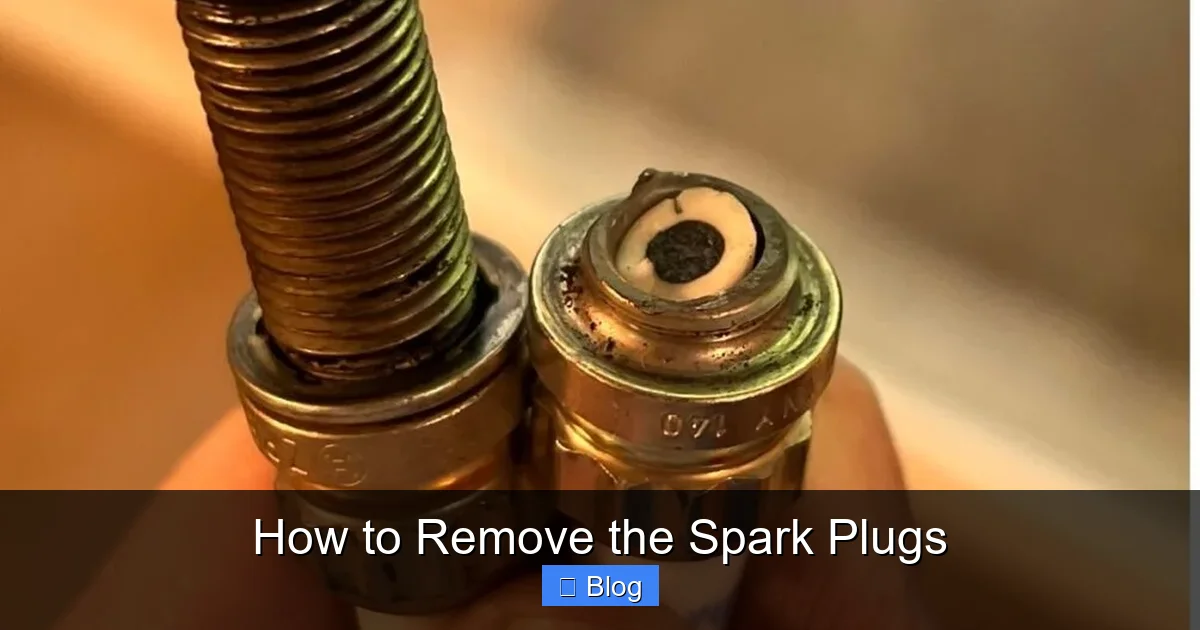
Once loose, pull the plug straight up. Inspect it right away—look for fouling, wear, or gaps. A healthy plug has a light tan electrode; black or oily means trouble elsewhere in the engine. Wipe the well clean with compressed air or a brush to remove debris before moving on.
Repeat for each plug, working methodically. If one feels off, note its position for diagnostics. This inspection during removal often reveals bigger issues early.
Inspect and Clean the Spark Plug Wells
After pulling a plug, don’t rush to the next. Peer into the well for rust or carbon buildup. Use a vacuum or soft brush to clear it out—debris can contaminate new plugs.
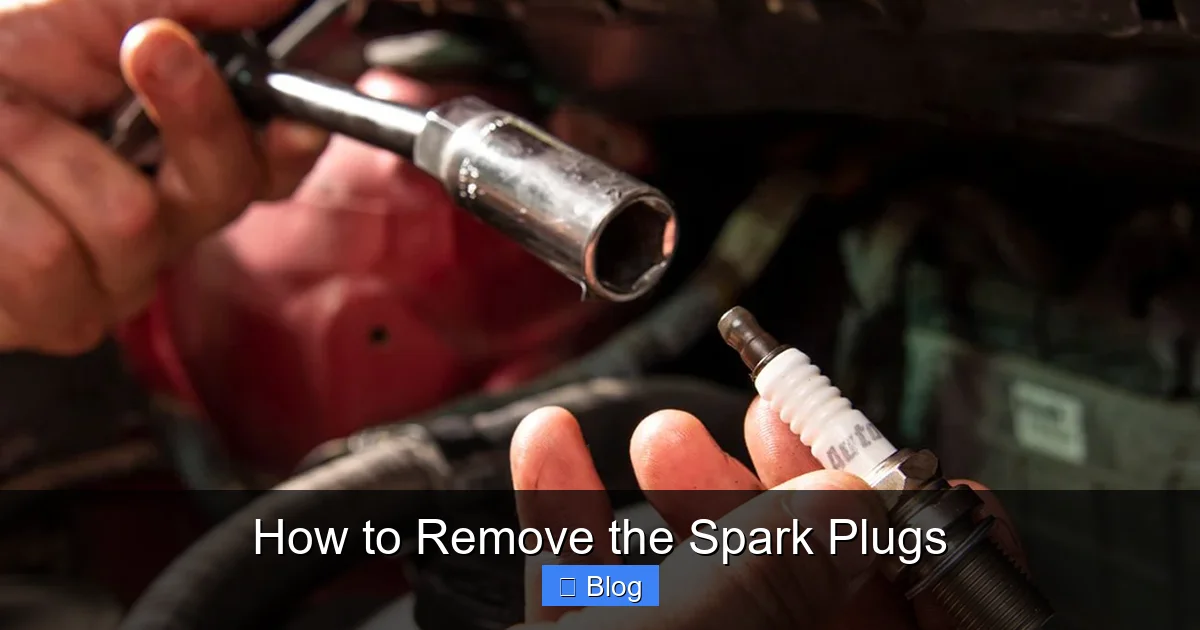
Visual guide about How to Remove the Spark Plugs
Image source: autolite.com
Check threads for damage too. If they’re corroded, a thread chaser tool can restore them. Applying anti-seize now prevents future sticking. This cleaning step extends plug life and ensures optimal performance.
Example: On my old sedan, I found water in one well from a leaky gasket. Cleaning it prevented ongoing misfires after reinstallation.
Troubleshooting Common Issues
Even with careful steps in how to remove the spark plugs, things can go wrong. Here’s how to handle them.
Visual guide about How to Remove the Spark Plugs
Image source: carstale.com
Introduction
Hey there, fellow car enthusiast! If you’ve ever noticed your engine running rough or getting poor gas mileage, it might be time to tackle the spark plugs. In this guide on how to remove the spark plugs, I’ll walk you through the entire process step by step. You’ll learn everything from prepping your vehicle to safely extracting those plugs without a hitch. Whether you’re doing routine maintenance or troubleshooting a misfire, this DIY approach can save you a bundle at the shop. By the end, you’ll feel confident handling this essential task and keeping your ride purring like new. Let’s dive in!
Gather Your Tools and Materials
Before you start how to remove the spark plugs, having the right gear is crucial. It prevents frustration and ensures safety. Think of it like prepping for a hike—you don’t want to get halfway up the trail without water.
First, grab a basic toolkit. You’ll need a ratchet set with extensions, a spark plug socket (usually 5/8-inch or 13/16-inch, depending on your engine), and a torque wrench for reinstallation. Don’t forget dielectric grease to protect connections and anti-seize compound for the threads. Safety items like gloves, safety glasses, and a flashlight are non-negotiable, especially in tight engine bays.
For older vehicles, a spark plug gap tool might come in handy if you’re inspecting or replacing. And always consult your owner’s manual for specifics—different engines have unique requirements. With these on hand, you’re set to proceed without interruptions.
Prepare Your Vehicle for the Job
Safety comes first when learning how to remove the spark plugs. Park your car on a flat surface and engage the parking brake. This keeps everything stable.
Disconnect the Battery
Pop the hood and locate the battery. Use a wrench to loosen the negative terminal clamp—usually marked with a minus sign. Disconnect it and tuck it away safely. This prevents accidental starts or electrical shorts while you work.
Let the Engine Cool Down
Wait at least 30 minutes after driving to let the engine cool. Hot spark plugs can burn you badly, and metal expands, making removal tougher. If it’s a hot day, give it even more time. Patience here avoids injuries and stripped threads.
Once cooled, cover any sensitive areas with a rag to catch debris. Now, you’re ready to access the plugs.
Locate the Spark Plugs
Finding the spark plugs is straightforward once the hood is up. They’re typically on top of the engine, coiled with thick wires leading to the distributor or ignition coils. In modern cars, they might hide under plastic covers—remove those gently with a screwdriver.
Refer to your manual for the exact layout. V-shaped engines have them on both sides, while inline setups are linear. Label the wires if needed; a simple numbering system prevents mix-ups later. This step sets the stage for smooth spark plug removal.
Pro tip: Shine a light into the wells to spot any corrosion early. If they’re buried deep, an extension on your ratchet will be your best friend.
Remove the Ignition Wires or Coils
With plugs in sight, it’s time to detach the wires. Grip each boot firmly—never pull on the wire itself—and twist while pulling straight out. This avoids damaging the conductor inside.
Handle Coil-On-Plug Systems
For newer engines with coils directly on plugs, unbolt the coil pack first. Use a 10mm socket usually. Wiggle it free after disconnecting the electrical connector. Mark positions if there are multiples to ensure correct reinstallation.
Organize as You Go
Lay wires aside in order or use zip ties to keep them tidy. If they’re old and brittle, consider replacing them during this maintenance. Clean any grime from boots with a rag to maintain good connections post-job.
This careful disconnection makes the actual how to remove the spark plugs process much easier.
Tools and Materials Reference
| Tool/Material | Purpose | Tips for Use |
|---|---|---|
| Spark Plug Socket (5/8″ or 13/16″) | Fits over the plug hex for turning without slipping | Choose rubber-insulated version to grip plug better |
| Ratchet with Extensions | Provides leverage in tight spaces | Use 3-6 inch extension for deep-set plugs |
| Torque Wrench | Ensures proper tightening on reinstall | Set to 15-20 ft-lbs for most plugs; check manual |
| Dielectric Grease | Prevents corrosion on connections | Apply sparingly to wire boots |
| Penetrating Oil (e.g., WD-40) | Loosens stuck plugs | Spray and wait 10 minutes before attempting removal |
| Safety Gloves and Glasses | Protects hands and eyes from debris | Wear during all steps to avoid injury |
| Flashlight | Illuminates engine bay | LED type for better visibility in dark areas |
Plug Won’t Budge
Besides oil, try a warm-up trick: Run the engine briefly (with wires off) to expand metal slightly, then cool and retry. If it’s seized, consult a pro to avoid head damage.
Broken Plug
If the top breaks off, use extraction tools like a magnetic pickup or easy-out. Never drill unless experienced— it risks the cylinder. Prevention is key: Regular maintenance avoids this.
Uneven Wear
Plugs wearing differently? It points to fuel or timing issues. Log findings and check with a mechanic. Tools like an OBD scanner can pinpoint related codes.
For electrical woes, test wires with a multimeter for resistance. Under 10,000 ohms is ideal. Replacing faulty ones during this job is smart.
Real-world example: A friend ignored a stuck plug and cracked the head—$1,500 fix. Learning these tips saves headaches.
Reinstalling the Spark Plugs
Though the focus is removal, knowing reinstallation completes the cycle. Hand-thread new or cleaned plugs clockwise until snug, then torque to spec—usually 10-20 ft-lbs. Over-tightening warps them.
Reattach Wires and Coils
Push boots on firmly until they click. Reconnect coils and battery last. Start the engine to test—smooth idle means success.
Apply grease to prevent future corrosion. Drive a short test to confirm no issues.
Conclusion
Congrats! You’ve mastered how to remove the spark plugs and given your engine some TLC. This simple task improves performance, saves fuel, and catches problems early. Remember, regular checks keep your vehicle reliable. If you’re unsure at any point, grab that manual or hit up a forum. Happy wrenching—your car will thank you with smoother rides ahead. For more DIY guides, stay tuned!

Sagor Jahan is the founder and author of Automopromo.com, dedicated to delivering insightful tips, reviews, and updates in the automotive and promotional industry. With a passion for innovation and clear guidance, Sagor helps readers make informed decisions and stay ahead in the ever-evolving automotive world.

