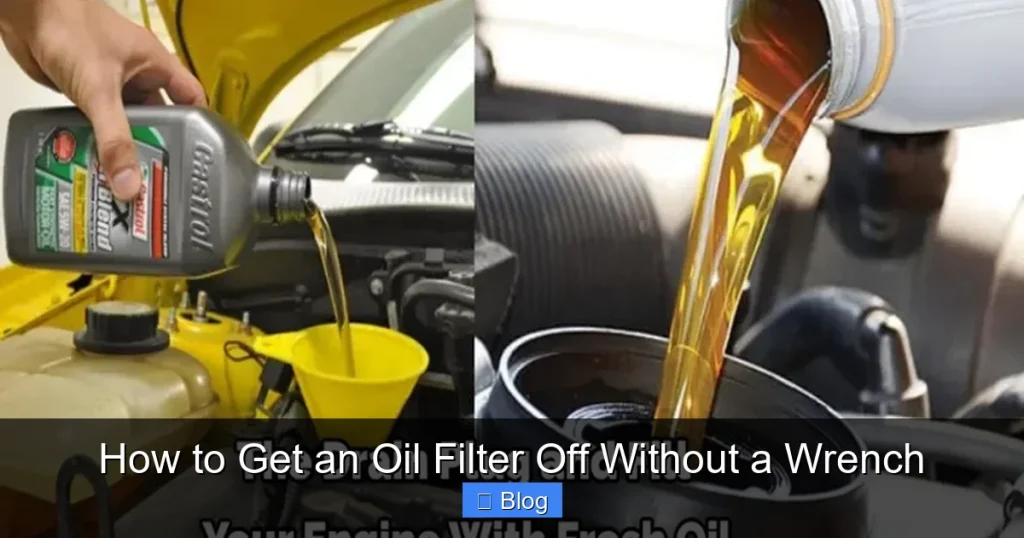
Struggling to remove a stubborn oil filter without a wrench? This guide covers practical, no-tool methods using common household items. You’ll learn safe, effective techniques to get the job done quickly and avoid damage.
If you don’t have a wrench, try loosening the oil filter by hand first. If it’s stuck, wrap a rubber glove, cloth, or sandpaper around the filter for better grip and turn counterclockwise. You can also use a belt, rope, or strong strap as a makeshift wrench. Tap the filter lightly to break the seal, but avoid puncturing or crushing it.
Key Takeaways
- Use a belt or strap for grip: A serpentine belt or sturdy strap wrapped around the filter provides leverage and torque.
- Try the rubber glove method: Thick gloves increase hand grip, letting you twist the filter off by hand.
- Use a screwdriver and hammer (carefully): A long screwdriver driven through the filter can create a handle for turning.
- Apply heat if stuck: Warm the engine block slightly to expand metal and loosen the filter seal.
- Prevent future issues: Always hand-tighten filters and use anti-seize on the gasket to avoid over-tightening.
- Work safely: Wear gloves and eye protection, and ensure the engine is cool to prevent burns.
- Know when to stop: If the filter is severely stuck, seek professional help to avoid engine damage.
Quick Answers to Common Questions
Can I use a regular belt to remove an oil filter?
Yes, a sturdy leather or fabric belt works well. Wrap it tightly around the filter and use it for leverage. Avoid thin or stretchy belts.
Is it safe to hit the oil filter with a hammer?
Only if you’re using a screwdriver to pierce it—never hit the filter directly. Direct impact can damage the engine or cause oil leaks.
What if the filter breaks while removing it?
If the filter collapses, use pliers to grip the edge and twist. Clean any debris and inspect the engine for damage before installing a new filter.
Can I reuse an old oil filter?
No. Oil filters are designed for single use. Reusing one can lead to poor filtration, engine damage, and oil leaks.
How tight should an oil filter be?
Hand-tighten until the gasket seats, then turn a quarter-turn more. Over-tightening can make removal difficult and damage components.
How to Get an Oil Filter Off Without a Wrench
Changing your car’s oil is a basic maintenance task that keeps your engine running smoothly. But what happens when you’re ready to replace the oil filter—and you realize you don’t have an oil filter wrench? Don’t panic. You can still remove the filter safely and effectively using everyday tools and a little ingenuity.
In this guide, you’ll learn several proven methods to get an oil filter off without a wrench. Whether you’re stranded in your driveway or just forgot your tools, these techniques use items you likely have at home. We’ll cover step-by-step instructions, safety tips, and troubleshooting advice so you can complete the job with confidence.
Why You Might Need to Remove an Oil Filter Without a Wrench

Visual guide about How to Get an Oil Filter Off Without a Wrench
Image source: ourhometools.com
Oil filter wrenches are designed to grip and turn filters, especially when they’re tight or hard to reach. But they’re not always on hand. You might be doing a quick oil change on the go, working in a tight space, or simply not own the right tool. In these cases, knowing alternative removal methods is a lifesaver.
Filters can become stuck due to over-tightening, heat expansion, or corrosion. Without the right tool, it’s easy to damage the filter or surrounding components. That’s why it’s important to use safe, controlled methods that protect your vehicle and your hands.
Essential Safety Tips Before You Begin
Visual guide about How to Get an Oil Filter Off Without a Wrench
Image source: toolsadvisers.com
Before attempting any oil filter removal, safety should be your top priority. Here’s what to keep in mind:
- Let the engine cool: Hot oil can cause severe burns. Wait at least 30 minutes after driving before starting.
- Wear protective gear: Use gloves to protect your hands and safety glasses to shield your eyes from oil splashes.
- Place a drain pan underneath: Oil will spill when you remove the filter. Position a pan or container to catch it.
- Work in a well-ventilated area: Engine oil fumes can be strong, especially in enclosed spaces.
- Know your filter location: Most filters are on the side or bottom of the engine. Consult your owner’s manual if unsure.
Method 1: The Rubber Glove and Hand Grip Technique
This is the simplest and safest method if the filter isn’t too tight. It relies on increasing your hand’s grip using friction.
What You’ll Need
- Heavy-duty rubber gloves (like dishwashing or mechanic gloves)
- Clean rag or paper towels
Step-by-Step Instructions
- Put on the rubber gloves to improve grip and protect your hands.
- Wipe the filter with a rag to remove excess oil and dirt.
- Grasp the filter firmly with both hands, positioning your thumbs on the side for leverage.
- Turn the filter counter-clockwise (lefty-loosey) with steady pressure.
- If it doesn’t budge, try rocking it gently back and forth while turning.
Tips for Success
- Use two pairs of gloves if one isn’t enough.
- Wrap a rubber band around the filter for extra grip.
- If your hands slip, dry them and the filter with a towel.
This method works best for filters that were hand-tightened during installation. If it’s stuck, move on to the next technique.
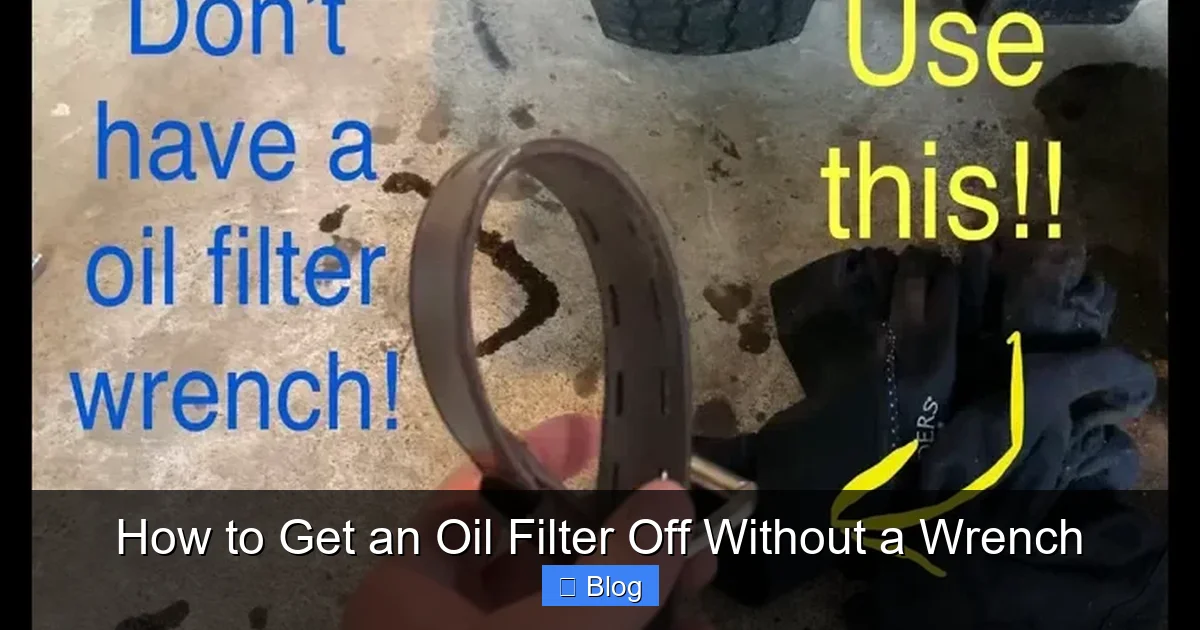
Method 2: Using a Belt or Strap for Leverage
A strong belt, strap, or even an old serpentine belt can act as a makeshift wrench. This method gives you more torque than hand strength alone.
What You’ll Need
- A sturdy belt, strap, or wide piece of fabric (at least 1 inch wide)
- A long screwdriver or pry bar (optional, for extra leverage)
Step-by-Step Instructions
- Wrap the belt tightly around the oil filter, ensuring it grips the ridges.
- Pull one end of the belt firmly in a counter-clockwise direction.
- If needed, insert a screwdriver or pry bar through the belt loop to increase leverage.
- Apply steady pressure while turning. Avoid jerking motions to prevent slipping.
Tips for Success
- Use a leather belt for maximum grip and durability.
- If the belt slips, wrap it twice around the filter.
- Have a helper hold the engine steady if the filter is in a tight space.
This method is especially useful for filters in hard-to-reach areas where a wrench won’t fit.
Method 3: The Screwdriver and Hammer Method (Last Resort)
This technique involves driving a screwdriver through the filter to create a handle. It’s effective but should be used carefully to avoid damaging the engine or filter housing.
What You’ll Need
- A long, sturdy screwdriver (preferably flathead)
- A hammer
- Safety glasses and gloves
Step-by-Step Instructions
- Put on safety glasses and gloves.
- Position the screwdriver tip against the side of the filter, near the base.
- Tap the screwdriver gently with the hammer to pierce the metal casing.
- Once the screwdriver is inserted, use it as a lever to turn the filter counter-clockwise.
- Apply steady pressure while rocking the screwdriver back and forth.
Important Warnings
- Do not hit the screwdriver too hard—this can damage the engine block or oil pan.
- Only use this method if the filter is severely stuck and other options have failed.
- Be prepared for oil to spray when the filter breaks free.
After removal, inspect the area for damage. Clean any metal shavings and replace the filter promptly.
Method 4: Using Heat to Loosen a Stuck Filter
Heat can expand metal slightly, breaking the seal between the filter and engine. This is useful for filters that have been on for a long time or were over-tightened.
What You’ll Need
- A heat gun or hair dryer
- Gloves and eye protection
Step-by-Step Instructions
- Ensure the engine is cool to avoid burns.
- Use the heat gun or hair dryer to warm the base of the filter and surrounding engine area.
- Heat for 30–60 seconds, focusing on the metal parts—not the filter body.
- Let it sit for a minute, then try removing the filter by hand or with a belt.
Tips for Success
- Do not use an open flame—this is a fire hazard.
- Heat evenly to avoid warping components.
- Combine this method with increased grip (gloves or belt) for best results.
Method 5: The Strap Wrench Alternative (DIY Version)
If you don’t have a commercial strap wrench, you can make one using common materials.
What You’ll Need
- A length of strong webbing, rope, or chain
- A long metal rod or screwdriver
Step-by-Step Instructions
- Wrap the webbing or chain tightly around the filter.
- Thread the metal rod through the loop at the end.
- Use the rod as a handle to turn the filter counter-clockwise.
- Apply steady pressure while maintaining a firm grip.
This DIY version mimics a professional strap wrench and works well for most standard filters.
Troubleshooting Common Problems
Even with the right method, you might run into issues. Here’s how to handle them:
Filter Won’t Budge
- Try combining methods—use heat, then a belt, then hand pressure.
- Tap the filter gently with a rubber mallet to break the seal.
- Never use excessive force—this can crack the oil pan.
Filter Is Leaking After Removal
- This is normal. Wipe the engine surface clean before installing the new filter.
- Ensure the old gasket isn’t stuck to the engine—it can cause leaks.
Filter Is Damaged During Removal
- If the filter collapses, use needle-nose pliers to grip the edge and twist.
- Clean any debris from the engine to prevent contamination.
Can’t Reach the Filter
- Use a flexible extension or a long-handled tool for leverage.
- Consider removing nearby components if safe and necessary.
How to Prevent Stuck Filters in the Future
The best way to avoid this problem is proper installation:
- Hand-tighten only: Screw the new filter on by hand until it seats, then give it a quarter-turn more.
- Use anti-seize compound: Apply a small amount to the gasket to prevent sticking.
- Check the owner’s manual: Some manufacturers specify torque values—don’t exceed them.
- Use the right filter: Ensure it’s the correct size and type for your vehicle.
Conclusion
Removing an oil filter without a wrench is entirely possible with the right approach. Whether you use rubber gloves, a belt, heat, or a screwdriver, these methods can save you time and money. Always prioritize safety, work carefully, and know when to seek professional help.
By following this guide, you’ll be prepared for any oil change—even when your tools aren’t. Keep these techniques in mind, and you’ll never be stuck again when it’s time to change your oil filter.

Sagor Jahan is the founder and author of Automopromo.com, dedicated to delivering insightful tips, reviews, and updates in the automotive and promotional industry. With a passion for innovation and clear guidance, Sagor helps readers make informed decisions and stay ahead in the ever-evolving automotive world.