
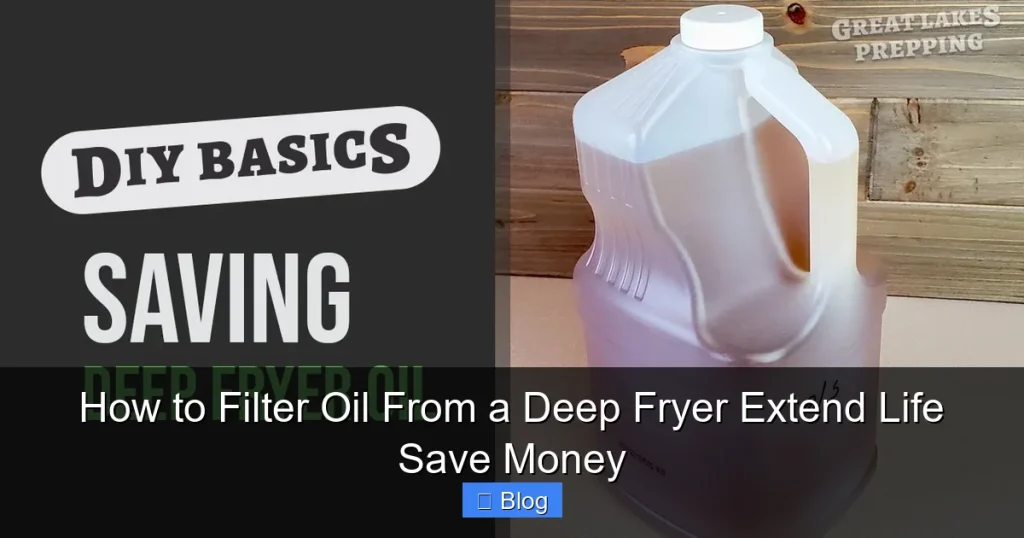
Learning to filter oil from a deep fryer is a game-changer for any home cook. This guide provides easy-to-follow steps to properly strain and store your cooking oil, significantly extending its usable life and saving you money. Regular oil filtration not only enhances the taste of your fried foods but also contributes to better overall fryer hygiene, ensuring every bite is delicious.
Turn off the deep fryer and let the oil cool slightly until warm. Place a fine mesh strainer or coffee filter over a clean container. Carefully pour the oil through the filter to remove food particles. Seal and store the filtered oil in a cool, dark place for reuse.
How to Filter Oil From a Deep Fryer: Extend Life, Save Money
Deep frying is a wonderful way to achieve crispy, delicious results at home. But let’s be honest, replacing deep fryer oil frequently can get expensive. The good news is, you don’t have to toss out your oil after just one use! Learning how to filter oil from a deep fryer can significantly extend its life, save you money, and ensure your food always tastes fresh and fantastic.
This comprehensive guide will walk you through everything you need to know about filtering deep fryer oil. We’ll cover essential safety tips, a step-by-step filtration process, advanced techniques, and smart storage solutions. By the end, you’ll be a pro at maintaining your deep fryer oil, turning a messy chore into a simple routine that pays off.
Key Takeaways
- Safety First: Always allow deep fryer oil to cool completely before handling to prevent burns and ensure a safe filtration process.
- Gather Your Tools: You’ll need basic items like a fine-mesh sieve, cheesecloth or coffee filters, a funnel, and a clean, airtight container for proper deep fryer oil filtration.
- Two-Stage Filtration is Best: Start with a coarse strain to remove larger particles, then follow with a finer filter (like cheesecloth) for optimal clarity when you filter oil.
- Clean Your Fryer: After removing the oil, thoroughly clean your deep fryer to remove any residual sediment, which can contaminate fresh or filtered oil.
- Proper Storage Matters: Store filtered oil in an airtight container in a cool, dark place to prevent oxidation and extend its freshness.
- Know When to Discard: Even with filtering, oil won’t last forever. Look for dark color, strong odor, excessive foaming, or a burnt taste as signs it’s time to dispose of it.
- Save Money & Taste: Regularly filtering oil from your deep fryer dramatically reduces waste, saves on grocery bills, and ensures your fried foods always taste their best.
Quick Answers to Common Questions
What’s the best time to filter my oil?
Always filter your deep fryer oil after it has completely cooled down. This ensures safety and allows sediment to settle, making the filtration process more effective and easier to manage.
Can I use coffee filters alone to filter deep fryer oil?
While coffee filters offer excellent fine filtration, they can be quite slow. It’s best to pre-strain with a fine-mesh sieve first to remove large particles, then use coffee filters for extra clarity and efficiency.
How often should I filter my deep fryer oil?
The frequency depends on how often you use your deep fryer and what you’re frying. For most home users, filtering after every 1-3 uses is a good practice to maintain oil quality and extend its life.
What type of container is best for storing filtered oil?
An airtight container made of glass (like a mason jar) or heavy-duty plastic is ideal. This prevents oxidation and keeps contaminants out. Always store it in a cool, dark place for optimal preservation.
How do I know when to discard the oil entirely?
Discard oil if it becomes very dark, has a strong rancid odor, foams excessively even at correct temperatures, or gives food an unpleasant, burnt taste. Filtering can only do so much to reverse severe degradation!
Why Filter Your Deep Fryer Oil?
Filtering your cooking oil isn’t just about being thrifty; it’s about quality and consistency. When you fry food, tiny particles, crumbs, and burnt bits break off and remain in the oil. These impurities can quickly degrade the oil’s quality, lower its smoke point, and impart off-flavors to your next batch of food. Nobody wants fishy-tasting fries!
Regular deep fryer oil filtration helps you:
- Save Money: Oil is a significant recurring cost for deep frying. Filtering extends its usability, reducing how often you need to buy new oil.
- Improve Food Taste: Clean oil means cleaner flavors. Your food will taste fresher, without the burnt or stale undertones from old particles.
- Increase Oil Lifespan: Removing food debris slows down the breakdown of the oil, allowing it to maintain its quality for more cooking sessions.
- Maintain Fryer Hygiene: A cleaner oil reservoir means a cleaner deep fryer, making the overall cleaning process easier in the long run.
Ready to transform your deep frying experience? Let’s dive into the essential steps for filtering oil from a deep fryer.
When is the Best Time to Filter Your Oil?
The general rule of thumb is to filter your deep fryer oil after every 1 to 3 uses, depending on what you’re frying.
- After every use: If you’ve fried heavily breaded items, strong-flavored foods (like fish), or anything that leaves a lot of crumbs.
- Every 2-3 uses: For lighter frying, such as thinly sliced vegetables or lightly battered items.
You’ll also know it’s time to filter if you notice:
- Visible food particles floating in the oil.
- The oil has become darker than usual.
- Excessive foaming while frying, even at the correct temperature.
- A slightly burnt or stale odor emanating from the oil.
Filtering your oil regularly prevents these issues from escalating.
What You’ll Need for Deep Fryer Oil Filtration
Before you start the deep fryer oil filtration process, gather these essential items:
- Your Deep Fryer: Obviously!
- Large Heat-Resistant Container: A stockpot or large mixing bowl to temporarily hold the oil.
- Fine-Mesh Sieve or Strainer: For the initial coarse filtration.
- Cheesecloth: Several layers for finer filtration, or clean coffee filters.
- Funnel: To guide the oil into your storage container without spills.
- Clean, Airtight Storage Container(s): Glass jars (like mason jars) or heavy-duty plastic containers work best. Ensure they are completely dry.
- Heat-Resistant Gloves: For safety when handling potentially warm oil or hot fryer components.
- Spatula or Ladle: To scrape out sediment from the bottom of the fryer.
- Deep Fryer Cleaning Supplies: Dish soap, sponges, paper towels, and maybe a specialized fryer brush.
Having everything ready makes the process smooth and efficient.
Safety First! Important Precautions When Filtering Oil
Your safety is paramount. Handling hot or even warm oil can be very dangerous. Please pay close attention to these precautions:
- Cool Down Completely: This is the most crucial rule. NEVER attempt to filter oil while it is hot or even warm. Allow it to cool down to room temperature, which can take several hours, or even overnight. Trying to filter hot oil risks severe burns and can damage your equipment.
- Use Protective Gear: Wear heat-resistant gloves, even if the oil feels cool, especially if your fryer basket or parts are still warm. An apron can also protect your clothing.
- Stable Work Surface: Ensure your deep fryer and all containers are on a stable, flat surface to prevent spills.
- Avoid Water: Water reacts violently with hot oil. Make sure all your containers and equipment are completely dry before they come into contact with oil.
- Work in a Well-Ventilated Area: While filtering, there are typically no fumes if the oil is cool, but it’s always good practice for general kitchen safety.
Step-by-Step Guide to Filtering Deep Fryer Oil
Now that you have your tools and understand the safety measures, let’s get into the practical steps of how to filter oil from a deep fryer.
Step 1: Allow the Oil to Cool Completely
As mentioned, this is non-negotiable. Turn off your deep fryer and unplug it. Let the oil sit undisturbed for several hours, or even overnight, until it reaches room temperature. Cooling time depends on the volume of oil and ambient temperature. When you can comfortably touch the oil container without discomfort, it’s cool enough. Patience here prevents accidents.
Step 2: Gather Your Filtration Equipment
Lay out your fine-mesh sieve, cheesecloth (folded into 2-4 layers), funnel, and your clean storage container. Make sure everything is within easy reach and perfectly dry. This preparation ensures a smooth deep fryer oil filtration process.
Step 3: Prepare Your Storage Container
Place your clean, dry storage container on a stable surface. Insert the funnel securely into the mouth of the container. Drape the folded cheesecloth inside the funnel, allowing it to hang over the edges slightly. The cheesecloth acts as the fine filter, catching particles that the sieve might miss. If using coffee filters, place one or two inside the funnel.
Step 4: Start the Initial Strain (Coarse Filtration)
Carefully remove the fryer basket. If your deep fryer has a drain spout, open it slowly and let the oil flow into your heat-resistant holding pot, placed below the spout. If your fryer doesn’t have a spout, carefully tilt the deep fryer or use a clean ladle to scoop the oil out into your holding pot. Work slowly to avoid splashes.

Visual guide about How to Filter Oil From a Deep Fryer Extend Life Save Money
Image source: i.ytimg.com
Visual guide about How to Filter Oil From a Deep Fryer Extend Life Save Money
Image source: images-na.ssl-images-amazon.com
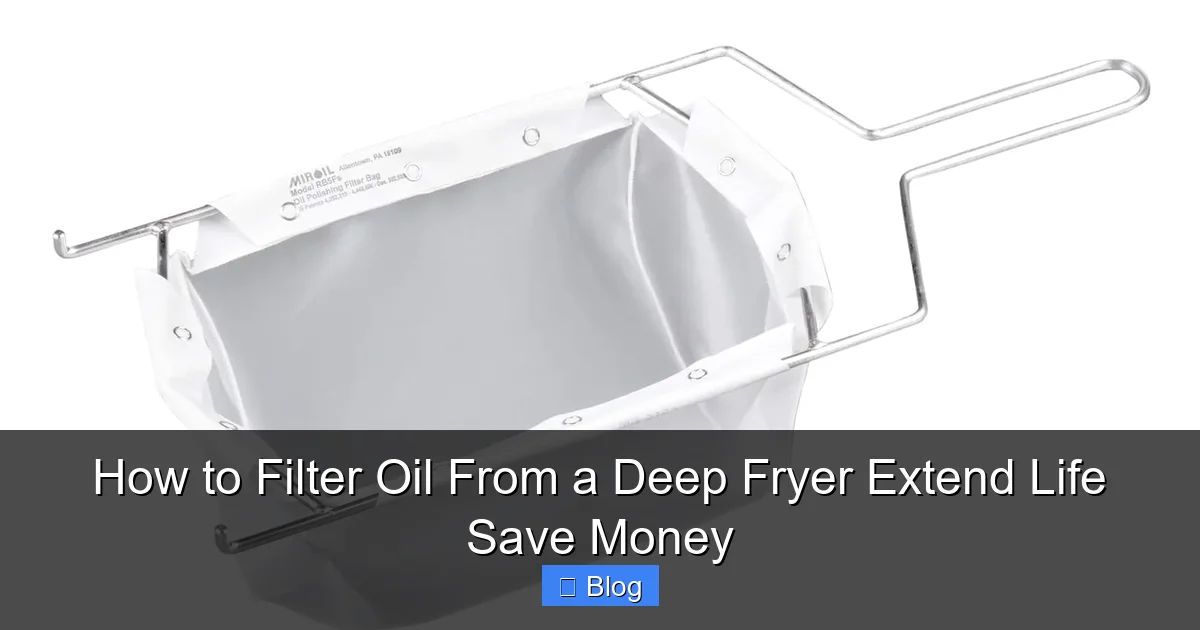
As you pour or ladle the oil, pass it through the fine-mesh sieve placed over the holding pot. This first pass will catch larger food particles, crumbs, and any debris that settled on the surface or was suspended in the oil. This step is crucial before the finer deep fryer oil filtration.
Step 5: Perform the Fine Filtration
Once all the oil has been strained into the holding pot using the sieve, it’s time for the finer filtration.
Now, carefully pour the oil from your holding pot, through the funnel lined with cheesecloth (or coffee filters), into your prepared airtight storage container. Pour slowly to prevent overflow, especially if using coffee filters, as they filter more slowly than cheesecloth.
You’ll notice the cheesecloth or coffee filter catching even the smallest impurities. If the filter becomes saturated with debris and the flow slows significantly, replace it with a fresh piece of cheesecloth or a new coffee filter. This attention to detail will ensure your filtered oil is as clean as possible.
Repeat this process until all the oil is transferred to your storage container. For extremely clean oil, you can even repeat the fine filtration step with fresh cheesecloth.
Step 6: Clean Your Deep Fryer
After you’ve removed all the oil, don’t just put your deep fryer away! There will likely be a layer of sediment and burnt bits at the bottom. This residue can contaminate fresh or newly filtered oil if not removed.
Use a spatula or a soft brush to scrape out any stubborn bits. Then, thoroughly clean the deep fryer according to the manufacturer’s instructions. Usually, this involves using warm, soapy water, rinsing well, and drying completely. Make sure every part, especially the heating element area, is sparkling clean and *completely dry* before putting oil back in or storing it.
Step 7: Store the Filtered Oil Properly
Proper storage is key to maximizing the life of your filtered deep fryer oil.
- Airtight Container: Seal your container tightly. Exposure to air is a primary cause of oil degradation.
- Cool, Dark Place: Store the oil in a cool, dark pantry or cupboard, away from direct sunlight or heat sources. Some people even store their filtered oil in the refrigerator, which can extend its life further, but it will solidify and need to come to room temperature before reuse.
- Labeling: It’s a good idea to label the container with the date you filtered the oil and what you last fried in it. This helps you keep track of its age and prevents flavor cross-contamination.
Step 8: Re-evaluate and Reuse
Before each subsequent use, visually inspect your filtered oil. Check its color, clarity, and smell. If it looks very dark, smells rancid, or has a strong, unpleasant odor, it’s time to discard it, even if it has been filtered. Filtering oil from a deep fryer is effective, but it won’t make oil last indefinitely.
Advanced Filtration Techniques (Optional but Recommended)
While cheesecloth and a sieve are usually sufficient, there are ways to achieve even better deep fryer oil filtration.
Using Coffee Filters for Extra Clarity
Coffee filters provide a very fine filtration. If you want exceptionally clear oil, consider these tips:
- Pre-strain First: Always do the coarse strain with a fine-mesh sieve first to remove large particles. Coffee filters clog easily.
- Use a Drip Coffee Funnel: These are designed to hold coffee filters and can make the process easier.
- Be Patient: Coffee filter filtration is slow. Set it up and let it drip, possibly even overnight, for the best results.
Consider a Dedicated Oil Filtration Machine (for heavy users)
If you deep fry very frequently, or run a small catering business from home, a dedicated oil filtration machine might be a worthwhile investment. These machines often use pumps and specialized filters to quickly and efficiently filter large volumes of oil, providing superior clarity and extending oil life significantly.
Tips for Extending Oil Life Even Further
Beyond filtering, a few habits can help prolong the life of your deep fryer oil:
- Don’t Overload the Fryer: Frying too much food at once lowers the oil temperature, leading to soggy food and excessive oil absorption, which degrades the oil faster.
- Maintain Consistent Temperature: Using a proper thermometer to keep the oil at the recommended frying temperature prevents overheating (which breaks down oil quickly) and underheating.
- Avoid Salting Food Directly Over the Fryer: Salt accelerates the breakdown of oil. Salt your food after it has been removed from the fryer.
- Skim Regularly: During frying, use a spider strainer or slotted spoon to skim out any floating food particles. This reduces the amount of debris that settles and degrades the oil.
- Store Oil Correctly: As discussed, airtight and in a cool, dark place.
- Know When to Say Goodbye: Even the best deep fryer oil filtration can’t save oil indefinitely. When it’s very dark, smells off, or foams excessively, it’s time to properly dispose of it and start fresh.
Troubleshooting Common Filtration Issues
Sometimes, filtering oil from a deep fryer might present a small challenge. Here are some common issues and their solutions:
Oil is still cloudy after filtering.
This usually means your filtration method wasn’t fine enough. Try using more layers of cheesecloth (4-6 layers) or switch to coffee filters for the final pass. Ensure you’re pouring slowly to give the filters time to work effectively.
Filtration is too slow.
If the oil is barely dripping, your filter is likely clogged. This happens frequently with coffee filters or when too many fine particles are present. Replace your cheesecloth or coffee filter with a fresh one. Ensure you perform a good initial coarse strain to remove large debris before the fine filtration.
Can’t get all the debris out of the fryer.
Some stubborn bits might stick to the bottom or sides of the deep fryer. Use a sturdy silicone spatula or a dedicated fryer brush to scrape them out. A soak with hot, soapy water (after the oil is removed and the fryer has cooled) can also help loosen baked-on residue before cleaning.
Conclusion
Learning how to filter oil from a deep fryer is a simple yet powerful skill that pays dividends. Not only will you dramatically reduce your cooking expenses by extending the life of your oil, but you’ll also ensure every deep-fried dish tastes its absolute best. By following these steps – cooling the oil, gathering your tools, performing a two-stage filtration, cleaning your fryer, and storing the oil properly – you’ll become an expert in oil management. Embrace this practice, and enjoy clearer oil, tastier food, and a fatter wallet. Happy frying!

Sagor Jahan is the founder and author of Automopromo.com, dedicated to delivering insightful tips, reviews, and updates in the automotive and promotional industry. With a passion for innovation and clear guidance, Sagor helps readers make informed decisions and stay ahead in the ever-evolving automotive world.

