

Changing your oil filter every oil change is a critical part of vehicle maintenance. While it may seem like an extra step, skipping it can lead to engine damage, reduced performance, and costly repairs. This guide explains why it matters and how to do it right.
Key Takeaways
- Always change the oil filter with every oil change: Old filters trap contaminants and lose efficiency over time, reducing engine protection.
- Dirty filters restrict oil flow: A clogged filter forces the bypass valve to open, allowing unfiltered oil to circulate.
- Follow your vehicle’s maintenance schedule: Most manufacturers recommend filter replacement at every oil change, typically every 3,000 to 7,500 miles.
- Use the correct filter type: OEM or high-quality aftermarket filters ensure proper fit and filtration.
- Proper installation prevents leaks: Lubricate the gasket, hand-tighten only, and check for leaks after starting the engine.
- DIY saves money: Changing the filter yourself is simple and costs less than paying a shop.
- Neglecting the filter risks engine damage: Over time, sludge and debris buildup can cause wear, overheating, and failure.
Quick Answers to Common Questions
Tip/Question?
Can I change just the oil and skip the filter to save time?
No—this reduces engine protection and can lead to contamination. Always replace both.
Tip/Question?
How tight should I install the new oil filter?
Hand-tighten until the gasket seats, then turn ¾ to 1 full turn. Over-tightening causes leaks.
Tip/Question?
What if I can’t reach the oil filter?
Use ramps, jack stands, or a creeper. Some filters are in tight spaces—consider a filter with a built-in wrench feature.
Tip/Question?
Can I use any oil filter brand?
Use OEM or reputable aftermarket brands. Cheap filters may fail early or leak.
Tip/Question?
How do I know if my filter is clogged?
Symptoms include low oil pressure, engine noise, or poor performance. Regular changes prevent this.
Do You Have to Change Oil Filter Every Oil Change?
If you’re wondering whether you really need to change your oil filter every time you change your oil, the short answer is: yes, you absolutely should. While it might seem like an unnecessary extra step—especially if the old filter looks clean—skipping it can lead to serious engine problems down the road.
In this guide, we’ll walk you through why changing the oil filter is non-negotiable, how to do it correctly, and what could happen if you ignore it. Whether you’re a DIY enthusiast or just trying to understand your car better, this step-by-step guide will help you keep your engine running smoothly and efficiently.
Why the Oil Filter Matters

Visual guide about Do You Have to Change Oil Filter Every Oil Change
Image source: i.ytimg.com
Your car’s engine relies on clean oil to lubricate moving parts, reduce friction, and prevent overheating. But over time, oil picks up dirt, metal particles, sludge, and other contaminants. That’s where the oil filter comes in—it traps these impurities so they don’t circulate through the engine.
Think of the oil filter like a coffee filter: it catches the grounds so your coffee stays clean. But if you reuse a coffee filter, it clogs, tears, or lets grounds through. The same thing happens with an oil filter. After several oil changes, the filter becomes saturated and can no longer trap debris effectively.
What Happens If You Don’t Change the Filter?
If you skip changing the oil filter, several problems can occur:
- Reduced oil flow: A clogged filter restricts oil circulation, leading to poor lubrication.
- Engine wear: Metal parts grind against each other without proper lubrication, causing premature wear.
- Overheating: Inadequate oil flow means heat isn’t dissipated properly.
- Bypass valve activation: Most filters have a bypass valve that opens when the filter is clogged. This allows unfiltered oil—full of contaminants—to enter the engine.
- Sludge buildup: Old, dirty oil and a dirty filter contribute to sludge, which can block oil passages.
In short, changing just the oil without the filter is like cleaning your kitchen but leaving the trash can full. The new oil will quickly get dirty again.
When Should You Change the Oil Filter?
Visual guide about Do You Have to Change Oil Filter Every Oil Change
Image source: vehicleic.com
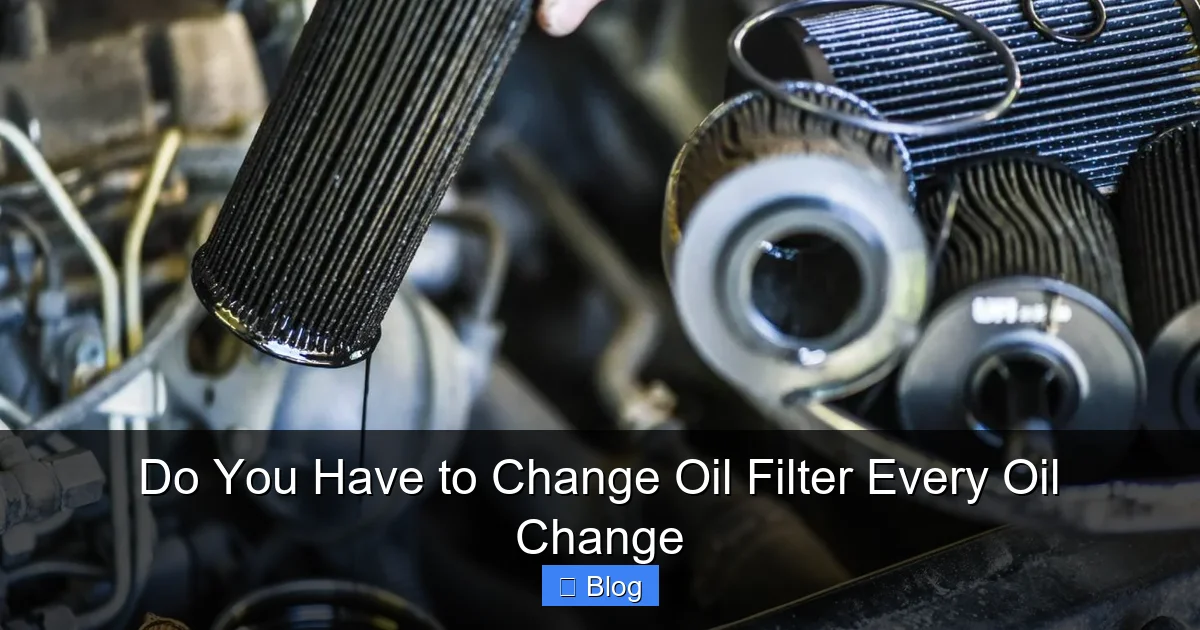
Most vehicle manufacturers recommend changing the oil filter every time you change the oil. This is true whether you follow the traditional 3,000-mile rule or a more modern 5,000- to 7,500-mile interval.
Check Your Owner’s Manual
Always refer to your vehicle’s owner’s manual for the recommended maintenance schedule. Some high-performance or luxury vehicles may even suggest more frequent filter changes, especially if you drive in harsh conditions.
Driving Conditions Matter
If you frequently drive in any of the following conditions, you may need to change your oil and filter more often:
- Stop-and-go city traffic
- Extreme heat or cold
- Dusty or unpaved roads
- Towing heavy loads
- Short trips (engine doesn’t reach full operating temperature)
These conditions cause oil to degrade faster and filters to clog sooner.
How to Change Your Oil Filter: Step-by-Step
Changing your oil filter is easier than you might think. With a few basic tools and about 15–20 minutes, you can do it yourself.
Tools and Supplies You’ll Need
- New oil filter (correct model for your vehicle)
- Engine oil (check manual for type and amount)
- Oil filter wrench (if the filter is tight)
- Drain pan
- Funnel
- Gloves and safety glasses
- Rags or paper towels
- Jack and jack stands or ramps (if needed)
Step 1: Prepare Your Vehicle
Park on a level surface and engage the parking brake. If your car is low to the ground, use a jack and jack stands or drive onto ramps for better access. Let the engine cool slightly—warm oil drains faster, but hot oil can burn you.
Step 2: Drain the Old Oil
Locate the oil drain plug underneath the engine (usually on the oil pan). Place the drain pan beneath it. Use a wrench to loosen the plug, then remove it by hand. Let the oil drain completely—this may take 5–10 minutes.
Step 3: Remove the Old Oil Filter
While the oil is draining, locate the oil filter. It’s usually a cylindrical canister near the engine block. Place the drain pan underneath it to catch any dripping oil.
Use an oil filter wrench if it’s tight. Turn it counterclockwise to loosen. Once loose, unscrew it by hand. Be careful—it will still contain oil.
Step 4: Prepare the New Filter
Before installing the new filter, check the old one for signs of damage or excessive sludge. Wipe the filter mounting surface on the engine with a clean rag to remove any dirt or old gasket material.
Apply a thin layer of fresh oil to the rubber gasket on the new filter. This helps create a better seal and prevents the gasket from sticking or tearing during future changes.
Step 5: Install the New Filter
Screw the new filter into place by hand. Turn it clockwise until the gasket makes contact with the engine surface. Then, give it an additional ¾ to 1 full turn—no more. Over-tightening can damage the gasket or make future removal difficult.
Step 6: Replace the Drain Plug and Add New Oil
Once the oil has fully drained, clean the drain plug and reinstall it. Tighten it securely, but don’t over-tighten.
Use a funnel to pour the recommended amount and type of oil into the engine through the oil filler cap (usually on top of the engine). Check the dipstick to ensure the oil level is correct.
Step 7: Start the Engine and Check for Leaks
Start the engine and let it run for 10–15 seconds. This allows oil to circulate and fill the new filter. Turn off the engine and wait a minute, then check under the car for leaks around the drain plug and filter.
Top off the oil if needed, and reset the oil change reminder light if your vehicle has one.
Troubleshooting Common Issues
Oil Leak After Changing the Filter
If you notice oil leaking from the filter area, it’s usually because:
- The old gasket was left on the engine and the new one was installed over it (double gasket).
- The filter wasn’t tightened properly.
- The filter is the wrong size or type.
Turn off the engine immediately. Let it cool, then remove the filter and check for a double gasket. Clean the surface and reinstall correctly.
Filter Won’t Come Off
If the old filter is stuck, use an oil filter wrench or a strap wrench for extra grip. In extreme cases, you can puncture the filter with a screwdriver and use it as a lever—but be careful not to damage the engine.
Wrong Filter Installed
Always double-check the part number before installing. Using the wrong filter can lead to poor fit, leaks, or inadequate filtration.
Can You Reuse or Clean an Oil Filter?
Some people wonder if they can clean and reuse an oil filter to save money. While certain heavy-duty or racing filters are designed for cleaning, most standard automotive filters are not reusable.
Cleaning a disposable filter is ineffective and risky. You can’t remove all the trapped contaminants, and reusing it compromises engine protection. Always replace it with a new, high-quality filter.
Conclusion
Changing your oil filter every oil change isn’t just a recommendation—it’s a necessity for maintaining a healthy engine. Skipping this step undermines the entire purpose of an oil change, allowing contaminants to circulate and cause damage over time.
By following the steps in this guide, you can easily replace your oil filter at home, save money, and extend the life of your vehicle. Remember: clean oil and a clean filter work together to protect your engine. Don’t neglect one for the other.
Investing a few extra minutes and a small amount of money in a new filter is a small price to pay for peace of mind and long-term reliability.

Sagor Jahan is the founder and author of Automopromo.com, dedicated to delivering insightful tips, reviews, and updates in the automotive and promotional industry. With a passion for innovation and clear guidance, Sagor helps readers make informed decisions and stay ahead in the ever-evolving automotive world.

