
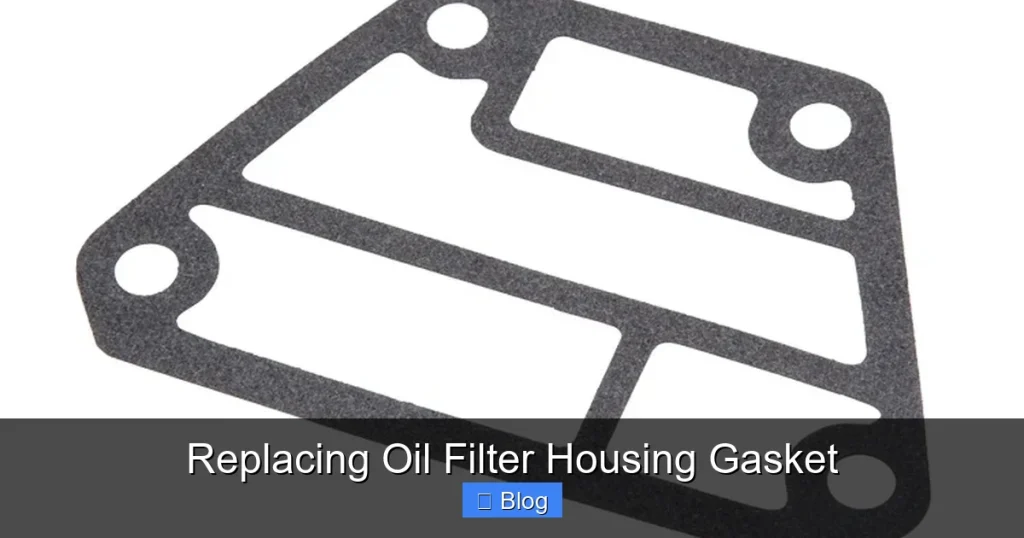
Don’t ignore that oil leak! A failing oil filter housing gasket can lead to significant engine issues and costly repairs if left unaddressed. This comprehensive guide explains why these crucial gaskets fail, how to spot the common symptoms, and provides a thorough, step-by-step walkthrough for replacing oil filter housing gasket yourself. By following these instructions, you can save money, prevent future leaks, and ensure your engine continues to run smoothly and reliably.
Replacing Oil Filter Housing Gasket
Have you ever noticed that tell-tale puddle of dark fluid under your car? Or perhaps you’ve opened your hood only to find a grimy, oily mess coating parts of your engine? For many vehicle owners, an oil leak is a frustrating and all-too-common problem. While there are numerous potential sources for an oil leak, one of the most frequent culprits, especially in certain makes and models, is a failing oil filter housing gasket (OFHG).
The oil filter housing gasket is a small but mighty component. It acts as a seal, preventing oil (and sometimes coolant) from escaping where the oil filter housing attaches to your engine block. When this gasket degrades, it can lead to messy leaks, potential damage to other engine components, and even serious engine issues if left unaddressed. The good news? For many vehicles, replacing this gasket is a very achievable DIY project, saving you a substantial amount in labor costs. In this comprehensive guide, we’ll walk you through everything you need to know about replacing oil filter housing gasket, from understanding why it fails to a detailed step-by-step process.
Key Takeaways
- Critical Component: The oil filter housing gasket creates a vital seal between the oil filter housing and the engine block, preventing the leakage of oil and sometimes coolant.
- Common Failure: These gaskets frequently degrade over time due to constant exposure to high engine heat, pressure, and various fluids, leading to hardening, cracking, and eventual leaks.
- Key Symptoms to Watch For: Be alert for visible oil leaks dripping from the engine, oil contamination in your coolant (appearing milky or sludgy), or coolant contamination in your oil.
- DIY Feasibility: While requiring moderate mechanical skills and the right tools, replacing the oil filter housing gasket is a manageable DIY task that can save you significant labor costs.
- Preparation is Crucial: Before you begin, gather all necessary tools, replacement fluids (oil and coolant), and ensure you have a high-quality OEM or reputable aftermarket gasket.
- Thorough Cleaning is a Must: Meticulously cleaning all mating surfaces to remove old gasket material and debris is absolutely essential for achieving a perfect, leak-free seal with the new gasket.
- Torque Specifications Matter: Always use a torque wrench and adhere strictly to the manufacturer’s specified torque settings for all bolts to prevent under-tightening (leaks) or over-tightening (damage).
Quick Answers to Common Questions
How long does replacing an oil filter housing gasket take?
The time required for replacing an oil filter housing gasket can vary from 2 to 6 hours for a DIYer, depending on vehicle specific access and your experience level. A professional mechanic might complete it faster.
What’s the biggest risk if I don’t replace a leaking OFHG?
The biggest risk is engine damage due to oil starvation or coolant contamination. A severe leak can lead to critically low oil levels, while mixing fluids can compromise lubrication and cooling, resulting in costly internal engine failures.
Do I need to drain oil and coolant when replacing the OFHG?
Yes, it is highly recommended to drain both engine oil and coolant. You’ll need to remove coolant lines to the housing, and draining the oil prevents a large mess and ensures you start with fresh oil.
Can I reuse the old gasket if it looks okay?
No, never reuse an old gasket, even if it appears to be in good condition. Gaskets are designed for single-use and have already been compressed and degraded by heat and fluids, making them unreliable for sealing again.
What tools are absolutely essential for this job?
Essential tools include a socket wrench set with extensions, a torque wrench for proper bolt tightening, drain pans for fluids, a non-metallic scraper for cleaning surfaces, and the new gasket itself.
📑 Table of Contents
Why the Oil Filter Housing Gasket Fails
Understanding *why* a part fails is the first step in preventative maintenance and effective repair. The oil filter housing gasket lives in a particularly harsh environment, constantly exposed to extreme conditions that contribute to its eventual breakdown.
Age and Heat Exposure
Your engine generates a tremendous amount of heat. The oil filter housing, and by extension its gasket, is right in the thick of it. Over time, the continuous cycles of heating and cooling cause the gasket material to harden. What was once a flexible, pliable seal becomes brittle and prone to cracking. This hardening reduces its ability to conform to the mating surfaces, allowing oil to seep past. Think of a rubber band left in the sun – it eventually loses its elasticity and cracks.
Material Degradation
Most oil filter housing gaskets are made from materials like rubber, silicone, or a composite. While designed to withstand oil and heat, these materials are not impervious to degradation. The chemicals within engine oil and coolant can slowly break down the gasket’s composition. This chemical attack, combined with thermal cycling, accelerates the aging process, leading to a loss of sealing integrity. This is a common factor when you’re faced with replacing oil filter housing gasket.
Over-tightening or Improper Installation
Believe it or not, sometimes human error during previous maintenance can contribute to premature gasket failure. If the oil filter housing bolts were over-tightened during a past repair, it could compress the gasket excessively, causing it to “squish out” or crack internally. Conversely, under-tightening could mean the gasket never formed a proper seal to begin with, leading to early leaks. Using the wrong type of gasket or failing to properly clean the mating surfaces during an oil filter change or other service can also compromise the seal.
Symptoms of a Failing OFHG
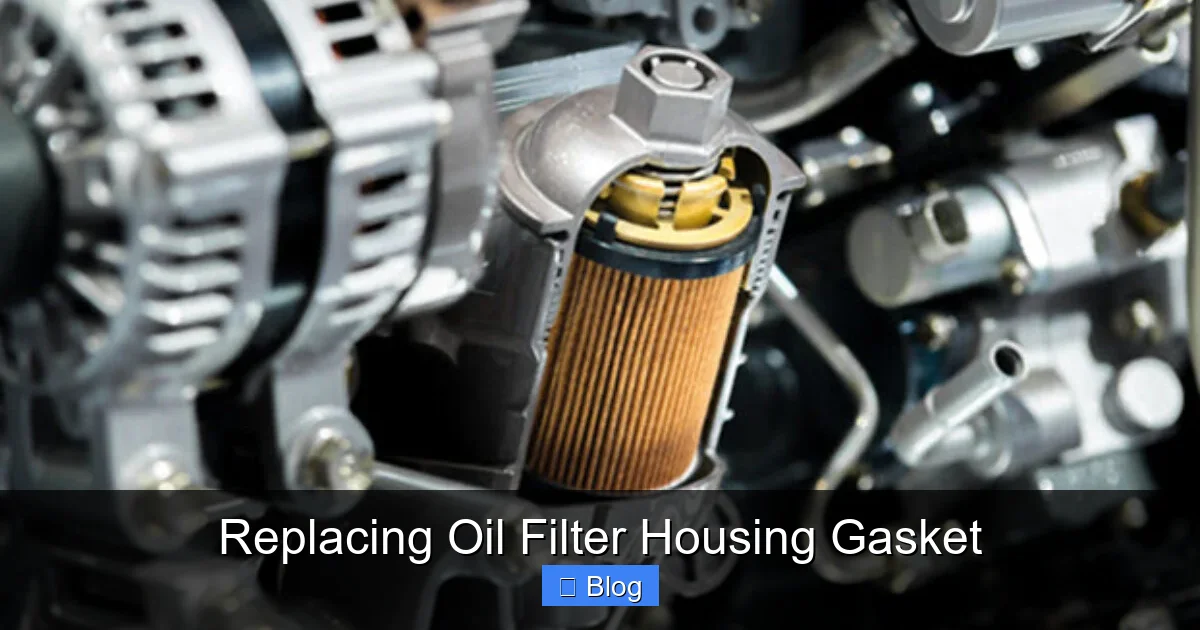
Visual guide about Replacing Oil Filter Housing Gasket
Image source: ultimatebimmerservice.com
Identifying the symptoms early can save you from more significant problems down the road. A leaking oil filter housing gasket often gives clear warning signs that it’s time for replacement.
Visible Oil Leaks
This is the most common and obvious symptom. You might notice dark oil stains or drips on your driveway, especially beneath the front or passenger side of the engine. The leak often appears to originate from the area around the oil filter housing itself. Sometimes, the oil can drip onto the serpentine belt, causing it to squeal loudly, especially when the engine is cold. The oily residue can also coat other engine components, making it difficult to pinpoint the exact source without a closer inspection. If you see persistent oil around the oil filter area, it’s a strong indicator that replacing oil filter housing gasket is necessary.
Coolant Contamination
In many vehicle designs, the oil filter housing also acts as a cooler, circulating engine coolant through passages to regulate oil temperature. When the gasket between these passages fails, oil and coolant can mix.
- Oil in Coolant: You might notice an oily film or sheen on the surface of the coolant in your expansion tank (reservoir). The coolant itself might appear brownish or muddy instead of its usual clear color.
- Coolant in Oil: This is more serious. If coolant enters the oil, it can create a milky, sludgy appearance on your dipstick or inside the oil filler cap. Coolant degrades the lubricating properties of engine oil, leading to accelerated wear and potential engine damage.
Either scenario is a clear warning sign and means you need to address the issue of replacing oil filter housing gasket immediately.
Engine Overheating
If enough coolant leaks out or becomes severely contaminated with oil, the engine’s cooling system can become less effective. This can lead to your engine running hotter than normal, and in severe cases, cause it to overheat. Always monitor your engine temperature gauge. An overheating engine can cause irreversible damage, so don’t ignore this symptom.
Check Engine Light
While less common as a direct result of an OFHG leak, a severe leak or significant fluid contamination can sometimes trigger the Check Engine Light (CEL). This might happen if oil pressure drops to a critical level, or if sensors detect abnormal engine operating conditions due to fluid mixing. If your CEL comes on, it’s always wise to investigate the cause promptly, especially if combined with other leak symptoms.
Is It a DIY Job or Pro?
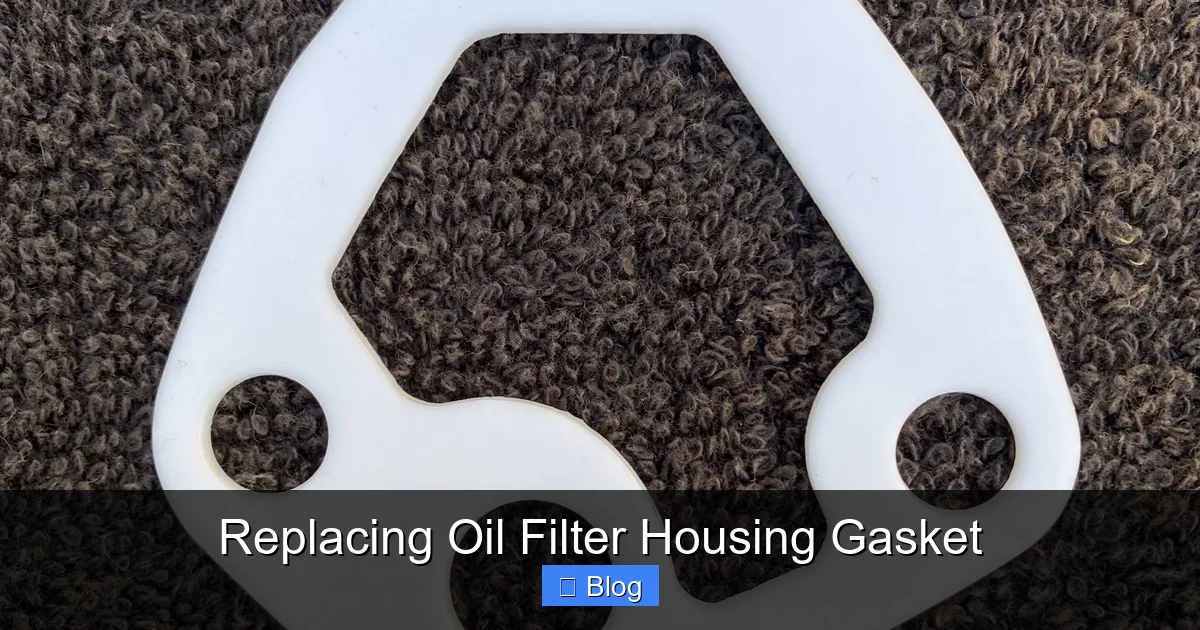
Visual guide about Replacing Oil Filter Housing Gasket
Image source: tinindianperformance.com
Deciding whether to tackle replacing oil filter housing gasket yourself or take it to a professional depends on a few factors. It’s a job that falls into the moderate difficulty category for most DIY mechanics.
Assessing Your Skill Level
If you’re comfortable working under the hood, have a basic understanding of engine components, and have successfully performed tasks like oil changes or spark plug replacements, then replacing oil filter housing gasket is likely within your capabilities. It requires patience, attention to detail, and the ability to follow instructions carefully. However, if you’re new to car repair or feel uncomfortable with draining fluids and working in tight spaces, it might be best to consult a professional.
Essential Tools and Supplies
You’ll need more than just a basic wrench set for this job. Here’s a list of common tools and supplies:
- Socket Wrench Set: Various sizes, including extensions and universal joints.
- Torque Wrench: Absolutely essential for tightening bolts to manufacturer specifications.
- Drain Pans: For collecting old oil and coolant.
- New Oil Filter Housing Gasket: Always use OEM or a high-quality aftermarket equivalent.
- New Engine Oil: You’ll likely need to drain some or all of it.
- New Engine Coolant: You’ll definitely need to drain some or all of it.
- Scraper: Plastic ones are best to avoid damaging aluminum surfaces.
- Cleaning Solvent/Brake Cleaner: For thoroughly cleaning mating surfaces.
- Rags/Shop Towels: You’ll use a lot!
- Safety Glasses and Gloves: Protect your eyes and hands.
- Jack and Jack Stands: For safely lifting and supporting the vehicle.
- Funnel: For refilling fluids.
- Optional: Serpentine belt tool (if belt needs to be removed for access), specific hose clamp pliers.
Safety First!
No matter your skill level, safety should always be your top priority.
- Engine Cool Down: Never work on a hot engine. Hot oil and coolant can cause severe burns. Allow your engine to cool completely before starting.
- Vehicle Support: If you need to lift the car, always use sturdy jack stands on a level surface. Never rely solely on a jack.
- Personal Protective Equipment (PPE): Wear safety glasses to protect against splashes and debris, and gloves to protect your hands from chemicals and sharp edges.
- Ventilation: Work in a well-ventilated area, especially when using cleaning solvents.
Step-by-Step Guide to Replacing Your OFHG
Now for the main event! While specific steps may vary slightly depending on your vehicle’s make and model, this general guide covers the core process of replacing oil filter housing gasket. It’s always a good idea to consult your vehicle’s service manual for precise torque specifications and procedures.
Preparation and Disassembly
- Park and Prepare: Park your car on a level surface and engage the parking brake. Ensure the engine is completely cool.
- Lift Vehicle (if needed): If necessary for access, carefully lift the front of your car using a jack and secure it with jack stands.
- Remove Undertrays: Many modern cars have plastic undertrays that need to be removed for access to the engine’s underside.
- Disconnect Battery (Optional but Recommended): For safety, you might choose to disconnect the negative terminal of your car battery.
- Drain Fluids:
- Oil: While not always mandatory, draining the engine oil can prevent a big mess and ensure you’re working with fresh oil after the job. Place a drain pan under the oil pan, remove the drain plug, and allow the oil to drain completely. Reinstall the drain plug.
- Coolant: You will almost certainly need to drain some or all of the engine coolant. Locate your radiator drain plug or lower radiator hose. Place a clean drain pan underneath and drain the coolant. Collect it for proper disposal or reuse if it’s clean and new.
- Gain Access: Open the hood. You’ll typically need to remove the plastic engine cover. Identify the oil filter housing. It’s usually located on the top or side of the engine block, near the front.
- Clear Obstructions: Depending on your vehicle, you might need to disconnect or temporarily move other components for better access. This could include:
- Loosening/removing the serpentine belt if it runs near the OFH or if accessories need to be moved.
- Disconnecting electrical connectors from sensors attached to or near the housing.
- Disconnecting coolant hoses or oil lines that attach to the housing. Be prepared for some fluid to escape even after draining.
- Unbolting accessory brackets (e.g., for power steering pump, alternator) if they block the OFH.
Removing the Old Gasket and Cleaning Surfaces
- Unbolt the OFH: Using your socket wrench, carefully loosen and remove the bolts securing the oil filter housing to the engine block. Keep track of bolt lengths and locations, as they can sometimes differ.
- Remove the OFH: Gently pry the oil filter housing away from the engine block. Be mindful of any remaining fluids and move it aside.
- Scrape and Clean: This is arguably the most critical step for a leak-free repair.
- Carefully remove all traces of the old gasket material from both the oil filter housing and the engine block mating surface. Use a plastic scraper to avoid gouging or scratching aluminum surfaces. Metal scrapers can damage the soft aluminum, leading to future leaks.
- Once the bulk of the old gasket is removed, use a suitable cleaning solvent (like brake cleaner) and clean rags to thoroughly clean both mating surfaces. They must be absolutely free of oil, grease, old gasket residue, and debris. Any leftover imperfection can compromise the seal of the new gasket.
- Inspect both surfaces for any nicks, scratches, or corrosion. Minor imperfections might be okay, but significant damage could require professional attention or replacement of the housing itself.
Installing the New Gasket and Reassembly
- Install New Gasket: Carefully place the new oil filter housing gasket into the groove on the oil filter housing. Ensure it sits perfectly flat and is not twisted or pinched. Some gaskets have a specific orientation, so double-check if there are any markings or if it only fits one way.
- Reinstall the OFH: Carefully position the oil filter housing back onto the engine block, aligning it with the bolt holes. Make sure the gasket doesn’t slip out of place during this step.
- Tighten Bolts: Reinsert the bolts finger-tight first. Then, using your torque wrench, tighten them to the manufacturer’s specified torque settings. It’s often recommended to tighten them in a specific pattern (e.g., crisscross or spiral) to ensure even compression of the gasket. Over-tightening can damage the gasket or the housing; under-tightening will lead to leaks. This step is vital for ensuring your work on replacing oil filter housing gasket is successful.
- Reconnect Components: Reattach all hoses, electrical connectors, and accessory brackets you removed earlier. Double-check that everything is securely connected.
Final Checks and Startup
- Refill Fluids:
- Oil: Add fresh engine oil to the correct level as indicated on your dipstick.
- Coolant: Refill the cooling system with the appropriate coolant mix.
- Bleed Cooling System: This is a crucial step if you drained coolant. Air pockets can get trapped in the system and cause overheating. Consult your car’s manual for the specific bleeding procedure. Typically, this involves running the engine with the heater on high, and potentially opening bleeder screws, until no more air bubbles emerge from the expansion tank.
- Initial Startup: Start the engine and let it idle. Immediately check for any visible leaks around the new gasket. Look for drips or seeping oil/coolant.
- Monitor: Let the engine warm up to operating temperature. Keep a close eye on the temperature gauge and continue to check for leaks. Shut off the engine and recheck fluid levels.
- Final Assembly: Once you’re confident there are no leaks and fluid levels are correct, reinstall any undertrays and engine covers you removed.
Tips for a Successful OFHG Replacement
To ensure your effort in replacing oil filter housing gasket pays off with a lasting, leak-free repair, keep these tips in mind.
Use Quality Parts
Do not skimp on the gasket itself. Always opt for an Original Equipment Manufacturer (OEM) gasket or a high-quality aftermarket equivalent from a reputable brand. Cheap, low-quality gaskets are more prone to premature failure and will lead to you repeating the job sooner than you’d like.
Proper Torque Specifications
We’ve mentioned it before, but it bears repeating: use a torque wrench! The proper torque ensures the gasket is compressed correctly, creating a perfect seal without being damaged. Too little torque and it leaks; too much and it squishes out or cracks. Find the specific torque values in your vehicle’s service manual or a reliable online resource.
Bleeding the Cooling System
An often-overlooked step, but vital. Air pockets in your cooling system can lead to inefficient cooling, hot spots in the engine, and even overheating, despite having enough coolant. Take the time to properly bleed your system according to your car’s manufacturer specifications. This usually involves running the engine with the heater on full blast and the reservoir cap off, squeezing hoses, or using specific bleeder valves.
Post-Replacement Monitoring
Your job isn’t done just because the car is running. For the next few days or weeks, regularly check under your car for any fresh drips. Pop the hood and inspect the area around the new gasket. Also, keep an eye on your oil and coolant levels, and check your dipstick for any signs of fluid mixing. Early detection of a new leak means you can address it before it becomes a major problem.
Conclusion
Replacing an oil filter housing gasket might seem like a daunting task, but with the right tools, a clear understanding of the process, and a good dose of patience, it’s a very manageable DIY repair. By tackling this job yourself, you not only save money but also gain valuable experience and the satisfaction of knowing you’ve kept your engine healthy. Remember, a leak-free engine runs more efficiently, lasts longer, and is less likely to leave you stranded. So, if you’re experiencing symptoms of a failing OFHG, arm yourself with this guide and get ready to restore your engine to its leak-free glory!
Frequently Asked Questions
What exactly does the oil filter housing gasket do?
The oil filter housing gasket creates a vital seal where the oil filter housing attaches to the engine block. Its primary role is to prevent engine oil from leaking out and, in many designs, to prevent oil and coolant from mixing.
What materials are OFHGs typically made from?
Oil filter housing gaskets are commonly made from durable materials like rubber (e.g., Buna-N, Viton), silicone, or composite materials. These materials are chosen for their ability to withstand the harsh conditions of engine heat, oil, and coolant.
How often should the OFHG be inspected or replaced?
There’s no fixed interval for OFHG replacement; it’s generally replaced when it starts leaking. However, it’s good practice to inspect it during regular oil changes or other engine maintenance, especially in vehicles known for this common issue.
Can a leaking OFHG cause a check engine light?
While not its primary cause, a severe leak from the OFHG can indirectly trigger a check engine light. This might occur if the leak causes critically low oil pressure, significant engine overheating, or affects connected sensors.
Is it possible for a professional mechanic to replace an OFHG in less than a day?
Yes, for a professional mechanic with the right tools and experience, replacing an OFHG is typically a routine job that can be completed within a few hours, usually well within a single workday.
Are there any warning signs before an OFHG fails completely?
Often, the first warning sign is a small, intermittent oil leak that gradually worsens over time. You might also notice a slight oily smell or residue around the oil filter area before a major leak or fluid contamination becomes apparent.

Sagor Jahan is the founder and author of Automopromo.com, dedicated to delivering insightful tips, reviews, and updates in the automotive and promotional industry. With a passion for innovation and clear guidance, Sagor helps readers make informed decisions and stay ahead in the ever-evolving automotive world.

