
Replacing spark plugs and coils is a straightforward DIY task that can boost your car’s performance and fuel efficiency. This guide walks you through every step, from gathering tools to troubleshooting issues, ensuring even beginners can handle it safely. Expect to spend 1-2 hours and save hundreds compared to professional service.
Key Takeaways
- Safety first: Always disconnect the battery and let the engine cool to avoid shocks or burns during replacement.
- Choose quality parts: Use OEM or compatible spark plugs and coils specified for your vehicle to ensure reliability and performance.
- Torque matters: Tighten new plugs to the manufacturer’s specs to prevent damage or leaks.
- Inspect everything: Check wires, boots, and surrounding components for wear while accessing the plugs and coils.
- Test after install: Start the engine and listen for smooth idling to confirm the job is done right.
- Regular maintenance: Replace plugs every 30,000-100,000 miles depending on type to keep your engine running efficiently.
Quick Answers to Common Questions
How often should I replace spark plugs?
Standard copper plugs every 30,000 miles; platinum or iridium up to 100,000. Check your manual for exact intervals to maintain peak performance.
Can I replace just one spark plug?
It’s best to do all at once for even wear, but if only one is bad, start there. Inspect others—they might be close behind.
What if my coils are under warranty?
Many last 100,000 miles under warranty. Keep receipts and check with the manufacturer before buying new ones.
Do I need a special socket for coils?
No, but a spark plug socket works for both. Get one with a magnet for easier handling of small parts.
Is this job okay for beginners?
Absolutely, with patience. Watch a YouTube video for your model first—visuals make it less scary.
Install the New Spark Plugs
With the old parts out, it’s time to install fresh ones in your how to replace spark plugs and coils process. Hand-thread the new plug first to avoid cross-threading— a common newbie mistake that can ruin the head.
Gapping and Prep
Check the gap on your new plugs with the gap tool. Most come pre-gapped, but verify against your manual. For iridium plugs in a Ford F-150, it’s often 0.044 inches. Bend the ground electrode gently if adjustment is needed—don’t touch the center electrode.
Apply a thin layer of anti-seize to the threads (skip the electrode). This is crucial for aluminum heads, like in many Nissans, to prevent future headaches.
Tightening the Plugs
Screw in by hand until snug, then use the torque wrench. Aim for 10-20 ft-lbs—check your specs. Over-tightening strips threads; under-tightening causes leaks. Snug plus a quarter-turn is a safe rule if no torque wrench.
Example: On a Honda Civic, torque to 18 ft-lbs. Do one at a time, then move to the coil.
Install the New Ignition Coils
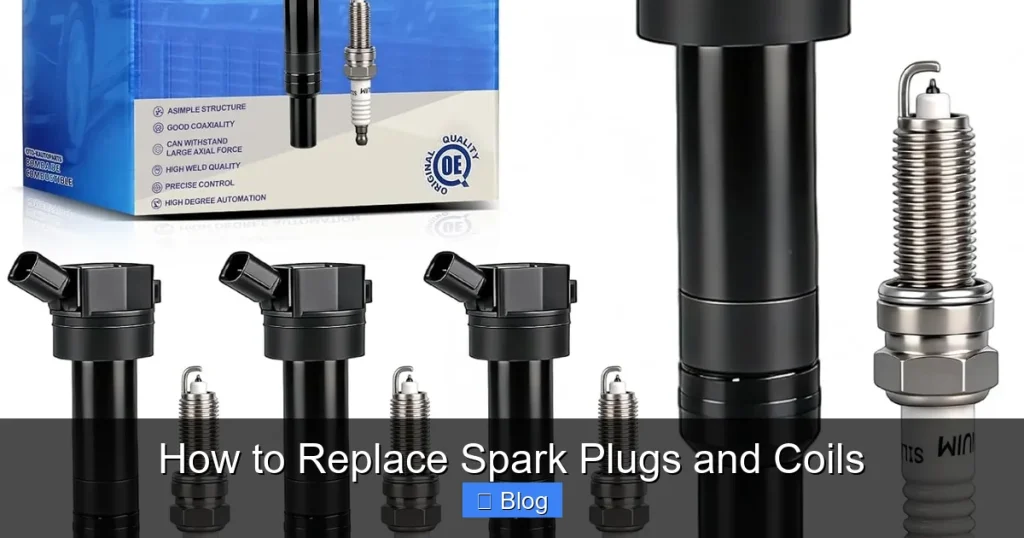
Coils are the powerhouses sending juice to the plugs, so fresh ones restore pep. Push the new coil onto the plug until it seats firmly— you’ll hear a click.

Visual guide about How to Replace Spark Plugs and Coils
Image source: autolite.com
Introduction
Hey there, fellow car enthusiast! If your engine’s been acting up—maybe it’s misfiring, guzzling more gas than usual, or just not running as smoothly as it should—it’s time to learn how to replace spark plugs and coils. This DIY project isn’t as intimidating as it sounds. In this guide, you’ll get a clear, step-by-step walkthrough that covers everything from preparation to finishing touches. Whether you’re a first-time wrench-turner or looking to refresh your skills, we’ll keep things simple and safe.
Visual guide about How to Replace Spark Plugs and Coils
Image source: guidemechanic.com
By the end, you’ll know exactly how to replace spark plugs and coils on most vehicles, saving you a bundle on mechanic fees. We’ll talk tools, tips for common cars like Hondas or Fords, and even how to spot issues before they worsen. Let’s rev up and get started—your car will thank you!
Gather Your Tools and Materials
Before diving into how to replace spark plugs and coils, you need the right gear. Skipping this step can lead to frustration or damage. Start by consulting your owner’s manual for specifics on your make and model. Spark plugs vary by engine type—iridium ones last longer but cost more.
Head to an auto parts store or order online. Budget around $50-150 for parts, plus tools if you don’t have them. Pro tip: Buy a gap tool to check plug spacing—it’s a game-changer for precision.
What You’ll Need for Spark Plugs
- Spark plugs (set of 4-8, matching your engine)
- Anti-seize compound (to prevent seizing)
- Dielectric grease (for electrical connections)
What You’ll Need for Ignition Coils
- Ignition coils (one per cylinder, or coil packs if applicable)
- Replacement boots if worn
Tools-wise, keep it basic: ratchet set, spark plug socket (usually 5/8-inch or 13/16-inch with rubber insert), torque wrench, and extensions for tight spots. Safety gear like gloves and eye protection is non-negotiable.
Prepare Your Vehicle Safely
Safety is key when learning how to replace spark plugs and coils. Park on a flat surface, engage the parking brake, and let the engine cool completely—hot parts can burn you bad. Disconnect the negative battery terminal to prevent accidental starts or electrical shocks.
Locate the Spark Plugs and Coils
Open the hood and find the ignition system. In most cars, spark plugs sit at the top of the engine block, covered by coils or wires. For example, in a Toyota Camry, they’re under plastic covers on the valve cover. Remove any engine covers with a screwdriver or clips—gentle pressure avoids breaks.
Label wires if your setup has them; a photo on your phone works great. This makes reinstallation a breeze.
Work Space Tips
Clear clutter from the engine bay. Use a drop cloth to catch dropped parts. If it’s a V6 or V8, you might need to remove air intake hoses for access—easy with pliers.
Remove the Old Spark Plugs and Coils
Now we’re getting to the heart of how to replace spark plugs and coils. Work on one cylinder at a time to avoid mix-ups. Start with the easiest coil to reach, building confidence.
Disconnecting the Coils
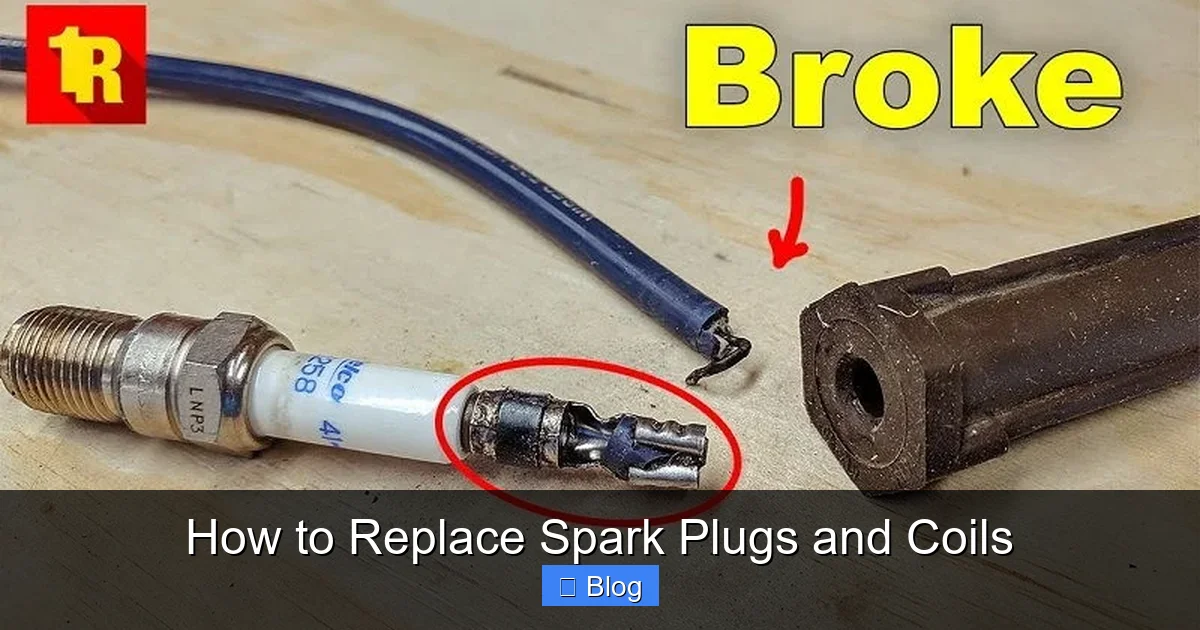
Unplug the electrical connector on the coil—press the tab and pull gently. Twist and pull the coil straight up; it might stick, so rock it side to side. Inspect the boot for cracks; if torn, replace it to avoid future misfires.
For coil-on-plug systems (common in modern cars like Subarus), this is straightforward. In older distributor setups, you might deal with wires—pull from the boot, not the wire itself.
Removing the Spark Plugs
Insert the spark plug socket onto the ratchet with an extension if needed. Turn counterclockwise slowly—don’t force it. If it’s seized, spray penetrating oil and wait 10 minutes. Once loose, pull it out carefully.
Examine the old plug: Black and sooty means rich fuel mix; white and blistered points to overheating. These clues help diagnose bigger issues.
As you go, wipe away grime with a rag. A clean workspace prevents debris from falling into the cylinder—use a vacuum if it’s dirty.
Tools and Materials Quick Reference
| Tool/Material | Purpose | Tips for Use |
|---|---|---|
| Spark Plug Socket (5/8″ or 13/16″) | Grips and removes plugs without slipping | Use with rubber insert to hold plug securely |
| Torque Wrench | Applies exact tightening force (e.g., 15-20 ft-lbs) | Set to manufacturer specs to avoid over-tightening |
| Ratchet and Extensions | Provides leverage in tight engine bays | 6-inch extension for deep-set plugs |
| Gap Tool | Measures electrode gap (0.030-0.060 inches typical) | Adjust pre-gapped plugs if needed |
| Anti-Seize Compound | Prevents plugs from seizing in aluminum heads | Apply sparingly to threads only |
| Dielectric Grease | Protects electrical connections from moisture | Coat inside boots and connectors |
| Penetrating Oil | Loosens rusted or stuck components | Spray and wait 10-15 minutes before turning |
Connecting and Securing
Apply dielectric grease to the boot interior for a waterproof seal. Reconnect the electrical harness—ensure it’s locked. For cars with coil packs, like some Chevys, bolt them down with the original screws (usually 7-10 ft-lbs).
If your old coils were cracked, note the mileage—replacements often last 100,000 miles. Test fit before full install to catch any mismatches.
Reinstall any covers or hoses. Reconnect the battery last.
Test and Troubleshoot
Fire up the engine! It should idle smoothly without shakes. Drive a short test to check acceleration. If it hesitates, double-check connections.
Common Troubleshooting
Misfire light on? Scan for codes with an OBD-II reader—often points to a bad coil. Plugs not firing? Verify gap and torque. Rough idle after? Clean throttle body or check for vacuum leaks.
For example, if you’re working on a Jeep Wrangler and it backfires, a crossed wire might be the culprit—swap and test. If issues persist, it could be deeper, like a failing ECU—time for a pro.
Pro tip: Change oil if you’ve disturbed it, and reset the check engine light if needed.
Conclusion
Congrats—you’ve mastered how to replace spark plugs and coils! This maintenance keeps your ride reliable, efficient, and fun. Do it every 30,000-100,000 miles, depending on plugs. If you hit snags, forums like Reddit’s r/MechanicAdvice are gold. Now, enjoy that smoother drive and pocket the savings. What’s next on your DIY list?

Sagor Jahan is the founder and author of Automopromo.com, dedicated to delivering insightful tips, reviews, and updates in the automotive and promotional industry. With a passion for innovation and clear guidance, Sagor helps readers make informed decisions and stay ahead in the ever-evolving automotive world.

