
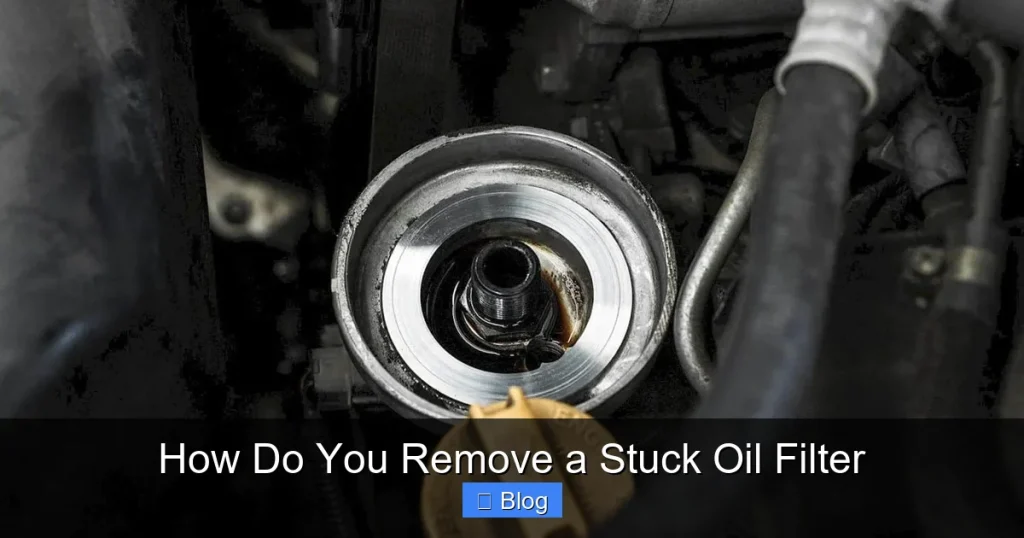
Removing a stuck oil filter can be frustrating, but with the right tools and techniques, it’s totally doable. This guide walks you through safe, proven methods—from using a filter wrench to the screwdriver trick—so you can get the job done without damaging your engine or making a mess.
To remove a stuck oil filter, first try loosening it with an oil filter wrench. If it won’t move, use a strap wrench for better grip. Lightly tap the filter counterclockwise with a screwdriver and hammer to break the seal. As a last resort, drive a screwdriver through the filter for leverage and twist carefully to remove it.
Key Takeaways
- Let the engine cool first: Hot oil and metal can cause burns and make the filter harder to grip.
- Use the right tools: A quality oil filter wrench, strap wrench, or chain wrench greatly improves your chances of success.
- Try the screwdriver method as a last resort: It punctures the filter for leverage but can be messy—use with caution.
- Protect your hands and eyes: Always wear gloves and safety glasses when working under the hood.
- Prevent future sticking: Apply a thin layer of oil to the new filter’s gasket before installing.
- Don’t force it blindly: If one method fails, try another instead of risking damage to the engine block.
- Clean up spills immediately: Oil on the engine or driveway can be slippery and harmful to the environment.
Quick Answers to Common Questions
Should I use a wrench to tighten a new oil filter?
No. Always hand-tighten the new filter. Over-tightening with a wrench can crush the casing and make future removal difficult.
Can I reuse an old oil filter?
No. Oil filters are designed for single use. Reusing one can lead to poor filtration, leaks, and engine damage.
What if the filter breaks off completely?
If the filter casing detaches from the base, you may need to use needle-nose pliers or a screwdriver to pry the remaining piece off. Be gentle to avoid damaging the engine threads.
Is it okay to drive with a leaking oil filter?
No. Even a small leak can lead to low oil pressure and engine damage. Replace the filter immediately.
How often should I change my oil filter?
Most manufacturers recommend changing the oil filter every time you change the oil—typically every 3,000 to 7,500 miles, depending on your vehicle and driving conditions.
How Do You Remove a Stuck Oil Filter? A Step-by-Step Guide
Changing your engine oil is one of the simplest ways to keep your car running smoothly—but when you’re faced with a stuck oil filter, that simple task can turn into a messy, frustrating ordeal. Whether it’s been overtightened, corroded in place, or just stubborn from years of heat cycles, a stuck oil filter doesn’t have to ruin your day.
In this guide, you’ll learn how to remove a stuck oil filter safely and effectively using tools you likely already have—or can easily get. We’ll cover multiple methods, from basic hand tools to creative hacks, so you can choose the best approach for your situation. Plus, we’ll share tips to prevent this problem in the future.
Why Do Oil Filters Get Stuck?
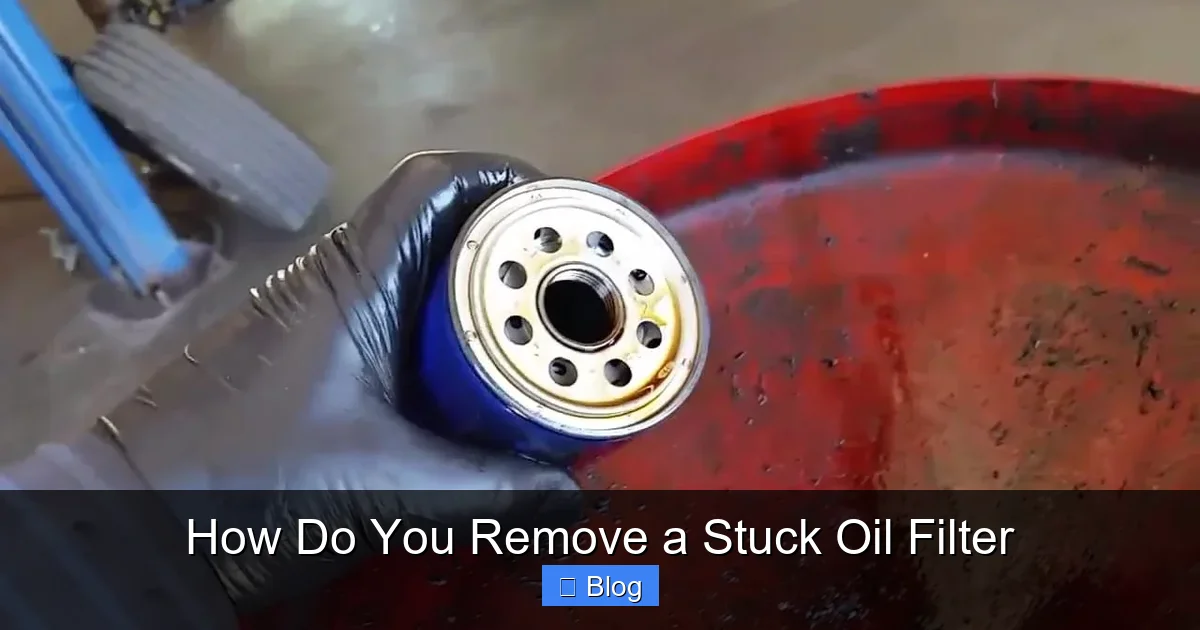
Before diving into removal techniques, it helps to understand why oil filters become stuck in the first place. Most of the time, it’s due to one or more of these common causes:
Visual guide about How Do You Remove a Stuck Oil Filter
Image source: oilfiltersonline.com
- Over-tightening: Many people think “tighter is better,” but over-tightening can crush the filter’s metal casing and fuse it to the engine block.
- Lack of lubrication: Installing a new filter without oiling the gasket can cause it to stick permanently.
- Heat and corrosion: Over time, engine heat and moisture can cause metal parts to expand and bond together.
- Improper installation: Cross-threading or using the wrong filter size can make removal nearly impossible.
Understanding these causes not only helps you remove the current filter but also prevents the issue from happening again.
Tools You’ll Need
Before you start, gather these tools. Having them ready will save time and reduce frustration:
Visual guide about How Do You Remove a Stuck Oil Filter
Image source: toolrom.com
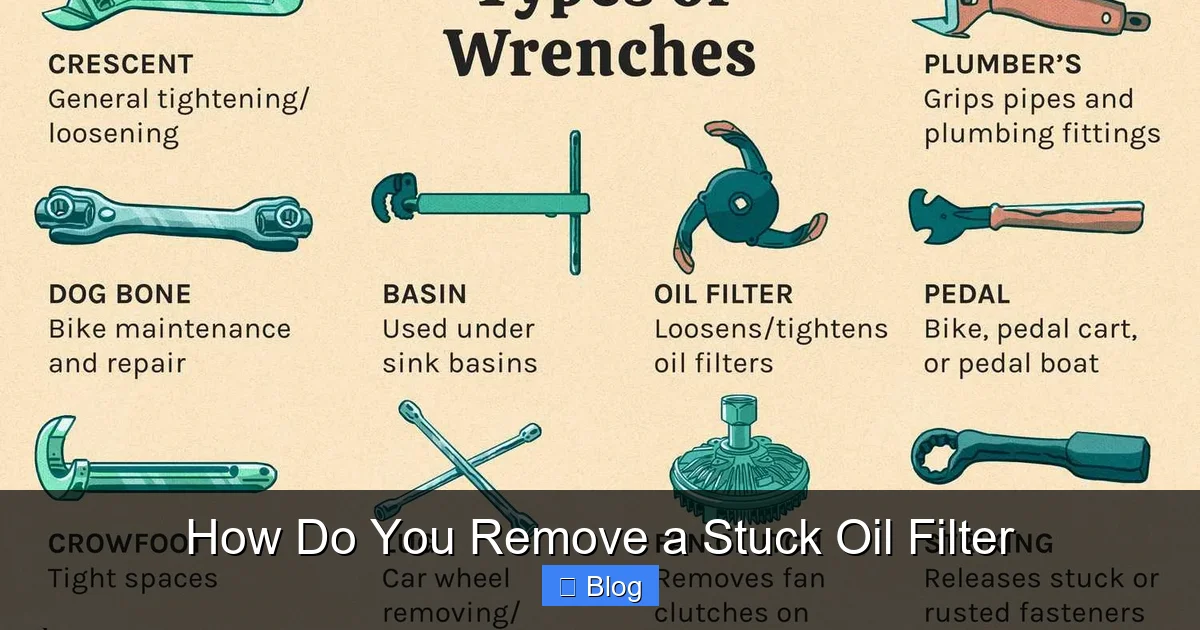
- Oil filter wrench (band or claw type)
- Strap wrench or chain wrench
- Rubber gloves and safety glasses
- Drain pan (to catch any spilled oil)
- Rags or paper towels
- Socket wrench or breaker bar (optional)
- Screwdriver and hammer (for emergency method)
- New oil filter and fresh oil (for reinstallation)
Pro tip: Keep a small bottle of dish soap nearby. A dab on your hands can improve grip when handling slippery filters.
Step-by-Step: How to Remove a Stuck Oil Filter
Step 1: Let the Engine Cool Down
Never attempt to remove an oil filter immediately after driving. Hot oil can spray out when you loosen the filter, and the metal casing will be too hot to touch. Wait at least 30–60 minutes after turning off the engine. This also allows oil to drain back into the pan, reducing spillage.
Step 2: Position the Drain Pan
Place a drain pan directly under the oil filter. Even if the engine is cool, there will still be residual oil inside the filter. Positioning the pan now prevents a messy cleanup later.
Step 3: Try Hand Removal First
Sometimes, the filter isn’t as stuck as it seems. Put on gloves for better grip and try turning the filter counterclockwise by hand. If it budges even slightly, keep turning slowly. If it doesn’t move after a firm attempt, move to the next step.
Step 4: Use an Oil Filter Wrench
An oil filter wrench is the most reliable tool for this job. There are two main types:
- Band wrench: A metal band that tightens around the filter as you turn. Great for most standard filters.
- Claw wrench: Has adjustable jaws that grip the filter. Works well on tight spaces.
Wrap the wrench around the filter, ensuring a snug fit. Turn counterclockwise with steady pressure. If the wrench slips, reposition it for better contact. For extra leverage, attach a socket wrench or breaker bar to the wrench’s handle.
Tip: If the filter is in a tight spot, look for a wrench with a flexible head or extension.
Step 5: Try a Strap or Chain Wrench
If a standard wrench doesn’t work, a strap wrench (made of rubber or fabric) or a chain wrench (like a bicycle chain tool) can provide better grip without damaging the filter. These tools conform to the filter’s shape and won’t slip as easily.
Wrap the strap or chain around the filter, pull tight, and turn counterclockwise. Apply steady pressure—don’t jerk or hammer it.
Step 6: The Screwdriver Method (Emergency Only)
If all else fails, the screwdriver method can break the filter free—but it’s messy and should be a last resort.
Here’s how to do it safely:
- Put on safety glasses and gloves.
- Position a long screwdriver at a 45-degree angle against the side of the filter, near the base.
- Tap the screwdriver firmly with a hammer to puncture the metal casing.
- Once the screwdriver is embedded, use it as a lever to turn the filter counterclockwise.
Warning: This method will destroy the filter and may spray oil. Have rags ready and work over the drain pan. Never use this method on aluminum engine blocks—you could crack the housing.
Step 7: Clean the Mounting Surface
Once the filter is off, wipe the engine’s filter mounting surface with a clean rag. Remove any old gasket material or debris. Leftover gasket can prevent the new filter from sealing properly, leading to leaks.
Pro tip: Use a plastic scraper or your fingernail to gently remove stuck gasket residue. Avoid metal tools that could scratch the surface.
Troubleshooting Common Problems
Problem: The Filter Wrench Keeps Slipping
If your wrench slips, it may not be gripping tightly enough. Try wrapping the filter with duct tape or a rubber glove for extra traction. Alternatively, switch to a chain wrench, which bites into the metal more securely.
Problem: The Filter Is Crushed or Damaged
If the filter is dented or collapsed, it may be harder to grip. In this case, the screwdriver method may be your only option. Be extra careful not to damage the engine block.
Problem: Oil Is Leaking After Removal
A small amount of oil spillage is normal. Wipe it up with rags and dispose of them properly. If oil continues to drip from the engine, the new filter may not be installed correctly—double-check the gasket and tighten it properly.
How to Prevent a Stuck Oil Filter in the Future
Now that you’ve successfully removed the stuck filter, take these steps to avoid the problem next time:
- Hand-tighten only: Screw the new filter on by hand until the gasket touches the engine, then give it an additional ¾ turn. Never use a wrench to tighten it.
- Lubricate the gasket: Apply a thin layer of fresh oil to the rubber gasket before installing. This prevents sticking and ensures a proper seal.
- Use the correct filter: Always check your owner’s manual for the right filter model. The wrong size can cause installation issues.
- Check for cross-threading: Start threading the filter by hand to ensure it’s aligned correctly before tightening.
Following these simple practices can save you time, money, and frustration during your next oil change.
Conclusion
Removing a stuck oil filter doesn’t have to be a nightmare. With patience, the right tools, and the correct technique, you can get it off without damaging your engine. Start with a filter wrench or strap wrench, and only use the screwdriver method as a last resort. Always prioritize safety, clean up spills, and take steps to prevent the issue from recurring.
Remember: how you remove a stuck oil filter matters just as much as how you install the new one. Take your time, stay calm, and you’ll have your car back on the road in no time.

Sagor Jahan is the founder and author of Automopromo.com, dedicated to delivering insightful tips, reviews, and updates in the automotive and promotional industry. With a passion for innovation and clear guidance, Sagor helps readers make informed decisions and stay ahead in the ever-evolving automotive world.

