
Struggling to remove a stuck oil filter without a wrench? This guide shows you practical, no-tool methods using common household items. Save time and avoid damage with step-by-step instructions and expert tips.
To remove an oil filter without a wrench, first turn off the engine and let it cool. Place a drain pan underneath. Try loosening the filter by hand using a rubber glove or cloth for grip. If stuck, use a belt, rope, or sandpaper for traction and twist counterclockwise. As a resort, puncture the filter with a screwdriver and turn.
Key Takeaways
- Use a belt or strap for grip: A leather belt, chain, or rubber strap can wrap around the filter to provide leverage and turning force.
- Leverage with a screwdriver and hammer: Carefully tap a screwdriver through the filter’s metal casing to create a pivot point for twisting.
- Apply heat to loosen stubborn filters: Warm oil expands metal slightly, helping break the seal on filters fused to the engine block.
- Protect your hands and workspace: Always wear gloves and place a drain pan underneath to catch spills and prevent injury.
- Prevent future issues with proper installation: Hand-tighten only and use anti-seize compound to avoid over-tightening next time.
- Know when to stop: If the filter is severely damaged or leaking, stop and seek professional help to avoid engine damage.
- Keep emergency tools handy: A basic oil filter wrench or strap tool in your car kit can save you in a pinch.
Quick Answers to Common Questions
Tip/Question?
Can I use a regular belt to remove an oil filter?
Yes! A sturdy leather belt works great. Wrap it tightly around the filter and pull counterclockwise for extra grip.
Tip/Question?
Is it safe to puncture the oil filter with a screwdriver?
It can be, but only as a last resort. Wear safety gear and avoid hitting the center seal to prevent engine damage.
Tip/Question?
How tight should I install a new oil filter?
Hand-tighten only. Screw it on until snug, then turn a quarter-turn more. Over-tightening can make removal difficult later.
Tip/Question?
What if the oil filter gasket sticks to the engine?
Carefully scrape it off with a plastic tool or your fingernail. Leaving it on can cause leaks with the new filter.
Tip/Question?
Should I use anti-seize on the oil filter?
Yes, a small dab on the rubber gasket helps prevent sticking and makes future removal easier.
How to Remove an Oil Filter Without a Wrench
Changing your car’s oil is one of the simplest ways to keep your engine running smoothly. But what happens when you’re ready to swap out the old oil filter and realize you don’t have an oil filter wrench? Don’t panic—removing an oil filter without a wrench is not only possible, but often easier than you think.
Whether you’re on the side of the road, in your garage, or just caught off guard, this guide will walk you through several reliable methods to remove a stubborn oil filter using everyday tools. You’ll learn how to use items like belts, screwdrivers, and even your bare hands (with the right technique) to get the job done safely and effectively.
By the end of this guide, you’ll know exactly what to do when your oil filter won’t budge—no wrench required.
Why You Might Need to Remove an Oil Filter Without a Wrench
Sometimes, life throws you a curveball. Maybe you’re doing a quick oil change and forgot your filter wrench at home. Or perhaps you’re helping a friend whose car broke down, and you only have basic tools. In some cases, the filter is so tight that even a wrench struggles—so improvising with alternative methods becomes essential.
Oil filters are designed to seal tightly to prevent leaks, but over time, heat and pressure can fuse them to the engine block. This makes removal difficult, especially if they were over-tightened during installation. Without the right tool, it’s easy to damage the filter, strip the threads, or even injure yourself.
But don’t worry—there are several clever, low-risk ways to remove an oil filter without a wrench. The key is using leverage, grip, and a little patience.
Method 1: Use a Belt or Strap for Extra Grip
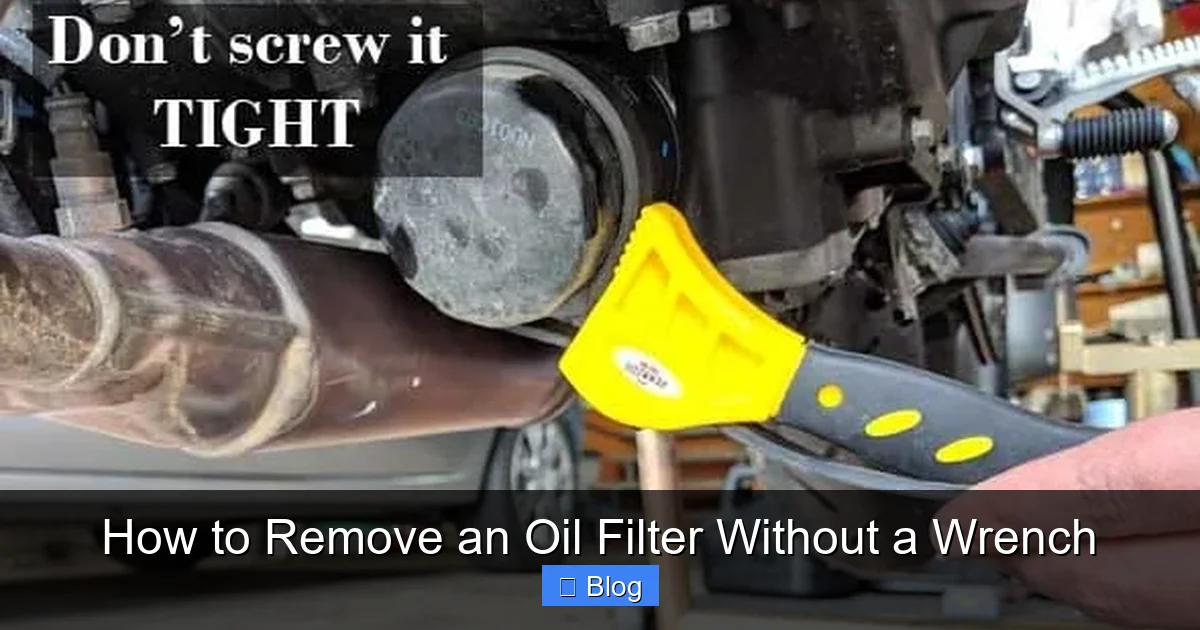
One of the simplest and safest ways to remove an oil filter without a wrench is by using a strong, non-slip strap. A leather belt, rubber strap, or even a sturdy rope can work wonders.
Step-by-Step Instructions
- Find a strong belt or strap: A leather belt works best because it’s durable and provides excellent grip. A rubber tie-down strap or nylon webbing can also work.
- Wrap it around the filter: Loop the belt around the oil filter, making sure it’s snug and covers as much surface area as possible.
- Pull in a counterclockwise direction: Hold one end of the belt in each hand and pull firmly in the direction that loosens the filter (lefty-loosey). Use your body weight if needed.
- Use a pipe or stick for leverage (optional): If the filter is still stuck, thread a metal pipe or long screwdriver through the belt loop to act as a handle. This gives you more torque.
Tips for Success
- Wear gloves to improve grip and protect your hands.
- If the belt slips, try wrapping it twice around the filter for better traction.
- This method works best on filters that are only moderately tight.
Method 2: The Screwdriver and Hammer Technique
When all else fails, the screwdriver-and-hammer method is a classic DIY trick. It’s effective but requires caution—this method can puncture the filter, so only use it as a last resort.
Step-by-Step Instructions
- Position the screwdriver: Choose a long, sturdy screwdriver (preferably flathead) and place the tip against the side of the oil filter, near the top.
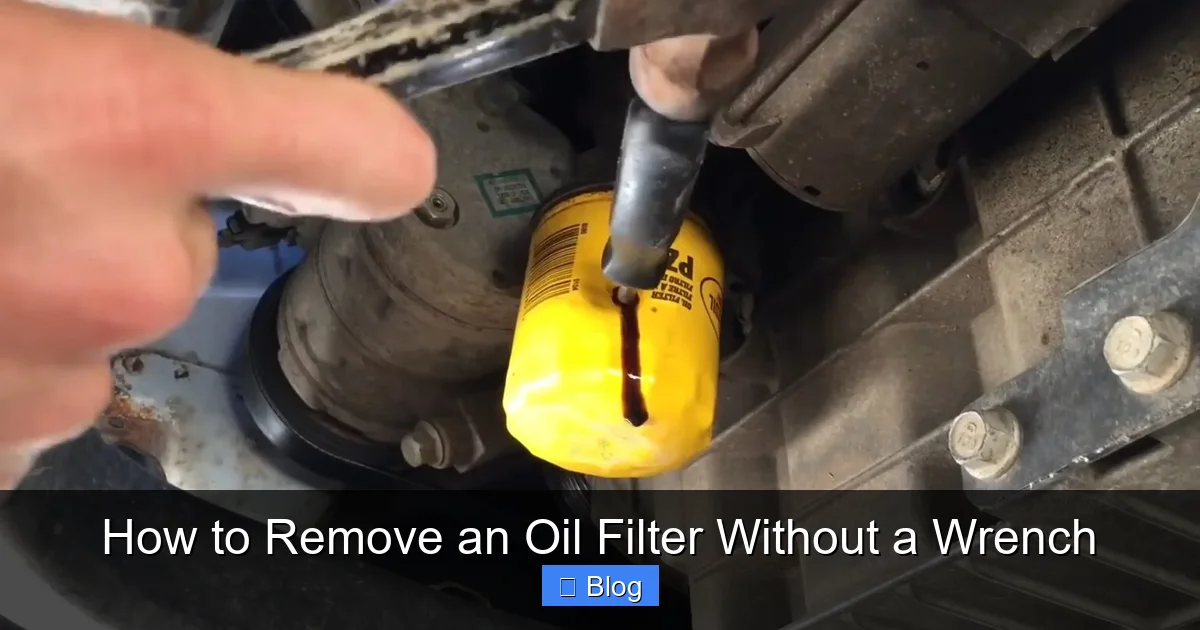
- Tap the screwdriver with a hammer: Gently tap the end of the screwdriver with a hammer to drive it through the metal casing of the filter. Aim for a spot that’s not directly over the oil outlet.
- Use the screwdriver as a lever: Once the screwdriver is embedded, use it as a handle to twist the filter counterclockwise. Apply steady pressure.
- Remove the filter: Once it starts turning, continue until the filter is loose enough to unscrew by hand.
Safety and Precautions
- Always wear safety goggles and gloves—metal fragments can fly.
- Place a drain pan underneath to catch any oil that leaks out.
- Avoid hitting the center of the filter where the seal sits—this can damage the engine block.
- This method may destroy the filter, so don’t reuse it.
Method 3: Use a Chain or Rope for Maximum Torque
A metal chain or thick rope can provide incredible gripping power, especially on large or deeply recessed filters.
How to Do It
- Wrap the chain tightly: Loop a short length of chain around the filter, ensuring it bites into the metal.
- Secure the ends: Use pliers or a bolt to clamp the chain ends together, creating a fixed loop.
- Attach a lever: Slide a pipe, wrench handle, or long screwdriver through the chain loop to act as a handle.
- Twist counterclockwise: Apply steady pressure to turn the filter. The chain will grip tightly as you pull.
Why This Works
The chain conforms to the shape of the filter and increases friction, reducing slippage. It’s especially useful for filters in tight spaces where a belt might not fit.
Visual guide about How to Remove an Oil Filter Without a Wrench
Image source: filterspoint.com
Visual guide about How to Remove an Oil Filter Without a Wrench
Image source: mechanicwiz.com
Method 4: Apply Heat to Loosen a Stuck Filter
Heat can help break the seal between the filter and the engine block by expanding the metal slightly. This is particularly useful for filters that have been on the engine for a long time.
How to Apply Heat Safely
- Use a heat gun or hair dryer: Warm the area around the base of the filter for 30–60 seconds. Avoid open flames—they can ignite oil fumes.
- Let it sit for a minute: Allow the metal to expand and the oil residue to soften.
- Try removing the filter: Use one of the methods above (belt, screwdriver, etc.) to attempt removal.
Important Notes
- Never use a torch or open flame near engine oil—fire hazard!
- Wear heat-resistant gloves to protect your hands.
- Heat works best when combined with another removal method.
Method 5: Use Your Hands (With the Right Technique)
Sometimes, the filter isn’t as tight as it seems. With the right grip and technique, you can remove it by hand.
Steps to Try
- Clean the filter: Wipe off grease and oil so your hands don’t slip.
- Use both hands: Grip the filter firmly with both hands, thumbs on opposite sides.
- Rock it gently: Instead of twisting straight, rock the filter back and forth slightly to break the seal.
- Use a rubber glove or mat: Place a rubber dishwashing glove or silicone mat over the filter for extra grip.
When This Works Best
This method is ideal for newer filters or those that were installed by hand (not over-tightened). It’s also great for filters in easy-to-reach locations.
Troubleshooting Common Problems
Problem: The Filter Won’t Budge
If none of the methods work, the filter may be severely seized. Try combining heat with a belt or chain for extra force. If it still won’t turn, stop—forcing it could damage the engine.
Problem: The Filter Leaks Oil During Removal
This is normal. Always have a drain pan ready and wear old clothes. Wipe up spills immediately to avoid slipping.
Problem: The Filter Cracks or Punctures
If the filter breaks during removal, carefully remove the pieces. Check the engine block for debris and clean the area before installing the new filter.
Problem: You Can’t Reach the Filter
Some filters are tucked behind components. Use a flexible extension or a long-handled tool to improve access. In extreme cases, you may need to remove nearby parts—consult your vehicle manual.
Preventing Future Oil Filter Problems
Once you’ve successfully removed the old filter, take steps to make the next change easier:
- Hand-tighten only: Never use a wrench to tighten a new filter. Screw it on by hand until snug, then give it a quarter-turn more.
- Use anti-seize compound: Apply a small amount to the filter’s rubber gasket to prevent sticking.
- Check the owner’s manual: Some manufacturers specify torque values—follow them precisely.
- Inspect the gasket: Make sure the old gasket didn’t stick to the engine. If it did, clean it off before installing the new filter.
Conclusion
Removing an oil filter without a wrench might seem daunting, but with the right approach, it’s totally doable. Whether you use a belt, screwdriver, chain, or just your hands, these methods can save you time, money, and a trip to the mechanic.
Remember: safety first. Wear gloves, protect your eyes, and work carefully to avoid injury or damage. And once the job is done, take a moment to appreciate your DIY skills—you just handled a common car repair with creativity and confidence.
Next time you’re changing your oil, keep a few of these tricks in mind. You never know when you’ll need them.

Sagor Jahan is the founder and author of Automopromo.com, dedicated to delivering insightful tips, reviews, and updates in the automotive and promotional industry. With a passion for innovation and clear guidance, Sagor helps readers make informed decisions and stay ahead in the ever-evolving automotive world.

