
Changing an oil filter without draining the oil is often possible, especially if you need to replace a faulty filter prematurely. While not a substitute for a full oil change, careful preparation and the right technique can minimize oil loss and mess. This guide provides step-by-step instructions to help you safely perform this task, emphasizing proper tools and post-installation checks to ensure vehicle integrity.
Yes, you can change an oil filter without fully draining the oil, but some oil will spill when the filter is removed. It’s best done when the engine is cool. Place a drain pan underneath, work quickly, and top up the oil afterward to maintain the correct level.
Can You Change Oil Filter Without Draining Oil Find Out
There’s a common question that often comes up among car owners and DIY enthusiasts: “Can you change oil filter without draining the oil?” It’s a question rooted in curiosity, efficiency, and sometimes, a bit of necessity. Perhaps you just had an oil change, but something went wrong with the filter, or maybe you’re just looking to extend the life of your oil. Whatever the reason, the idea of replacing just the oil filter without going through the entire process of draining and refilling your engine oil is certainly appealing.
The short answer is: yes, it is often possible to change an oil filter without draining all the oil from your engine. However, it’s not always straightforward, it comes with specific considerations, and it’s generally not a recommended routine maintenance practice. Instead, it’s a technique best reserved for particular circumstances where replacing the filter alone is necessary.
In this comprehensive guide, we’ll dive deep into everything you need to know about changing an oil filter without draining oil. We’ll explore the scenarios where this approach might be appropriate, the tools you’ll need, and a detailed, step-by-step process to ensure you do it safely and effectively. We’ll also cover crucial tips, potential pitfalls, and how to troubleshoot common issues. By the end, you’ll have a clear understanding of whether this task is right for you and how to execute it with confidence when you need to change your oil filter without draining oil.
Key Takeaways
- It’s Possible, But Not Ideal: You can change an oil filter without draining all the engine oil, but it’s generally not recommended as a routine practice. It’s best for specific situations like a faulty filter.
- Expect Some Oil Loss: Even with careful technique, a small amount of oil will leak from the filter and engine galleries. Be prepared with a drain pan and rags.
- Preparation is Crucial: Having the right tools (new filter, filter wrench, drain pan, rags, gloves) and knowing your vehicle’s filter type and location are essential for a smooth process.
- Lubricate and Hand-Tighten: Always lubricate the new filter’s gasket with fresh oil and hand-tighten the filter, followed by a specified additional turn if your vehicle manufacturer recommends it. Avoid overtightening.
- Immediate Leak Checks are A Must: After installing the new filter, start your engine and visually inspect for any leaks. Also, check your oil level and top up if needed.
- Not a Substitute for an Oil Change: Changing just the filter does not replace the benefits of a full oil and filter change, which removes accumulated contaminants from the oil itself.
Quick Answers to Common Questions
Can I just replace the oil filter and leave the old oil?
Yes, you *can* replace just the oil filter, but it’s generally not recommended as a routine practice. This method is best for specific situations, like a faulty or damaged filter, rather than a substitute for a full oil change which removes degraded oil and contaminants.
How much oil will I lose when changing only the filter?
The amount of oil lost is typically minimal, often ranging from a quarter to half a quart, depending on your filter’s size and orientation. Be prepared with a drain pan to catch these drips.
Do I need to pre-fill the new oil filter?
For spin-on filters, pre-filling with clean engine oil is highly recommended. This helps prevent a brief “dry start” by ensuring the oil system achieves pressure quickly upon engine startup, minimizing wear.
What if my oil filter is difficult to access or horizontally mounted?
Accessibility affects messiness. Horizontally mounted filters will likely spill more oil. Be extra prepared with a larger drain pan and plenty of rags, and take your time to loosen it slowly, allowing some oil to drain before full removal.
Is it safe to drive after changing only the oil filter?
Yes, provided you’ve checked for leaks, confirmed the oil level is correct, and ensured the oil pressure light goes off immediately after starting the engine. Always double-check your work for safety.
Understanding Your Oil Filter System
Before attempting to change an oil filter without draining the oil, it’s helpful to understand how your vehicle’s oil filter system works. Most modern vehicles use one of two main types of oil filters:
- Spin-on Filters (Canister Filters): These are the most common type, appearing as a metal canister that screws directly onto the engine block. They contain the filter media, anti-drainback valve, and bypass valve all in one self-contained unit.
- Cartridge Filters: These filters consist of just the filter media, which is housed inside a reusable plastic or metal housing on the engine. You replace only the internal filter element.
Regardless of the type, the filter’s job is to remove contaminants from the engine oil, ensuring clean oil circulates through the engine. When the engine is running, the oil pump pushes oil through the filter. When the engine is off, residual oil remains in various parts of the engine, including the oil galleries and, crucially, within the filter itself and the filter housing.
The key to changing an oil filter without draining oil lies in minimizing the amount of this residual oil that escapes. An anti-drainback valve in spin-on filters helps keep some oil in the filter when the engine is off, preventing a dry start. However, when you unscrew the filter, some oil will inevitably come out.
Why Would You Change the Oil Filter Without Draining Oil?
While a full oil and filter change is always the best practice for routine maintenance, there are a few specific, non-routine situations where you might consider changing an oil filter without draining the engine oil:
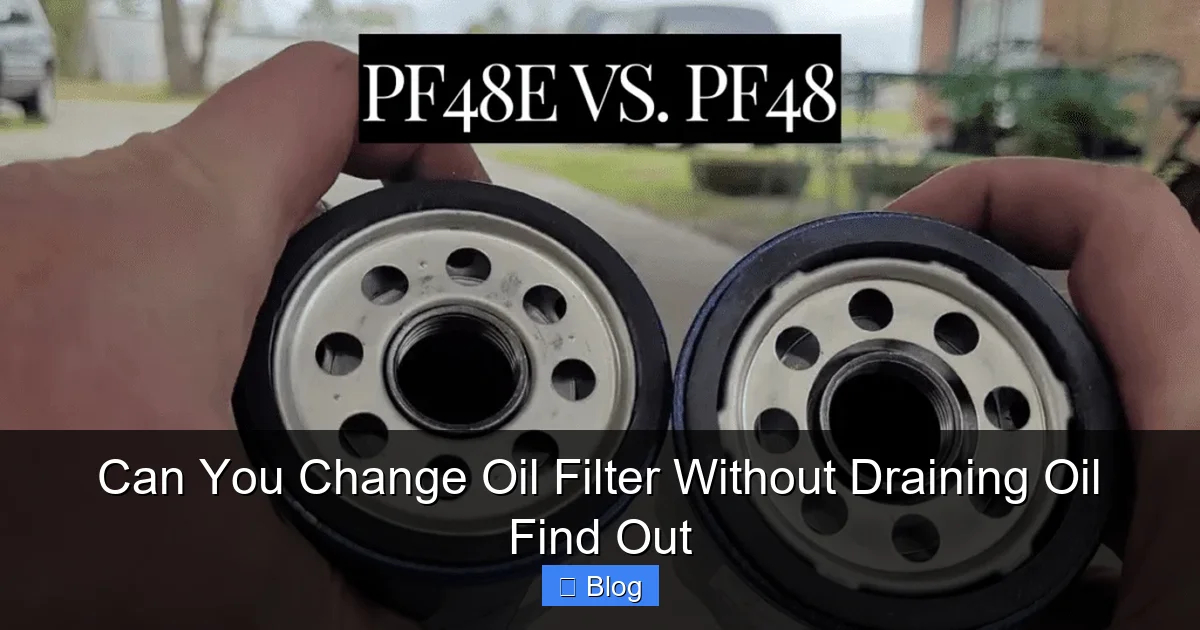
Visual guide about Can You Change Oil Filter Without Draining Oil Find Out
Image source: mechanictimes.com
- Faulty or Damaged Filter: Occasionally, a new filter might be defective, or it could suffer external damage (e.g., from road debris) shortly after installation. In such cases, replacing just the filter saves you from unnecessarily replacing perfectly good, recently changed oil.
- Incorrect Filter Installed: If you or a mechanic accidentally installed the wrong type of oil filter during a recent oil change, you’d want to swap it out for the correct one as soon as possible without wasting the fresh oil.
- Oil Change Interval Discrepancy: Some advanced synthetic oils have extended change intervals (e.g., 10,000+ miles), while some filter manufacturers still recommend changing the filter more frequently (e.g., every 5,000 miles). In these less common scenarios, a mid-interval filter replacement might be considered to ensure optimal filtration throughout the oil’s extended life. However, this is a topic of debate among experts, as most quality filters are designed to last the full synthetic oil interval.
- Suspected Contamination (Filter Only): In very rare cases, if you suspect localized contamination of the filter itself (e.g., something was dropped into the filter housing during installation), you might opt for just a filter change.
It’s vital to reiterate: this method is not a substitute for a complete oil and filter change. Engine oil degrades over time and collects microscopic contaminants that a filter alone cannot remove from the bulk oil. Always prioritize a full oil and filter change according to your vehicle manufacturer’s recommendations for optimal engine health.
Is It Recommended? The Pros and Cons.
Let’s weigh the advantages and disadvantages of changing your oil filter without draining the oil.
Pros:
- Cost Savings: You avoid the expense of new engine oil if your existing oil is still relatively fresh.
- Time Efficiency: The process is generally quicker than a full oil change, as you skip the draining and refilling steps.
- Reduced Waste: Less old oil needs to be disposed of, which can be seen as an environmental benefit.
- Quick Fix: Allows for a rapid correction if an issue with the filter arises shortly after a full oil change.
Cons:
- Mess Potential: Even with careful technique, oil will drip, making the job messier than a full drain.
- Not a Full Service: This method does not remove old, contaminated engine oil. It only addresses the filtration component.
- Risk of Contamination: There’s a slight risk of introducing debris into the engine if not done meticulously.
- Air Pockets: If the new filter isn’t properly pre-filled, it can lead to a brief period of reduced oil pressure (a “dry start”) until the filter fills.
- Vehicle Specifics: The ease and messiness of the process can vary greatly depending on your vehicle’s make, model, and the orientation of its oil filter. Some filters are horizontally mounted and will inevitably spill more.
Given these points, the decision to change an oil filter without draining oil should be made carefully, considering the specific circumstances and accepting the potential drawbacks.
Tools and Materials You’ll Need
To successfully change an oil filter without draining the engine oil, gather the following tools and materials:
- New Oil Filter: Crucially, make sure it’s the correct filter for your specific vehicle make, model, and engine type. Double-check the part number.
- Oil Filter Wrench: A suitable wrench (cap, strap, or plier type) that fits your old filter.
- Drain Pan or Catch Basin: Essential for collecting the oil that will leak out.
- Plenty of Rags or Shop Towels: For cleaning up inevitable spills.
- Disposable Gloves: To keep your hands clean.
- Safety Glasses: Always protect your eyes.
- Fresh Engine Oil: A small amount (e.g., half a quart) of the correct type and viscosity for lubricating the new filter’s gasket and for topping off the engine if needed.
- Funnel (Optional): If you need to add make-up oil.
- Torque Wrench (Optional but Recommended): For precise tightening of the new filter if your vehicle specifies a torque value.
- Jack and Jack Stands (If Needed): If your oil filter is difficult to access from above and requires lifting the vehicle.
- Wheel Chocks: For added safety if lifting the vehicle.
Step-by-Step Guide to Changing an Oil Filter Without Draining Oil
Now, let’s get down to the practical steps for changing your oil filter without draining oil. Remember, safety first!
Preparation is Key
Gather Your Tools and Materials
Lay out all the items listed above within arm’s reach. This prevents you from scrambling mid-task when oil might be dripping. Proper preparation is key to a smooth oil filter change without draining oil.
Ensure Vehicle Safety
If you need to lift your vehicle for access, do so safely. Park on a level surface, engage the parking brake, place wheel chocks, and use sturdy jack stands. Never rely solely on a jack. If you can access the filter from above or by simply reaching under, you might not need to lift the car, which significantly simplifies the process when you change oil filter without draining oil.
Locate the Oil Filter and Place the Drain Pan
Refer to your vehicle’s owner’s manual to pinpoint the exact location of the oil filter. It’s usually on the side or bottom of the engine block. Once located, position your drain pan directly underneath the filter. Anticipate the direction the oil will flow once the filter is loosened and adjust the pan accordingly. Have extra rags ready.
The Removal Process
Loosen the Old Filter
Using your oil filter wrench, carefully loosen the old filter. For spin-on filters, turn it counter-clockwise. For cartridge filters, you’ll be unscrewing the housing cap. You’ll likely feel a “pop” or resistance give way. Once it’s loose, you’ll probably see oil start to seep out around the threads or from the housing. This is normal. Allow some of this oil to drip into your pan for a few moments.
Practical Tip: If your filter is horizontally mounted, try to loosen it just enough to break the seal, then wait a minute or two. This allows some oil to drain into the pan slowly rather than gushing out all at once when fully removed.
Quickly Remove and Contain the Old Filter
Once the initial drainage slows, quickly unscrew the old filter completely by hand. For spin-on filters, immediately invert it into your drain pan to minimize spills. For cartridge filters, lift the housing cap and old element out, allowing excess oil to drip into the pan. Speed and readiness with your pan and rags are crucial here to limit the mess when you change oil filter without draining oil.
Wipe down the filter mounting surface on the engine block. Ensure no old gasket material remains stuck to the engine, as this can cause leaks with the new filter.
The Installation Process
Prepare the New Filter
This is a critical step often overlooked when performing an oil filter replacement. For spin-on filters, apply a thin film of fresh engine oil to the rubber gasket of the new filter. This ensures a proper seal and prevents the gasket from sticking or tearing upon installation. For cartridge filters, ensure the new O-rings (which usually come with the new filter) are properly seated and lubricated with fresh oil on the housing cap.
For spin-on filters, it’s also highly recommended to “pre-fill” the new filter with clean engine oil. Fill it about two-thirds to three-quarters full. This minimizes the amount of air that enters the oil system upon startup and helps achieve oil pressure more quickly, preventing a “dry start.” Be careful not to spill the oil while screwing it on.
Hand-Tighten the New Filter
Carefully screw on the new filter (or housing cap for cartridge types). Ensure it threads on smoothly; if you feel resistance, you might be cross-threading it. Remove, realign, and try again. Once the gasket makes contact with the engine block (or the housing cap is seated), tighten it by hand as much as you can. You’ll feel it snug up.
Final Tightening
For most spin-on filters, after hand-tightening, give it an additional three-quarters to one full turn with your oil filter wrench. This is a common practice when you change oil filter without draining oil. Do not overtighten! Overtightening can damage the filter, crush the gasket, or make future removal extremely difficult, leading to leaks. Some manufacturers specify a torque value in the owner’s manual; if so, use a torque wrench to ensure precise tightening. For cartridge filters, follow the torque specification usually printed on the housing cap itself.
Post-Installation Checks
Top Up Engine Oil (If Necessary)
The amount of oil lost during a filter change without draining the main oil supply is typically minimal – usually a quarter to half a quart, depending on the filter size and how quickly you worked. Check your engine’s oil dipstick. If the level is below the “full” mark, add a small amount of fresh oil through the engine’s oil fill cap, checking the dipstick frequently, until the level is correct.
Start the Engine and Check for Leaks
Remove your tools and the drain pan from under the vehicle. Start the engine and let it run for a few minutes. While it’s running, immediately check around the new oil filter for any signs of leaks. Look for drips, streams, or wetness. If you see a leak, shut off the engine immediately. A common cause is an improperly seated gasket or an overtightened/undertightened filter.
Final Oil Level Check
After running the engine for a few minutes and ensuring there are no leaks, shut it off and wait about 5-10 minutes for the oil to settle back into the oil pan. Then, check the oil dipstick one last time to confirm the oil level is correct. Adjust if necessary.
Important Considerations and Tips
- Not a Routine Maintenance: Again, emphasize that changing an oil filter without draining oil is an exception, not the rule. Regular full oil and filter changes are paramount for engine longevity.
- Vehicle Specifics Matter: The orientation of your oil filter (vertical vs. horizontal) significantly impacts how much oil will spill. Horizontal filters tend to be messier.
- Warm vs. Cold Engine: Some prefer to do this on a cold engine to minimize oil flow and heat. Others prefer a slightly warm engine (not hot) as the oil is less viscous and can drain from the filter quicker. For minimizing mess, a cold engine is often preferable when only changing the filter.
- Have Plenty of Absorbent Materials: You can never have too many rags or a roll of paper towels. Consider using oil-absorbent pads if available.
- Proper Disposal: Collect any spilled or old oil in a sealed container and dispose of it responsibly at an authorized recycling center.
Troubleshooting Common Issues
Even with the best preparation, issues can arise. Here’s how to troubleshoot them:
Leaks After Installation
If you spot a leak after starting the engine, shut it off immediately. The most common culprits are:
- Improperly Tightened Filter: The filter might be too loose or, paradoxically, overtightened, which can crush the gasket. Try tightening it slightly more (if loose) or, if you suspect overtightening, remove the filter, inspect the gasket for damage, replace if needed, lubricate, and re-install with proper hand-tightening plus the recommended turn.
- Damaged Gasket: The new filter’s gasket might have been damaged during installation, or a piece of the old gasket was left on the engine block. Remove the filter, inspect thoroughly, clean the mating surface, and reinstall with a fresh, lubricated gasket if necessary.
Filter is Stuck or Difficult to Remove
Old filters can sometimes be incredibly tight.
- Proper Wrench: Ensure you’re using the correct type and size of oil filter wrench.
- Leverage: Sometimes a longer handle on the wrench provides more leverage.
- Penetrating Oil: In extreme cases, a little penetrating oil applied to the base of the filter (away from any electrical components) can help, but be cautious.
- Punching Through (Last Resort): For spin-on filters that are impossible to turn, carefully drive a large screwdriver through the body of the filter near the base (be extremely careful not to hit anything else) to create a handle for leverage. This is very messy and a last resort when you need to change oil filter without draining oil.
Low Oil Pressure Light On After Filter Change
If the low oil pressure warning light illuminates shortly after starting the engine, shut it off immediately!
- Check Oil Level: The most immediate cause is insufficient oil. Check the dipstick and top up if necessary.
- Filter Not Seated/Leaking: A significant leak or a filter that isn’t fully seated could cause a rapid drop in oil pressure. Recheck the filter for proper installation and leaks.
- Dry Start Issue: If you didn’t pre-fill the filter, it might take a moment longer for oil pressure to build. However, if the light stays on, don’t keep running the engine. Address the above points first.
Conclusion
So, can you change oil filter without draining the oil? The answer is a conditional yes. It’s a feasible task, but one that demands careful attention, the right tools, and an understanding of its limitations. While it can be a convenient solution for specific situations like replacing a faulty filter or an incorrectly installed one, it’s crucial to remember that this procedure is not a substitute for a full, regular oil and filter change.
Always prioritize your vehicle’s manufacturer’s recommendations for maintenance. When you do embark on an oil filter change without draining the oil, approach it with patience, preparedness, and a commitment to safety. By following the steps outlined in this guide, you can successfully perform this task, minimize mess, and keep your engine running smoothly until its next scheduled full service.

Sagor Jahan is the founder and author of Automopromo.com, dedicated to delivering insightful tips, reviews, and updates in the automotive and promotional industry. With a passion for innovation and clear guidance, Sagor helps readers make informed decisions and stay ahead in the ever-evolving automotive world.

