
Dealing with a stuck oil filter can be incredibly frustrating, especially when you don’t have the specific wrench. This comprehensive guide offers several practical, step-by-step methods to help you remove that stubborn filter using common household tools, ensuring your oil change can proceed smoothly and safely. Discover techniques like the puncture method, DIY strap wrenches, and more, all designed to free your filter without a specialized wrench.
To remove a stuck oil filter without a wrench, try gripping it with a rubber glove or a thick cloth for better traction and turn counterclockwise. You can also use a belt, rope, or sandpaper for extra grip. If it still won’t move, gently tap the filter to loosen the seal, then twist again carefully.
How to Remove Stuck Oil Filter Without Wrench?
Every DIY mechanic faces the moment of truth during an oil change: you’ve drained the old oil, you’re ready to spin off the old filter, and then… it’s stuck. Really stuck. And to make matters worse, your trusty oil filter wrench is nowhere to be found, or perhaps it just doesn’t fit this particular filter. It’s a common, frustrating scenario that can bring your maintenance project to a screeching halt.
Don’t despair! A stuck oil filter doesn’t have to ruin your day or send you running to the mechanic. With a bit of ingenuity and some common household tools, you can successfully remove a stuck oil filter without a wrench. This comprehensive guide will walk you through several effective, step-by-step methods, offering practical tips and troubleshooting advice to help you get that stubborn filter off and complete your oil change. We’ll explore techniques that range from simple hand-gripping to more robust, creative solutions. So, roll up your sleeves, gather your wits, and let’s get that stuck oil filter moving!
Key Takeaways
- Safety First: Always prioritize safety by working on a cool engine, wearing protective gear, and using proper lifting equipment if needed.
- Multiple DIY Methods: There isn’t just one way to remove a stuck oil filter without a wrench; explore options like the screwdriver puncture method, DIY strap wrenches, and vice grips.
- Patience is Crucial: A stuck filter often requires persistence and careful application of force. Rushing can lead to damage or injury.
- Counter-Clockwise is Key: Remember to always turn the oil filter counter-clockwise (lefty-loosey) to loosen it, even when improvising tools.
- Preventative Measures: Learn how to properly install your new oil filter to avoid future sticking issues, focusing on hand-tightening and proper gasket lubrication.
- Consider Professional Help: If all DIY attempts fail and you risk further damage, don’t hesitate to seek assistance from a professional mechanic.
- Clean Up is Essential: Be prepared for oil spills with plenty of rags and a drain pan, as some methods can be messy.
Quick Answers to Common Questions
What if I don’t have a screwdriver for the puncture method?
You can use a sturdy metal chisel, an old rebar, or any strong, pointed metal object that can be hammered through the filter. Just ensure it’s long enough to provide good leverage and won’t bend easily.
Can I use duct tape for a DIY strap wrench?
While tempting, duct tape is generally too stretchy and lacks the tensile strength to effectively grip and turn a severely stuck oil filter. Stronger materials like an old leather belt, robust rope, or sandpaper are far more effective.
Is it safe to get oil on my hands during this process?
While used engine oil isn’t immediately toxic, prolonged skin exposure can be harmful. Always wear gloves to protect your skin from oil and potential cuts, especially when dealing with sharp edges created by some removal methods.
What if I accidentally puncture the engine block instead of the filter?
This is a serious concern. If you suspect you’ve damaged the engine block or another vital component, do not try to start the vehicle. Call a professional mechanic immediately. This is why careful aiming and applying appropriate force are crucial.
How do I know if my oil filter is just hand-tightened or actually stuck?
If you can’t get any movement with firm, two-handed pressure (even with gloves or sandpaper for grip), it’s likely more than just hand-tightened. Filters that are only hand-tightened usually give way with a strong twist, while truly stuck ones feel like they’re welded on.
Before You Begin: Safety First and Preparation
Working under a vehicle or with hot engine components always requires caution. Before attempting to remove a stuck oil filter without a wrench, ensure you’re prepared and safe.
Gather Your Gear
- Safety Glasses and Gloves: Protect your eyes from drips and your hands from oil and sharp edges.
- Drain Pan: Essential for catching residual oil, as some methods can be messy.
- Rags or Old Towels: For cleanup. Plenty of them!
- Jack Stands: If you’re lifting the vehicle, never rely solely on a jack. Always use sturdy jack stands on a level surface.
- New Oil Filter and Oil: Have these ready for when the old filter finally comes off.
- Cool Engine: Always work on an engine that has cooled down completely to avoid burns.
Understand the Direction
Always remember: “Leftie loosey, righty tighty.” To loosen an oil filter, you need to turn it counter-clockwise. This applies to all methods we’ll discuss for how to remove a stuck oil filter without a wrench.
Method 1: The Puncture Method (Screwdriver or Chisel)
This is perhaps the most well-known and often effective way to remove a stuck oil filter without a wrench, but it’s also the most destructive to the filter itself. It relies on leverage.
Visual guide about How to Remove Stuck Oil Filter Without Wrench?
Image source: montmarte.com
Step 1: Position Your Drain Pan
Place your oil drain pan directly beneath the oil filter. When you puncture the filter, some oil will inevitably come out.
Step 2: Choose Your Weapon
Grab a long, sturdy flat-head screwdriver or a metal chisel. The longer the tool, the more leverage you’ll have.
Step 3: Puncture the Filter Body
Carefully drive the screwdriver or chisel through the side of the oil filter housing. Aim for a spot about two-thirds of the way down from the top, avoiding the very top flange, which is structurally stronger. Ensure you drive it through both sides of the filter, creating a clean hole, or at least far enough to embed it firmly.
- Practical Tip: Make sure you’re not aiming for any vital engine components or hoses behind the filter. Look behind it first!
Step 4: Leverage and Turn
Once the screwdriver is firmly lodged through the filter, use it as a handle. Grip the handle of the screwdriver and twist it counter-clockwise. You’re essentially creating a makeshift lever. The filter should start to turn. If it doesn’t turn easily, you might need to try a second puncture on the opposite side of the filter for more leverage, or adjust the angle of your existing puncture.
- Practical Tip: Apply steady, firm pressure. Jerking motions can tear the metal and make the situation worse.
Step 5: Unscrew and Remove
Once the filter breaks free, continue to unscrew it by hand until it’s completely off. Be ready for a gush of oil as the filter comes loose. Dispose of the old filter and oil properly.
Method 2: DIY Strap Wrench (Belt, Sandpaper, or Rope)
This method aims to create friction and leverage around the filter without damaging its housing, which can be less messy than the puncture method if successful.
Visual guide about How to Remove Stuck Oil Filter Without Wrench?
Image source: backyardcorner.com
Step 1: Find Your “Strap”
Look for a sturdy material that can wrap tightly around the filter. Excellent choices include:
- An old leather belt: Sturdy and often has a buckle for tension.
- A piece of strong rope or webbing: Something that won’t stretch too much.
- A strip of sandpaper: Rough side facing the filter for maximum grip.
Step 2: Create a Grip
Using a Belt:
- Wrap the belt around the filter, as close to the base as possible.
- Thread the end of the belt through the buckle to create a loop.
- Tighten the belt as much as possible around the filter.
- Use the excess belt as a handle and pull it counter-clockwise. The tension should grip the filter and allow it to turn.
Using Sandpaper:
- Cut a strip of coarse sandpaper (e.g., 80-grit) long enough to wrap around the filter once or twice.
- Wrap the sandpaper around the filter with the abrasive side facing the filter.
- Grab both ends of the sandpaper firmly with one hand (or use a helper).
- With your other hand, or another tool providing leverage on the sandpaper ends, twist counter-clockwise. The sandpaper significantly increases friction, allowing you to grip and turn the filter.
Using Rope or Webbing:
- Wrap the rope tightly around the filter, again, as close to the base as possible.
- Tie a knot to secure it, or simply hold the ends firmly.
- Insert a sturdy rod, screwdriver, or another tool into the loop created by the rope/webbing.
- Use this rod as leverage, pulling it counter-clockwise to rotate the filter.
Step 3: Apply Force and Turn
With any of these DIY strap methods, the key is to apply continuous, firm pressure in the counter-clockwise direction. The friction created by your improvised strap should eventually break the filter’s seal and allow it to turn. Once it loosens, you can usually remove it by hand.
Method 3: Vice Grips or Large Channel Locks
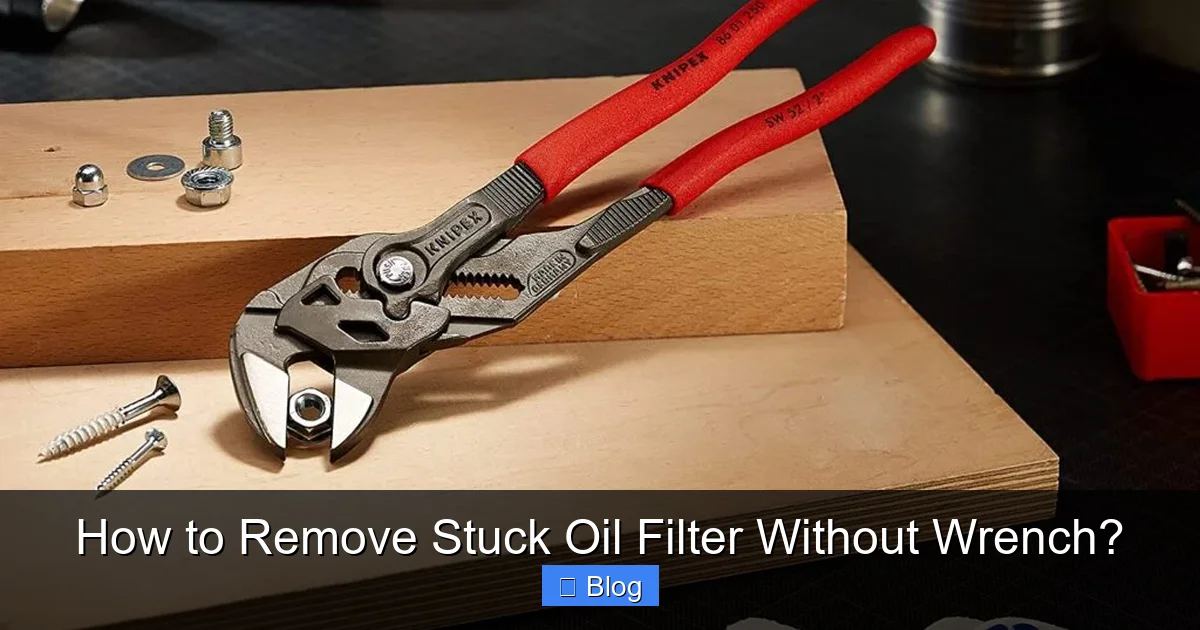
If you have access to a pair of large vice grips (locking pliers) or channel locks, these can be incredibly effective for how to remove a stuck oil filter without a wrench.
Step 1: Position the Tool
Open the jaws of your vice grips or channel locks wide enough to fit around the oil filter. Get as close to the base (the part that screws into the engine) as possible, as this is the strongest part of the filter and will give you the most leverage without crushing the entire filter body.
Step 2: Lock and Tighten
Clamp the vice grips onto the filter as tightly as you can. For channel locks, adjust the jaws to get a super tight grip. The goal is to bite into the metal of the filter housing without completely crushing it, but a little deformation is expected.
Step 3: Twist Counter-Clockwise
Once you have a firm grip, use the vice grips or channel locks to twist the filter counter-clockwise. You might need to adjust your grip a few times if the filter is exceptionally stubborn or if the tool slips. The biting action of these tools usually provides enough grip to break the filter free.
- Practical Tip: If the filter is badly corroded or the tool keeps slipping, try to “chew” into the filter metal a bit to get a more secure grip.
Step 4: Remove by Hand
As soon as the filter loosens and you feel it give way, continue unscrewing it by hand to avoid further damage or oil spills.
Method 4: Hammer and Chisel (More Aggressive)
This method is a last resort, similar to the screwdriver puncture method but often more destructive. It’s for when the filter is truly cemented on.
Step 1: Position Your Drain Pan
Ensure your drain pan is directly underneath, as this method will almost certainly cause oil to spill.
Step 2: Angle the Chisel
Take a sturdy metal chisel and position its sharp edge against the outer rim of the oil filter, as close to the engine block as possible. Angle the chisel so that when you strike it with a hammer, the force will be directed counter-clockwise.
- Visual Aid: Imagine you’re trying to tap the filter to make it spin left.
Step 3: Tap Gently, Then Firmer
With a hammer, gently tap the back of the chisel. Start with light taps and increase force if necessary. The goal is to make the filter rotate, not to punch a hole straight through it (though that might happen). Work your way around the filter, tapping at different points on the rim if it doesn’t budge.
- Caution: Be extremely careful not to hit any other engine components. This method requires precision.
Step 4: Continue Turning
Once the filter starts to rotate, continue tapping or try to get a better grip with your hand or another tool to fully unscrew it. Be prepared for a messy cleanup.
Method 5: Hand-Gripping (If it’s Just a Little Stuck)
Sometimes, a filter is just a little tighter than expected, and you don’t necessarily need a full-blown tool. This method is quick and clean if it works.
Step 1: Enhance Your Grip
Put on a pair of rubber work gloves, mechanics gloves, or even gardening gloves for extra grip. If you don’t have gloves, a piece of sandpaper or an old rag wrapped around the filter can also provide better traction.
Step 2: Twist Firmly
Wrap both hands around the oil filter, gripping it as tightly as possible. Twist with all your might in the counter-clockwise direction. Try to apply even pressure around the entire filter. Sometimes, the initial “break” is the hardest part, and then it spins off easily.
- Practical Tip: If your hands are slipping, try drying the filter and your hands completely, or use the sandpaper trick described in Method 2 directly with your hands.
Troubleshooting: What If It’s Still Stuck?
You’ve tried everything, and that oil filter is still laughing at you. Here’s what to consider:
- Re-assess Your Angle/Grip: Are you truly getting maximum leverage? Can you reposition your tool or grip for a better bite?
- Apply Penetrating Oil: While less effective on filters than bolts, a little penetrating oil (like WD-40 or PB Blaster) around the base where the filter meets the engine might help. Let it soak for 15-30 minutes.
- Heat (Extreme Caution): In rare, extreme cases, very gentle heat from a heat gun or propane torch applied to the *outer edge* of the filter might help expand the metal slightly. This is very risky and can damage other components or cause a fire. This should only be attempted by experienced individuals with appropriate fire safety precautions. Generally, avoid heat on oil filters due to flammability.
- Double-Check Direction: Are you absolutely sure you’re turning counter-clockwise? It sounds obvious, but under stress, mistakes happen.
- Seek Professional Help: If you’ve exhausted all options and risk damaging your engine block or other vital components, it’s time to call a professional mechanic. The cost of a tow and repair might be less than repairing a stripped engine block.
Preventative Measures: Avoiding a Stuck Filter in the Future
Once you’ve successfully managed to remove a stuck oil filter without a wrench, you’ll want to ensure this never happens again. Proper installation is key:
- Lubricate the Gasket: Before installing a new oil filter, apply a thin film of fresh engine oil to the rubber gasket on the new filter. This creates a better seal and prevents the rubber from sticking to the engine block.
- Hand-Tighten Only: Screw the new filter on by hand until the gasket makes contact with the engine block. Then, give it an additional 3/4 to 1 full turn (check your vehicle’s manual for specific instructions). Never overtighten with a wrench. Hand-tightening is sufficient and makes removal much easier next time.
- Clean the Mounting Surface: Before installing the new filter, wipe down the engine’s oil filter mounting surface to ensure it’s clean and free of old gasket material.
Conclusion
Successfully dealing with a stuck oil filter without a wrench can feel like a major victory. It highlights the ingenuity and resourcefulness that every DIY mechanic possesses. From the destructive but effective puncture method to improvised strap wrenches and vice grips, there are multiple paths to success. Remember to always prioritize safety, work carefully, and don’t be afraid to try different approaches.
While these methods will help you remove a stuck oil filter without a wrench, the ultimate goal is to prevent the problem from occurring again. By properly lubricating the new filter’s gasket and hand-tightening it to the manufacturer’s specifications, you’ll ensure your next oil change is a smooth, frustration-free experience. Happy wrenching – or, in this case, happy non-wrenching!

Sagor Jahan is the founder and author of Automopromo.com, dedicated to delivering insightful tips, reviews, and updates in the automotive and promotional industry. With a passion for innovation and clear guidance, Sagor helps readers make informed decisions and stay ahead in the ever-evolving automotive world.

