
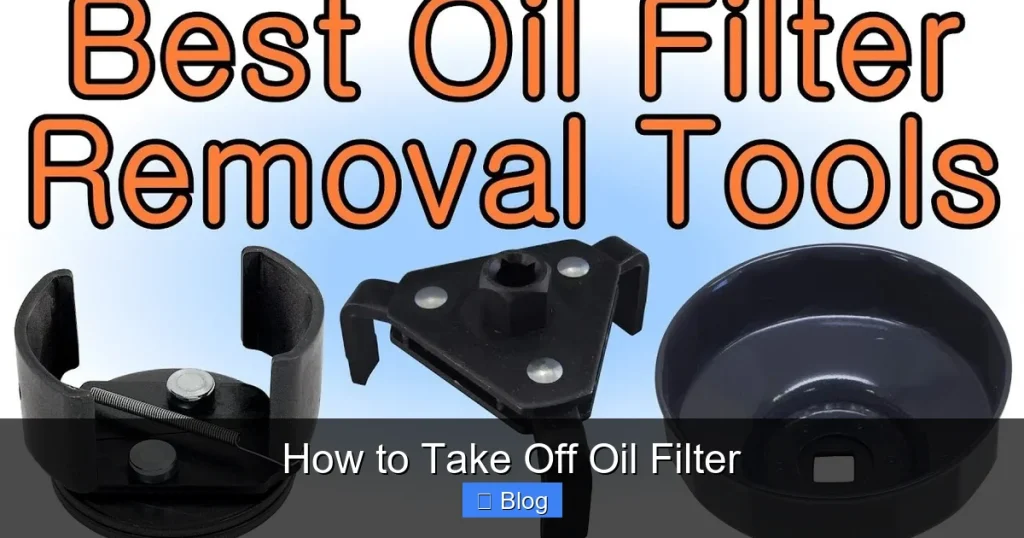
This guide walks you through the process of how to take off an oil filter safely and effectively. You’ll learn the right tools, techniques, and precautions to avoid spills and damage during your next oil change.
To take off an oil filter, first turn off the engine and let it cool. Place a drain pan underneath. Use an oil filter wrench to turn the filter counterclockwise. If it’s tight, apply steady pressure. Once loose, unscrew it by hand. Let excess oil drain, then wipe the mounting surface clean before installing a new filter.
Key Takeaways
- Prepare your workspace: Park on level ground, let the engine cool, and gather all necessary tools before starting.
- Use the right tools: A quality oil filter wrench, drain pan, gloves, and rags are essential for a smooth removal process.
- Drain oil first: Always remove the drain plug and let the oil fully drain before attempting to remove the filter.
- Break the seal gently: Turn the filter counterclockwise slowly to avoid tearing the rubber gasket, which can cause leaks.
- Inspect and clean: Check the old filter and mounting surface for debris or damage before installing a new filter.
- Dispose responsibly:</> Recycle used oil and filters at approved centers to protect the environment.
- Follow torque specs: When installing the new filter, hand-tighten only—overtightening can damage threads.
Quick Answers to Common Questions
Tip/Question?
Can I reuse an old oil filter?
No, oil filters are designed for single use. Reusing one reduces efficiency and can lead to engine damage.
Tip/Question?
How often should I change the oil filter?
Replace the oil filter every time you change your oil—typically every 3,000 to 7,500 miles, depending on your vehicle and driving conditions.
Tip/Question?
What if I can’t reach the oil filter?
Use a filter wrench with an extension or consider a remote oil filter kit for hard-to-reach locations.
Tip/Question?
Is it okay to change the oil filter without changing the oil?
No. The filter traps contaminants from old oil. Always replace both during an oil change for best results.
Tip/Question?
Can I use any oil filter wrench?
Choose one that fits your filter size and location. Strap wrenches work for most, but socket types are better for tight spaces.
How to Take Off Oil Filter: A Complete Step-by-Step Guide
Changing your car’s oil is one of the most important maintenance tasks you can do to keep your engine running smoothly. While draining the oil is straightforward, knowing how to take off an oil filter properly is just as critical. A stuck or improperly removed filter can lead to oil leaks, engine damage, or even injury.
In this guide, we’ll walk you through the entire process—from preparation to cleanup—so you can remove your oil filter safely and confidently. Whether you’re a first-time DIYer or a seasoned mechanic, these steps will help you avoid common mistakes and get the job done right.
Why Removing the Oil Filter Matters
The oil filter plays a vital role in your engine’s health. It traps dirt, metal particles, and sludge, preventing them from circulating through the engine. Over time, the filter becomes clogged and must be replaced during every oil change.
If you skip replacing the filter or remove it incorrectly, you risk:
- Reduced oil flow
- Engine overheating
- Premature engine wear
- Oil leaks due to damaged gaskets
That’s why learning how to take off an oil filter the right way is essential for long-term vehicle performance.
Tools and Materials You’ll Need
Before you begin, gather these items to ensure a smooth process:
- Oil filter wrench (strap, band, or socket type)
- Socket wrench or ratchet set
- Oil drain pan (at least 5-quart capacity)
- Funnel
- New oil filter (correct model for your vehicle)
- New engine oil (check your owner’s manual for type and amount)
- Gloves (nitrile or mechanic’s gloves)
- Safety goggles
- Shop rags or paper towels
- Jack and jack stands or ramps (if needed for access)
- Drip tray or cardboard (to protect the ground)
Having everything ready saves time and prevents frustration mid-job.
Step 1: Prepare Your Vehicle
Park on a Level Surface
Start by parking your car on a flat, level surface. This ensures oil drains completely and prevents spills. Engage the parking brake and turn off the engine.
Visual guide about How to Take Off Oil Filter
Image source: jeepzine.com
Visual guide about How to Take Off Oil Filter
Image source: i.ytimg.com
Let the Engine Cool
Never work on a hot engine. Wait at least 15–30 minutes after driving to avoid burns from hot oil or engine parts. If you just drove, let it sit longer.
Lift the Vehicle (If Needed)
Some cars have the oil filter in a hard-to-reach spot underneath. Use a jack and jack stands or drive onto ramps for better access. Never rely solely on a jack—always use stands for safety.
Protect the Ground
Place a drip tray or cardboard under the oil pan and filter area to catch spills and protect your driveway or garage floor.
Step 2: Drain the Old Oil
Locate the Oil Drain Plug
The drain plug is usually a large bolt on the bottom of the oil pan. Refer to your owner’s manual if you’re unsure.
Position the Drain Pan
Slide the drain pan directly under the plug. Make sure it’s large enough to hold all the oil—most cars hold 4–6 quarts.
Remove the Drain Plug
Use a socket wrench to turn the plug counterclockwise. Hold the pan steady as oil begins to flow. Let it drain completely—this can take 5–10 minutes.
Replace the Drain Plug
Once drained, clean the plug and reinstall it. Tighten it snugly, but don’t over-torque. A common mistake is stripping the threads by overtightening.
Step 3: Locate the Oil Filter
Find the Filter
The oil filter is typically a cylindrical canister near the engine block. It may be on the side, top, or bottom of the engine. Consult your manual if you can’t locate it.
Check Access
Some filters are easy to reach by hand. Others are tucked under components or in tight spaces. You may need to remove a splash shield or air intake duct for access.
Step 4: Remove the Oil Filter
Prepare for Spillage
Even after draining, some oil remains in the filter. Place your drain pan or a rag underneath to catch drips.
Loosen the Filter
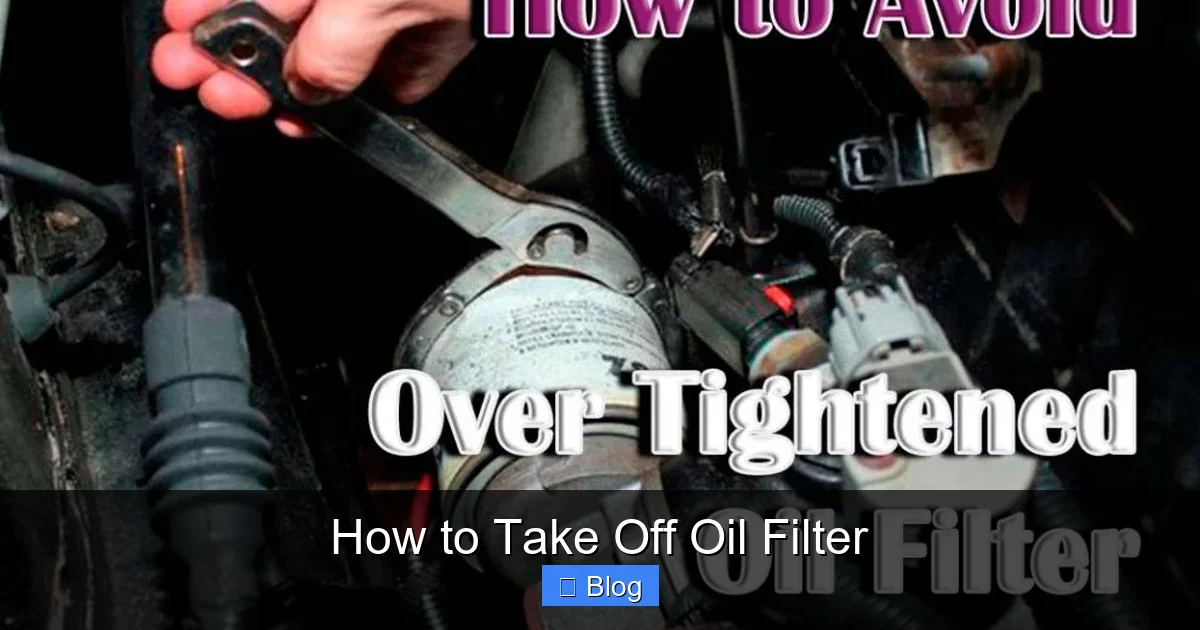
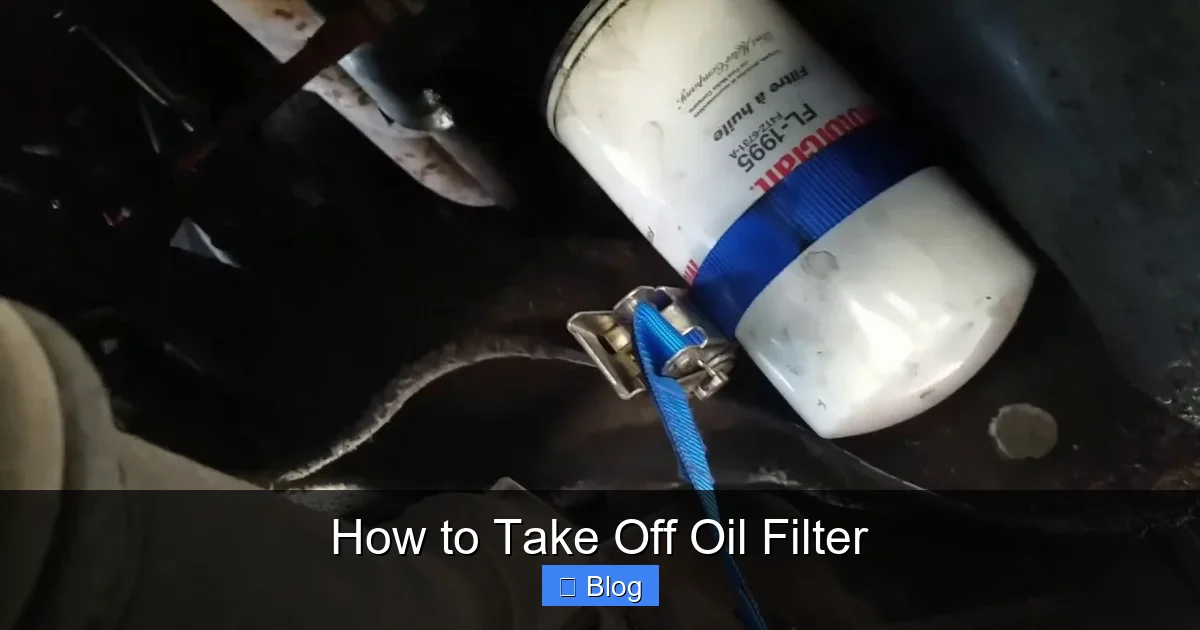
Grab the filter with your hand and turn it counterclockwise. If it’s tight, use an oil filter wrench:
- Strap wrench: Wrap the band around the filter and pull the handle.
- Band wrench: Squeeze the handles to grip and turn.
- Socket wrench: Fits specific filter sizes—great for tight spaces.
Break the Seal
Once loosened, continue turning by hand. Be gentle—don’t yank it off. The rubber gasket may stick, so twist slowly to avoid tearing it.
Remove and Inspect
Lift the filter straight out. Check the old filter for metal shavings or sludge—these could indicate engine problems. Also, inspect the mounting surface on the engine for debris or damage.
Step 5: Clean the Mounting Surface
Wipe the Area
Use a clean rag to wipe the filter mounting surface. Remove any old gasket material, oil residue, or dirt. A clean surface ensures a proper seal with the new filter.
Check the Gasket
Sometimes, the old gasket sticks to the engine instead of coming off with the filter. If you see it, carefully peel it off. Leaving it on can cause leaks.
Step 6: Install the New Oil Filter
Prep the New Filter
Dip your finger in fresh oil and lightly coat the rubber gasket on the new filter. This helps create a better seal and prevents the gasket from tearing during installation.
Hand-Tighten Only
Thread the new filter onto the engine by hand. Turn it clockwise until the gasket makes contact. Then, give it another ¾ to 1 full turn. Do not use a wrench to tighten—this can over-compress the gasket and cause leaks.
Double-Check Alignment
Make sure the filter is straight and not cross-threaded. A crooked filter can leak or fail prematurely.
Step 7: Add New Oil
Use a Funnel
Insert a funnel into the oil filler cap (usually on top of the engine). Pour in the recommended amount and type of oil. Check your owner’s manual for specifics.
Check the Oil Level
Wait a minute, then use the dipstick to check the level. Add more oil if needed, but avoid overfilling.
Start the Engine
Turn the key to start the engine and let it run for 10–15 seconds. This circulates oil and fills the new filter. Turn it off and wait a minute, then recheck the oil level.
Troubleshooting Common Issues
Stuck Oil Filter
If the filter won’t budge:
- Use a longer wrench or breaker bar for more leverage.
- Tap the wrench gently with a hammer to break the seal.
- As a last resort, puncture the filter with a screwdriver and use it as a handle—but be careful not to damage the engine.
Leaking After Installation
If oil leaks after starting the engine:
- Check if the old gasket is still on the engine.
- Ensure the new filter is hand-tight, not over-tightened.
- Verify the correct filter model was used.
Filter Won’t Thread On
If the new filter won’t screw on:
- Check for cross-threading—remove and try again.
- Ensure the mounting surface is clean.
- Confirm you have the right filter for your vehicle.
Safety and Environmental Tips
- Always wear gloves and safety goggles to protect your skin and eyes from hot oil.
- Never smoke or use open flames near oil—it’s flammable.
- Dispose of used oil and filters at a recycling center or auto parts store. Most accept them for free.
- Never pour oil down drains or on the ground—it’s harmful to the environment.
Conclusion
Learning how to take off an oil filter is a simple but essential skill for any car owner. With the right tools, preparation, and technique, you can remove and replace your filter safely and effectively. Not only does this save you money on mechanic fees, but it also gives you greater control over your vehicle’s maintenance.
Remember: always drain the oil first, use the correct tools, and hand-tighten the new filter. Take your time, stay safe, and dispose of waste responsibly. With practice, this process will become second nature—and your engine will thank you with smoother performance and longer life.

Sagor Jahan is the founder and author of Automopromo.com, dedicated to delivering insightful tips, reviews, and updates in the automotive and promotional industry. With a passion for innovation and clear guidance, Sagor helps readers make informed decisions and stay ahead in the ever-evolving automotive world.

