
How to Loosen a Stuck Oil Filter? The exact answer is to use an oil filter wrench for extra grip, turn the filter counterclockwise, and apply steady pressure; if it still won’t move, use penetrating oil and allow it to sit before trying again. This method safely breaks the seal without damaging engine components.
A stuck oil filter usually happens because it was overtightened, installed dry, or exposed to heat for a long time. As the engine runs, heat can cause the metal to expand, making removal harder. Using the proper tool instead of a screwdriver prevents damage and oil spills.
Before attempting removal, make sure the engine is cool and the vehicle is secure. Wearing gloves improves grip and protects your hands. With patience and the right technique, you can loosen a stuck oil filter safely and complete your oil change without unnecessary frustration.
Key Takeaways
- Use the right tool: A quality oil filter wrench or strap wrench greatly increases your chances of success.
- Apply heat carefully: Warming the engine block with a hairdryer or heat gun can expand metal and break the seal.
- Penetrating oil helps: Spraying around the base with WD-40 or PB Blaster loosens rust and corrosion.
- Protect your hands and eyes: Always wear gloves and safety glasses when using force or power tools.
- Prevent future sticking: Lightly coat the new filter’s gasket with fresh oil before installing.
- Know when to stop: If the filter is severely damaged, consider professional help to avoid engine damage.
- Work safely: Never use excessive force that could crack the oil pan or damage threads.
Quick Answers to Common Questions
Tip/Question?
Can I use a regular wrench to remove an oil filter?
No—standard wrenches don’t grip round filters well and can slip, causing injury or damage. Always use a dedicated oil filter wrench.
Tip/Question?
How tight should I install a new oil filter?
Hand-tighten only. Once the gasket touches the engine, turn it a quarter-turn more. Over-tightening causes sticking and leaks.
Tip/Question?
Is it safe to use a torch to heat a stuck filter?
Only if you’re experienced and the area is clear of flammable materials. A heat gun or hairdryer is safer for most DIYers.
Tip/Question?
What if the old gasket is stuck to the engine?
Carefully remove it with a plastic scraper or your fingernail. Leaving it on can cause leaks with the new filter.
Tip/Question?
Can I reuse an oil filter wrench?
Yes—most are durable and designed for repeated use. Clean it after each oil change to prevent rust and wear.
How to Loosen a Stuck Oil Filter?
Changing your car’s oil is one of the simplest and most important maintenance tasks you can do. But nothing ruins the mood faster than a stubborn, stuck oil filter that won’t budge—no matter how hard you twist. Don’t panic! A stuck oil filter is more common than you think, especially if it’s been on there for years or was over-tightened during the last oil change.
The good news? With the right approach, tools, and a little patience, you can remove even the most stubborn filter safely and without damaging your engine. In this guide, we’ll walk you through step-by-step methods to loosen a stuck oil filter, from basic hand techniques to advanced tricks. Whether you’re a DIY beginner or a seasoned mechanic, these tips will help you get the job done right.
Why Do Oil Filters Get Stuck?
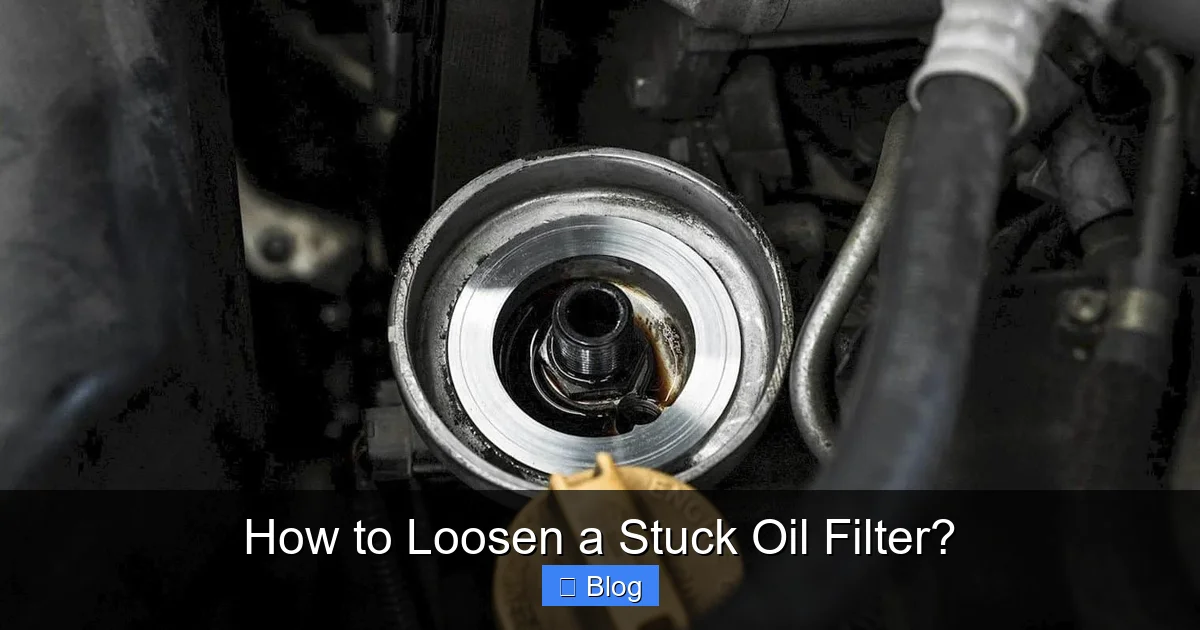
Visual guide about How to Loosen a Stuck Oil Filter?
Image source: curateview.com
Before we dive into solutions, it helps to understand why oil filters become stuck in the first place. Knowing the cause can help you choose the best removal method and prevent it from happening again.
- Over-tightening: Many people think “tighter is better,” but over-tightening can crush the filter’s casing and fuse it to the engine block.
- Corrosion and rust: Moisture and heat can cause metal parts to corrode, especially in older vehicles or humid climates.
- Dried gasket: The rubber gasket on the filter can dry out, harden, and stick to the engine surface like glue.
- Lack of lubrication: Installing a filter without oiling the gasket makes it more likely to bind during removal.
- Heat expansion: Metal expands when hot, and if the engine was recently running, the filter may have tightened as it cooled.
Understanding these factors helps you approach the problem strategically—rather than just yanking harder.
Tools You’ll Need
Visual guide about How to Loosen a Stuck Oil Filter?
Image source: i.ytimg.com
Before you start, gather these tools. Having them ready will save time and reduce frustration.
- Oil filter wrench (chain, strap, or socket type)
- Rubber mallet or hammer
- Penetrating oil (WD-40, PB Blaster, or similar)
- Heat source (hairdryer, heat gun, or even a propane torch—use with caution)
- Screwdriver and pliers (for emergency methods)
- Safety gloves and goggles
- Rags or paper towels
- Drain pan (to catch any spilled oil)
Having the right tools on hand makes all the difference. A good oil filter wrench is worth its weight in gold—especially the adjustable strap or chain types that grip tightly without slipping.
Step-by-Step: How to Loosen a Stuck Oil Filter
Now let’s get into the actual process. Follow these steps in order, and stop if the filter comes loose. Don’t skip ahead unless the earlier methods fail.
Step 1: Let the Engine Cool (But Not Too Much)
If you’ve just driven the car, let it sit for 10–15 minutes. You want the engine warm—not hot. Warm metal expands slightly, which can help break the seal. However, if the engine is scorching hot, you risk burns and warping components.
A warm engine also helps penetrating oil work faster. Cold engines make metal contract, which can tighten the grip even more.
Step 2: Apply Penetrating Oil
Spray a generous amount of penetrating oil (like WD-40 or PB Blaster) around the base of the filter where it meets the engine block. Focus on the seam between the filter and the mounting surface.
Let it sit for at least 10–15 minutes. For really stubborn filters, wait up to an hour. The oil needs time to seep into tiny gaps and break down rust or corrosion.
Pro tip: Use a small brush or rag to work the oil into the seam. This helps it penetrate deeper.
Step 3: Use an Oil Filter Wrench
Now it’s time to apply mechanical force. Choose the right wrench for your filter:
- Strap wrench: Wraps around the filter with a chain or band. Great for tight spaces.
- Chain wrench: Similar to a strap but uses a metal chain for extra grip.
- Socket-style wrench: Fits over the end of the filter. Only works if the filter has a hex nut or notches.
- Pliers-style wrench: Has jaws that clamp onto the filter. Can damage the casing if not careful.
Position the wrench securely and turn counterclockwise. Use steady, firm pressure—don’t jerk or twist wildly. If it doesn’t move after a few tries, stop and try the next method.
Step 4: Tap the Filter Gently
Sometimes a little vibration helps break the seal. Use a rubber mallet or the handle of a screwdriver to tap around the sides of the filter.
Don’t hit it like you’re driving a nail—gentle taps are enough. The goal is to shock the metal slightly, not damage it.
After tapping, try the wrench again. You might feel it loosen just enough to turn.
Step 5: Apply Heat (Carefully)
If the filter still won’t budge, heat can help. Use a hairdryer or heat gun to warm the area around the filter base. Focus on the engine block, not the plastic parts of the filter.
Heat causes metal to expand, which can break the bond between the filter and the engine. Let it heat for 2–3 minutes, then try the wrench again.
⚠️ Warning: Never use an open flame (like a blowtorch) unless you’re experienced. It can ignite oil fumes or damage nearby components.
Step 6: The Screwdriver Method (Emergency Only)
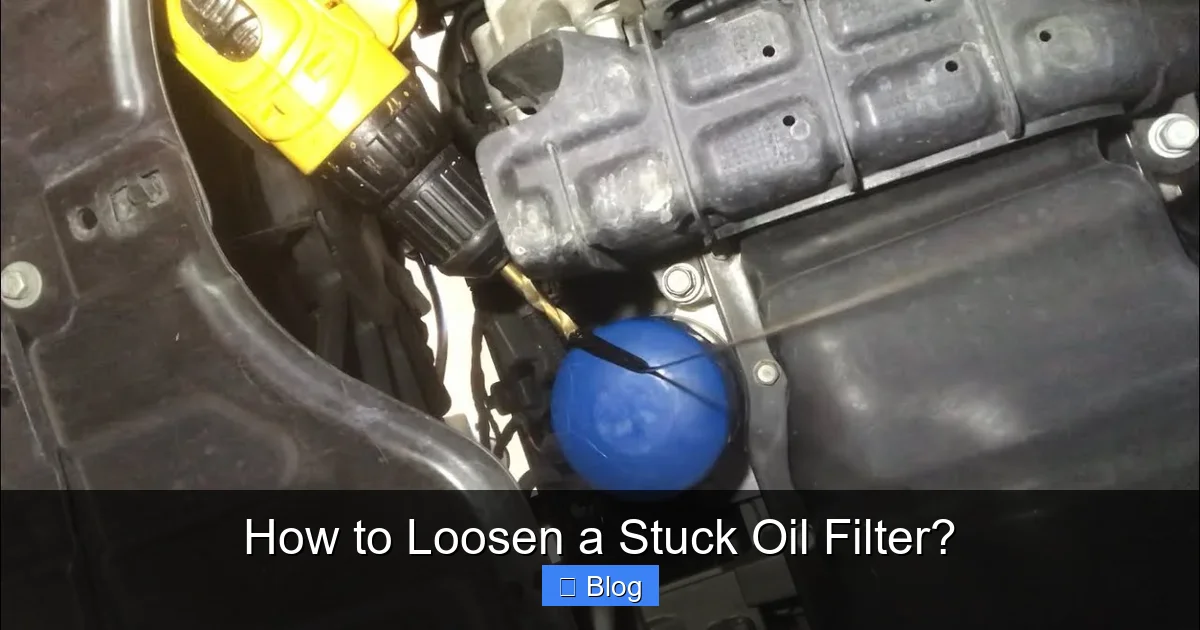
If all else fails, you can use a long screwdriver and hammer to puncture and twist the filter. This is a last resort because it destroys the filter and can make a mess.
- Put on safety goggles and gloves.
- Insert a long screwdriver into the side of the filter, near the base.
- Tap the screwdriver with a hammer to puncture a hole.
- Use the screwdriver as a lever and twist counterclockwise.
This method gives you a solid grip and leverage. Once it starts turning, finish removing it by hand.
Clean up any spilled oil immediately. This method often leaves metal shavings, so inspect the area before installing the new filter.
Step 7: Remove and Inspect
Once the filter is off, inspect the mounting surface. Look for:
- Old gasket stuck to the engine (remove it completely)
- Metal shavings or debris
- Cracks or damage to the oil filter housing
Use a clean rag to wipe the surface. If the old gasket is stuck, carefully scrape it off with a plastic scraper or your fingernail—avoid metal tools that could scratch the surface.
Troubleshooting Common Problems
Even with the best methods, things can go wrong. Here’s how to handle common issues:
Filter is Crushed or Damaged
If the filter is dented or leaking, it may have been over-tightened. Be extra careful when removing it—fragments could fall into the oil system.
Use pliers or vice grips to grip any remaining part of the casing. If it breaks apart, inspect the threads and clean thoroughly.
Oil Pan is Damaged
Using too much force can crack the oil pan or strip the threads. If you feel resistance, stop and reassess. Sometimes a little more penetrating oil or heat is all you need.
If the pan is damaged, you may need to replace it—don’t ignore it, or you’ll have an oil leak.
Filter Won’t Turn Even After All Methods
In rare cases, the filter is fused to the engine. At this point, it’s best to consult a professional mechanic. Forcing it could cause serious engine damage.
How to Prevent a Stuck Oil Filter in the Future
An ounce of prevention is worth a pound of cure. Follow these tips to make your next oil change easier:
- Hand-tighten only: Screw the new filter on by hand until the gasket touches, then give it a quarter-turn more. Never use a wrench to tighten.
- Lubricate the gasket: Apply a thin layer of fresh oil to the rubber gasket before installing. This prevents drying and sticking.
- Use quality filters: Cheap filters may have poor gaskets that degrade faster.
- Change oil regularly: Old oil and sludge increase the risk of corrosion and sticking.
- Check for leaks after installation: A properly installed filter shouldn’t leak. If it does, remove and reinstall it.
Taking these steps now will save you time, money, and frustration down the road.
Conclusion
A stuck oil filter doesn’t have to ruin your day. With the right tools, techniques, and a little patience, you can remove even the most stubborn filter safely and effectively. Remember: slow and steady wins the race. Rushing can lead to damage, spills, or injury.
Start with penetrating oil and a proper wrench. Add heat and vibration if needed. And if all else fails, the screwdriver method can save the day—just be prepared for a mess.
Most importantly, learn from the experience. Prevent future sticking by installing filters correctly and maintaining your vehicle regularly. Your engine—and your sanity—will thank you.
Now go change that oil with confidence!

Sagor Jahan is the founder and author of Automopromo.com, dedicated to delivering insightful tips, reviews, and updates in the automotive and promotional industry. With a passion for innovation and clear guidance, Sagor helps readers make informed decisions and stay ahead in the ever-evolving automotive world.

