
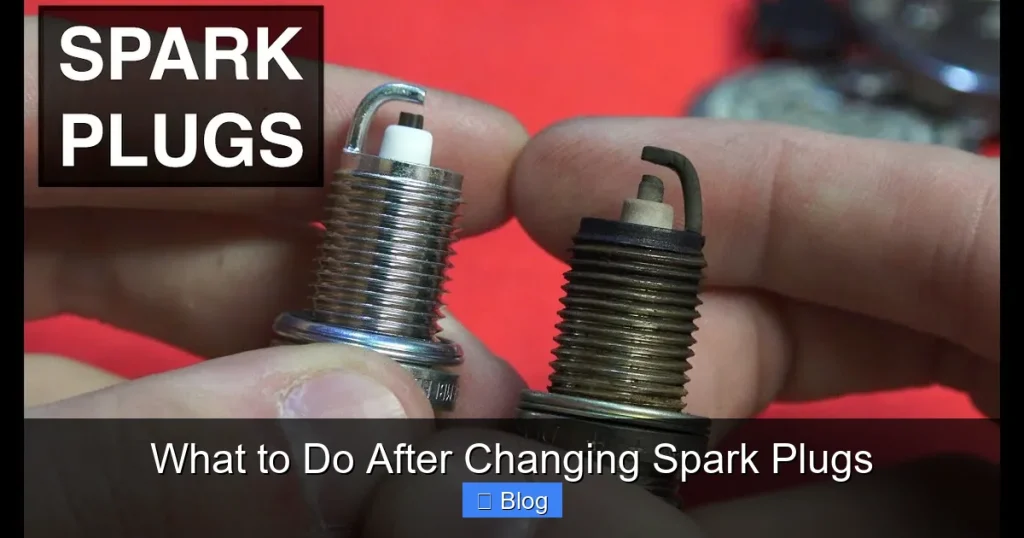
After changing spark plugs, it’s crucial to reconnect everything properly, test the engine, and monitor performance. This guide walks you through the essential steps to ensure your vehicle runs smoothly and safely post-installation.
Changing your spark plugs is one of the most effective ways to maintain your vehicle’s performance, fuel efficiency, and emissions control. But the job isn’t finished once the old plugs are out and the new ones are in. What you do *after* installing new spark plugs can make the difference between a smooth-running engine and a frustrating series of problems like misfires, poor acceleration, or even check engine lights.
In this guide, we’ll walk you through the essential steps to take after changing spark plugs. Whether you’re a DIY enthusiast or a first-time mechanic, following these post-installation procedures will help ensure your engine runs at its best. You’ll learn how to verify proper installation, test your vehicle, troubleshoot common issues, and keep your ride in top shape for miles to come.
Key Takeaways
- Reconnect all components securely: Ensure spark plug wires or coil packs are firmly attached to prevent misfires or electrical issues.
- Start the engine and listen for irregularities: A smooth idle and quiet operation indicate successful installation.
- Check for error codes with an OBD2 scanner: This helps detect any misfires or sensor issues caused during the process.
- Reset the maintenance light (if applicable): Many modern vehicles require a reset after service to clear service reminders.
- Test drive under normal conditions: Observe acceleration, fuel economy, and overall drivability to confirm improvements.
- Inspect for leaks or loose parts: Verify that no oil, coolant, or air intake components were disturbed during the job.
- Keep records of the service: Note the date, mileage, and plug type for future reference and warranty purposes.
Reconnect All Components Properly
After installing new spark plugs, the first and most critical step is reconnecting everything exactly as it was. This includes spark plug wires, ignition coil packs, and any sensors or clips you may have removed.
Reattach Spark Plug Wires or Coil Packs
If your vehicle uses traditional spark plug wires, make sure each wire is securely seated on the correct plug. A loose or crossed wire can cause a misfire in the wrong cylinder. For modern coil-on-plug systems, press each coil pack firmly into place until you hear or feel a click. Use a socket or torque wrench if specified in your vehicle’s manual to avoid over-tightening.
Secure Electrical Connectors and Clips
Many ignition coils have small electrical connectors that must be reattached. Check each one to ensure it’s fully plugged in and locked. Also, reattach any wire harness clips or brackets you removed to access the plugs. Loose wires can rub against hot engine parts and cause shorts.
Double-Check Air Intake and Vacuum Lines
If you removed the air intake tube or any vacuum lines to reach the spark plugs, reinstall them carefully. A disconnected vacuum line can cause rough idling or a check engine light. Make sure all clamps are tight and hoses are seated properly.
Start the Engine and Listen for Issues
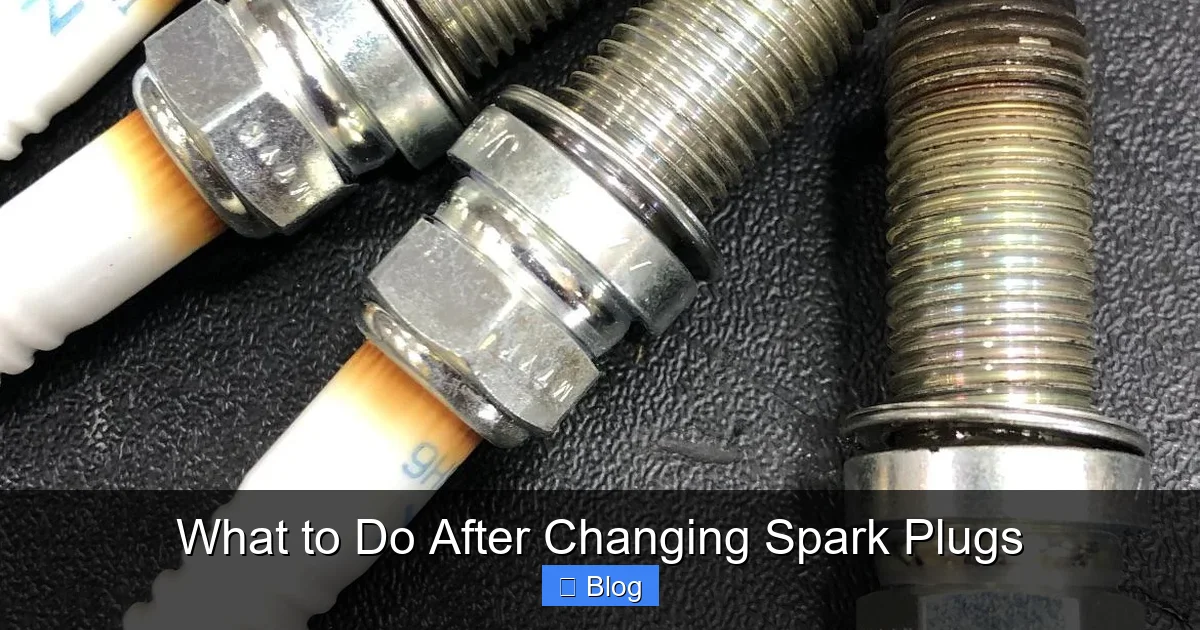
Visual guide about What to Do After Changing Spark Plugs
Image source: i.redd.it
Once everything is reconnected, it’s time to fire up the engine. This step helps you catch problems early before they cause damage.
Turn the Key and Observe
Start the engine and let it idle for a minute or two. Listen for unusual noises such as knocking, sputtering, or hesitation. A properly installed spark plug should result in a smooth, quiet idle. If the engine runs rough or stalls, shut it off immediately and recheck your connections.
Watch the Tachometer
A healthy engine should idle between 600 and 1,000 RPM (depending on the vehicle). If the RPMs are too high or fluctuating, it could indicate a vacuum leak or incorrect plug gap. Also, note any unusual vibrations or smells, which may point to an electrical or fuel issue.
Use an OBD2 Scanner to Check for Error Codes

Visual guide about What to Do After Changing Spark Plugs
Image source: piketransit.com
Modern vehicles are equipped with onboard diagnostics (OBD2) systems that monitor engine performance. After changing spark plugs, it’s wise to scan for trouble codes—even if the check engine light isn’t on.
Connect the Scanner
Plug an OBD2 scanner into the diagnostic port, usually located under the dashboard near the steering column. Turn the ignition to the “on” position (without starting the engine) and follow the scanner’s instructions to read codes.
Interpret the Results
Common codes after a spark plug change include P0300 (random misfire) or P0301–P0308 (cylinder-specific misfires). These may indicate a loose wire, incorrect plug, or damaged coil. If no codes appear, that’s a good sign—your installation was likely successful.
Reset the Maintenance Light (If Applicable)
Many vehicles have a maintenance reminder light that illuminates based on mileage or time. After replacing spark plugs, you may need to reset this light so it doesn’t trigger prematurely.
Consult Your Owner’s Manual
Reset procedures vary by make and model. Some vehicles require a sequence of button presses on the dashboard, while others need a scan tool. For example, on many Honda models, you hold the trip reset button while turning the ignition on, then release it when the light blinks.
Use a Scan Tool for Advanced Systems
Luxury or newer vehicles may require a professional-grade scanner to reset service indicators. If you’re unsure, check online forums or contact your dealership for guidance.
Test Drive the Vehicle
A test drive is the best way to confirm that your spark plug replacement was successful. It allows you to evaluate real-world performance under various conditions.
Drive Under Normal Conditions
Take your car for a 10- to 15-minute drive, including city streets and highways. Pay attention to:
- Acceleration: Does the engine respond quickly when you press the gas?
- Fuel economy: Are you getting better mileage than before?
- Smoothness: Is the engine running quietly without hesitation?
Note Any Changes
Many drivers report improved throttle response and smoother shifting after a spark plug change. If you notice a significant improvement, that’s a great sign. If performance is worse, recheck your work or consider professional help.
Inspect for Leaks or Loose Parts
| Item | Purpose | When to Use |
|---|---|---|
| OBD2 Scanner | Reads engine trouble codes | After starting the engine |
| Torque Wrench | Ensures proper plug tightness | During installation and recheck |
| Dielectric Grease | Protects electrical connections | Before reattaching coil packs |
| Service Manual | Provides torque specs and procedures | Throughout the process |
| Flashlight | Improves visibility in engine bay | During inspection |
After driving, pop the hood and do a visual inspection. Look for:
- Oil or coolant leaks around the valve cover (if you removed it)
- Loose spark plug wires or coils
- Disconnected sensors or hoses
Even a small oil leak can damage electrical components over time, so address any issues promptly.
Keep a Record of the Service
Good record-keeping helps with future maintenance and resale value. Note the following in your vehicle log:
- Date of service
- Mileage at time of change
- Brand and model of spark plugs used
- Any issues encountered
This information is especially useful if you plan to sell the car or need to warranty the parts.
Tools and Materials
Here’s a quick reference table of tools and materials you might need during and after a spark plug change:
Troubleshooting Common Issues
Even with careful work, problems can arise. Here’s how to handle the most common post-installation issues.
Engine Misfire After Plug Change
If your engine is misfiring, check:
- Are all spark plug wires or coils connected to the correct cylinders?
- Is the plug gap correct? (Use a gap tool to verify)
- Is there oil or debris in the spark plug well?
Reinstall or replace components as needed.
Check Engine Light Stays On
Use your OBD2 scanner to identify the code. Common causes include:
- Loose or damaged oxygen sensor
- Faulty ignition coil
- Incorrect spark plug type
Clear the code and retest. If it returns, investigate further.
Rough Idle or Stalling
This may indicate a vacuum leak or disconnected sensor. Recheck all hoses, especially around the intake manifold. Also, ensure the mass airflow (MAF) sensor is clean and properly seated.
Reduced Fuel Economy
If your mileage drops after a plug change, it could mean:
- The new plugs are not the correct heat range
- A sensor was disturbed during installation
- The engine is running rich due to a fuel system issue
Monitor for a few days. If the problem persists, consult a mechanic.
When to Seek Professional Help
While changing spark plugs is a common DIY task, some situations call for expert assistance:
- You’re unsure about torque specifications
- The engine continues to misfire after rechecking
- You suspect internal engine damage
- Your vehicle has a complex ignition system (e.g., direct injection)
A certified technician can diagnose and fix issues quickly, saving you time and frustration.
Conclusion
Changing your spark plugs is a smart way to maintain your vehicle, but the work doesn’t end when the last plug is tightened. By following these post-installation steps—reconnecting components, testing the engine, scanning for codes, resetting lights, and taking a test drive—you’ll ensure your car runs smoothly and efficiently. Taking the time to do it right protects your investment and keeps you safe on the road. With proper care, your new spark plugs will deliver better performance, improved fuel economy, and fewer emissions for thousands of miles.

Sagor Jahan is the founder and author of Automopromo.com, dedicated to delivering insightful tips, reviews, and updates in the automotive and promotional industry. With a passion for innovation and clear guidance, Sagor helps readers make informed decisions and stay ahead in the ever-evolving automotive world.

